

We are now in December and getting close to Christmas and New Year festivities! We are also getting close to the end of our “Learn and solve it with Amped FIVE” series. But we still have a handful of articles in store for you, which we hope you will find the time to read, leading up to the holiday period. This week we are going to discuss how to separate a fingerprint from the background.
Identifying Suspects via Their Fingerprints
The first and most important principle of forensics is that every contact leaves a trace. Nothing could be more literal than a fingerprint left at the scene of a crime. And the reason why fingerprints are so effective at identifying people is because they are unique to each and every one of us. Even with siblings and close relatives, fingerprint marks are substantially different. In fact, they can be such damning evidence, even if you have a twin brother or sister! Of course, in order to make an identification possible, a person’s fingerprint would need to be in a database of known subjects to be able to associate it with a specific person.
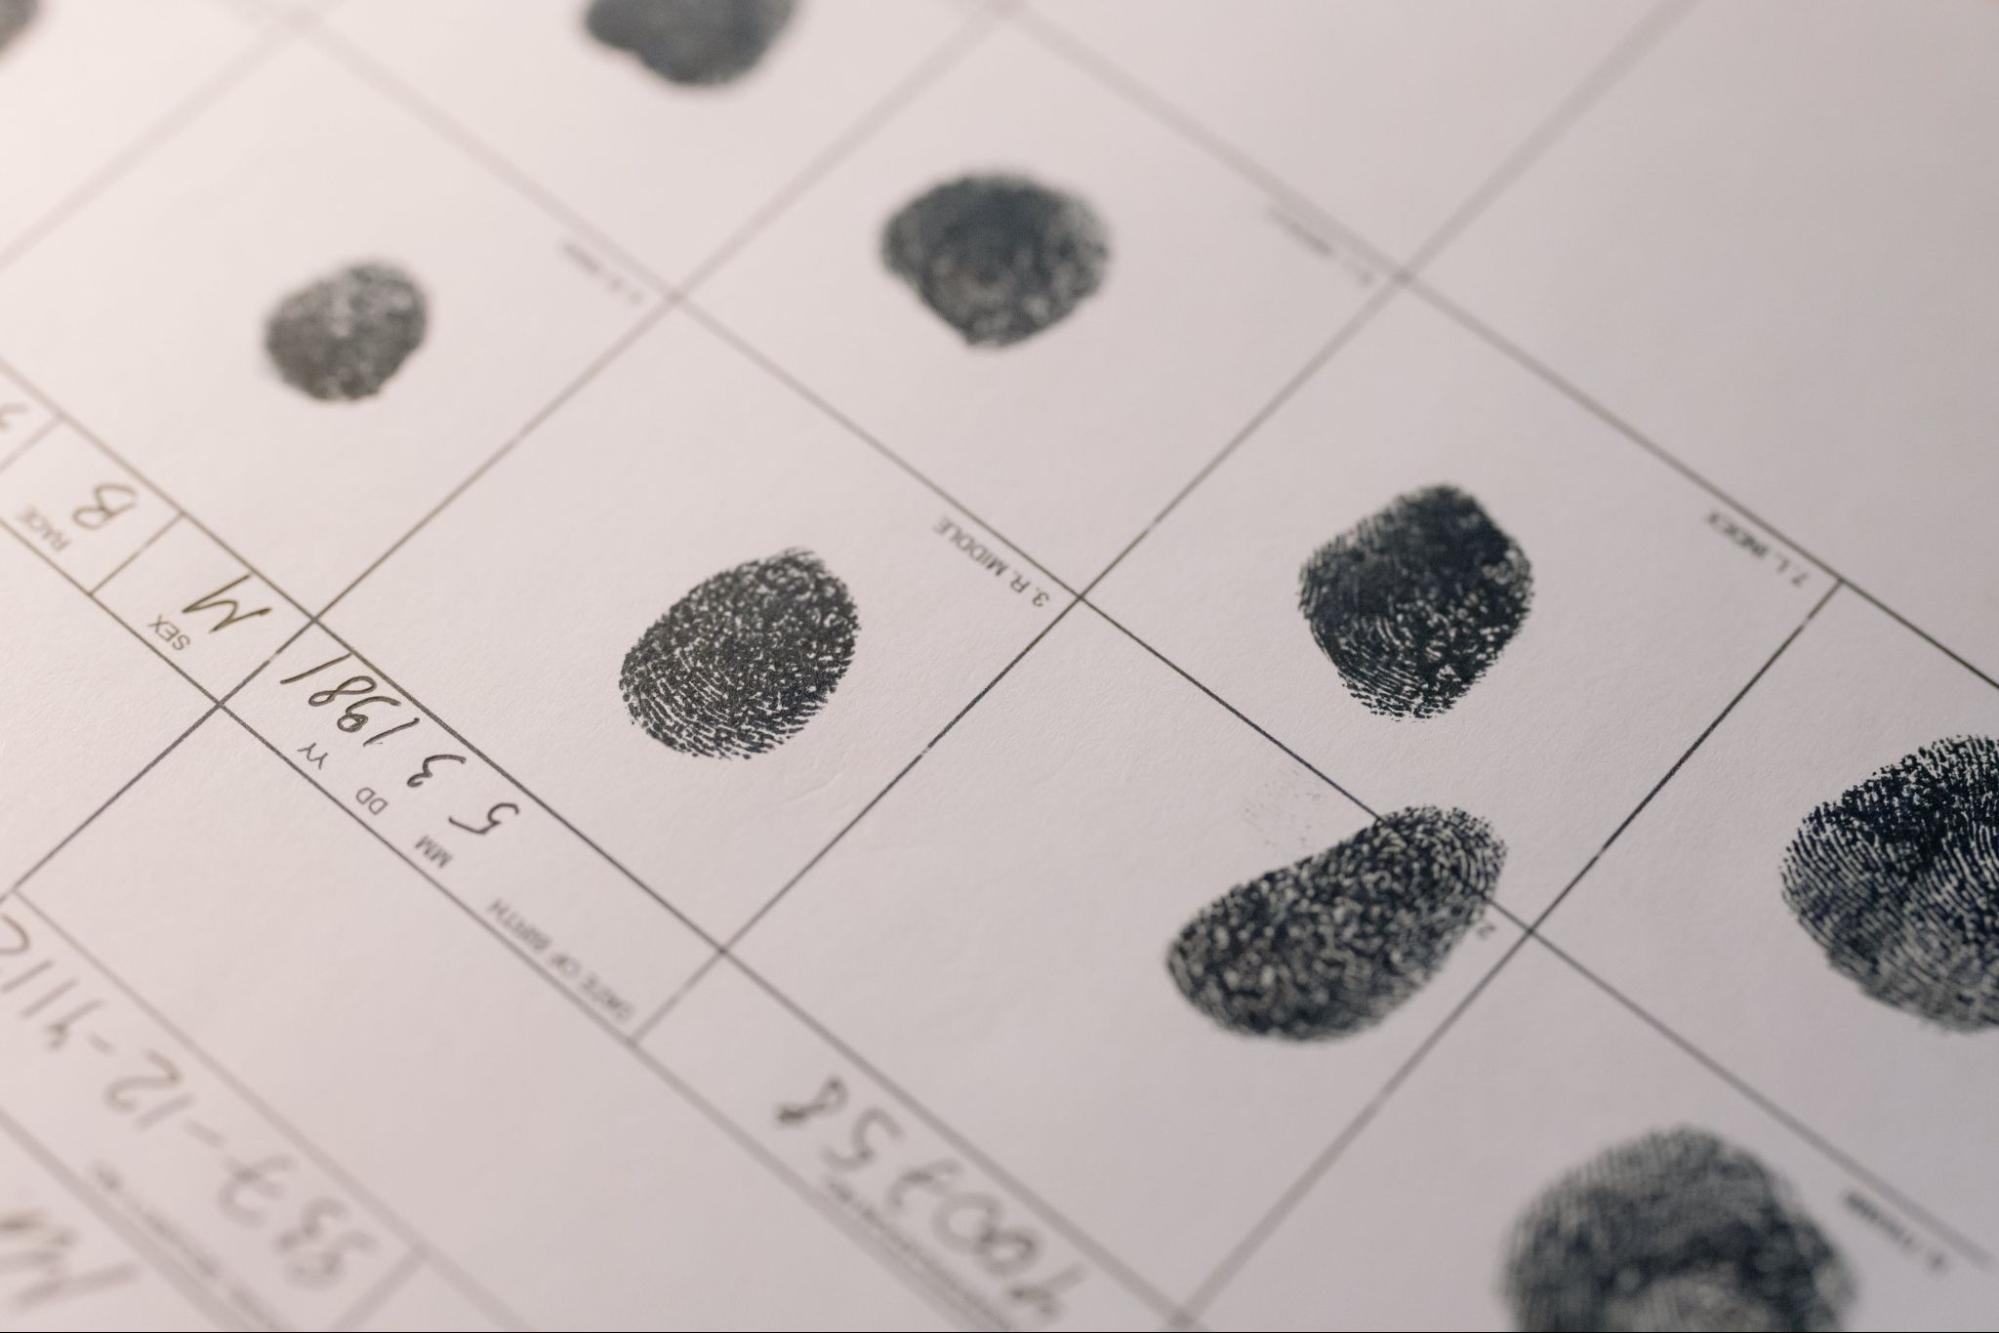
The most traditional method to use a fingerprint in an investigation is to brush an area of contact. For example, a wall, or a weapon, with chemicals that will make it stand out. It is also possible to “capture” a fingerprint by laying a lifting tape over it for a short period of time.
Fingerprint analysts can then apply comparison techniques to match a questioned fingerprint to a known one. The process is actually similar to imagery comparison analysis, using the same ACE-V (Analysis, Comparison, Evaluation – Verification) scientific methodology. In most cases, fingerprints will be photographed and this is where we can make a difference!
It is important to understand the process of clarifying a fingerprint from an image. We still need to be able to identify the issues that prevent us from seeing it clearly. Just as we would do for any other image detail that we are trying to obtain.
Increasing Fingerprint Contrast
The main issue we are likely to encounter is a lack of detail contrast. This is because, in most cases, unless deliberately pressed hard by hand, fingerprints will only be barely visible, if at all, on non-porous surfaces. With a bit of luck and adequate lighting, though, we may be able to increase the contrast of marks. This will render the fingerprint impressions more visible. But, in order to obtain details, we also need a good resolution. Photographs from Crime Scene Investigators (CSI’s) seizing evidence from a scene of crime, could be good enough. However, it is much more difficult to work with low-quality surveillance footage!
Have a look at the image below. A fingerprint was left on a gas hob after a burglary and photographed as part of the investigation. The image has adequate resolution, mainly because the camera was in close proximity to the camera. Furthermore, the ambient lighting creates a very subtle variation of detail in the area of interest.
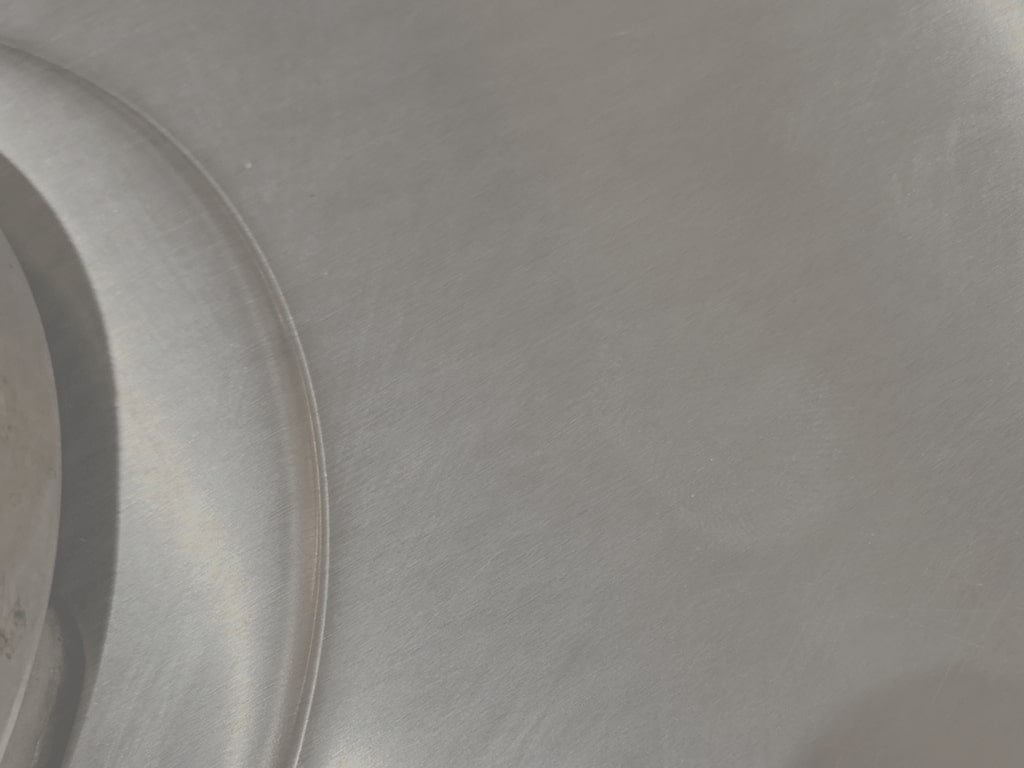
We can use the Levels filter to increase pixel variation in our area of interest. Just as we did in a previous article dealing with poor-contrast images. In this instance, we have also used the Grayscale filter on the image and the Unsharp Masking filter to bring out contrast around the edges of the mark.
By adjusting the levels so drastically, we have also brought out the detail inherent in the hob surface, which disturbs our view of the fingerprint mark. However, there are still visible and identifiable marks, especially at the lower aspect of the fingerprint. These could be important to identify the suspect, especially if this mark is compared to a good-quality image of the known suspect’s fingerprint.
Extracting Fingerprint Marks from the Background
In many cases, fingerprint impressions will be commonly found on items frequently touched by hands. These items include weapons, money (notes or coins), door handles, and similar objects. Therefore, it will be a good approach to attempt to separate a mark from its background in an image. Adjusting levels is a good approach. However, as shown in the previous sample, we are still left with details inherent in background surfaces.
We can separate a fingerprint from the background when there is a difference in luminance or color between them. We have a variety of filters in the Extract group that can be quite effective at maximizing the contrast between one and the other.
Separation by Color
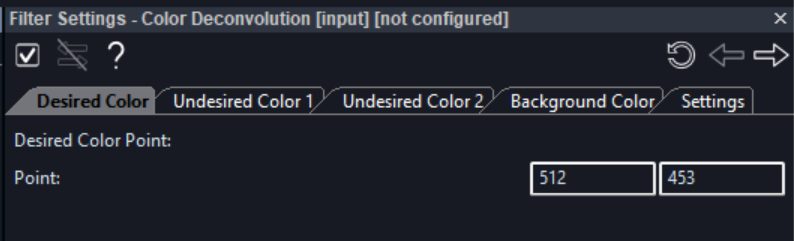
In the instance when there is a color difference between the detail of interest and the background, appropriate filters to use would be Color Deconvolution and Component Separation. The former can actually capture the exact RGB values of a desired color, undesired color, and background by means of registering pixel coordinates in the viewer.
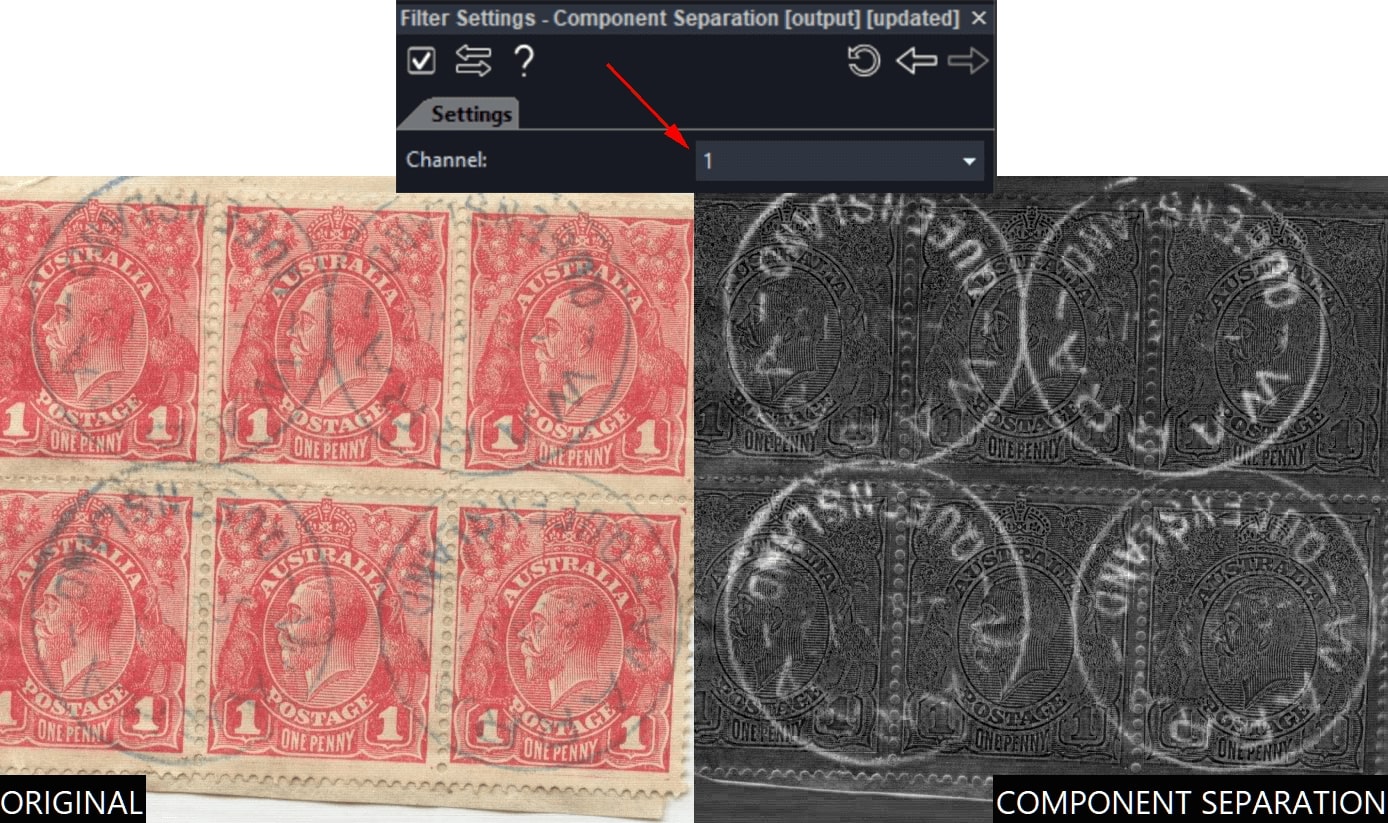
The latter can split the color components in the image, exasperating the contrast between patterns of different colors. In the sample below, you can see how we could clearly separate the Queensland post office logo from the stamps by applying the Component Separation filter and by selecting channel 1 (out of three channels) from the filter settings.
Separation by Pixel Values
We don’t always have the luxury of color component separation. In this instance, we can try to use the Threshold filter in the Extract group. With this filter, you can manually set low and high thresholds for pixel values and the filter will null out (set to 0) anything out of the threshold range while setting to 255 what’s within the range. If you set the high threshold to a lower value than the low threshold, the filter will behave the opposite, setting to 0 what’s inside the range and to 255 what’s outside.
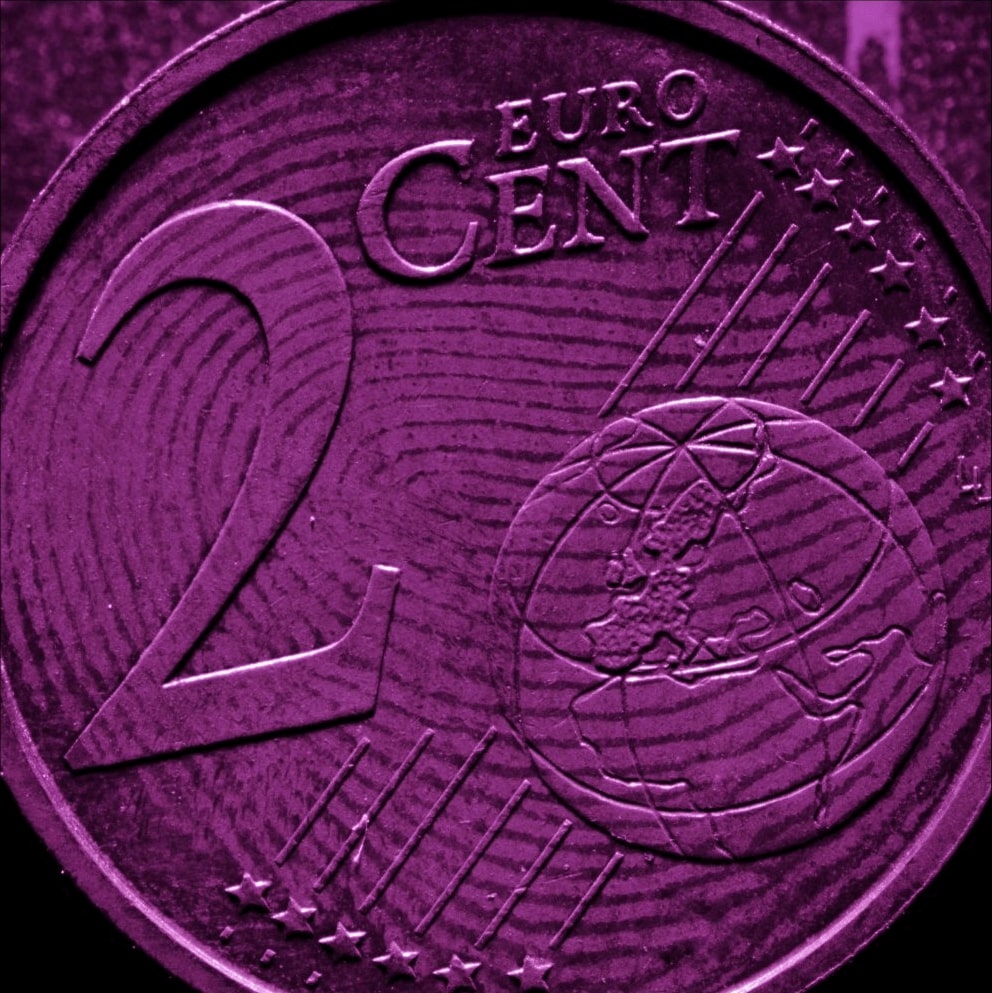
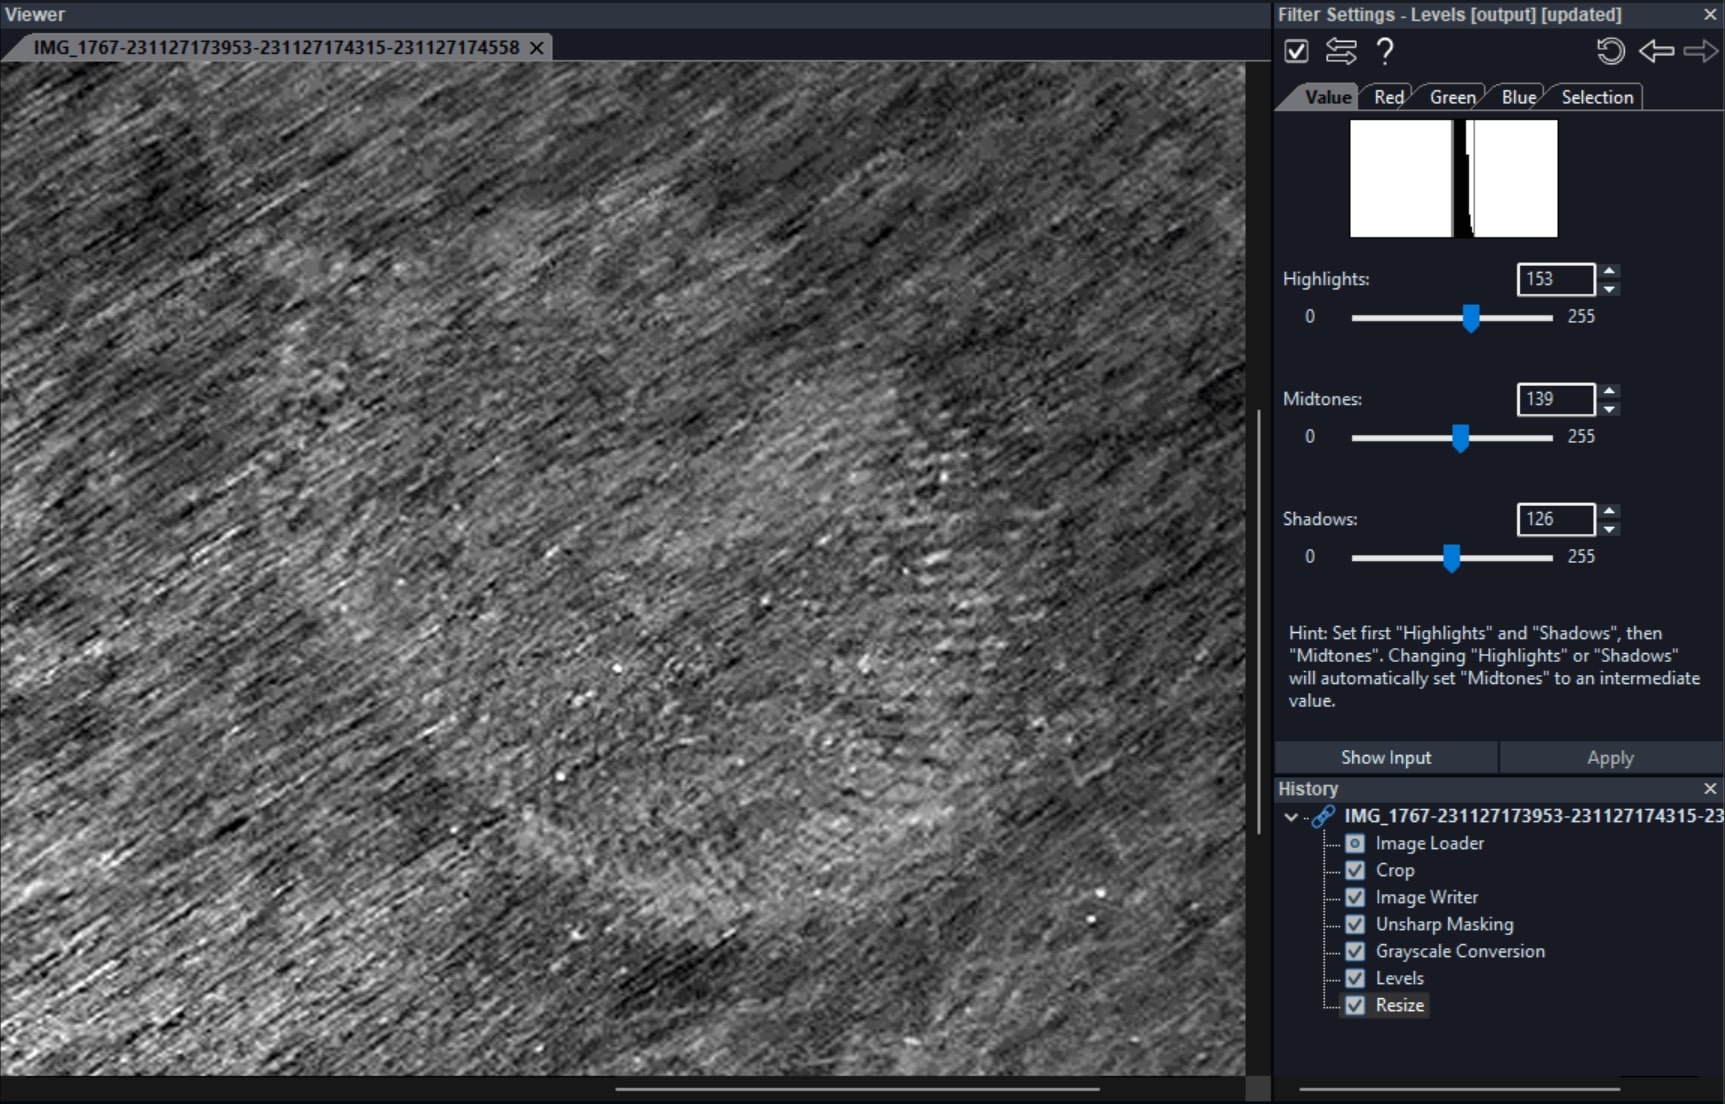
In the image above we have a fingerprint mark left on a 2 Euro cent coin. The color cast of the whole image is such that it is not possible to apply filters based on color extraction. First, we will apply a Grayscale filter to render the image monochrome. We are doing this because we know that color is not going to help us with separating the mark from the background in this case.
Using the Threshold Filter
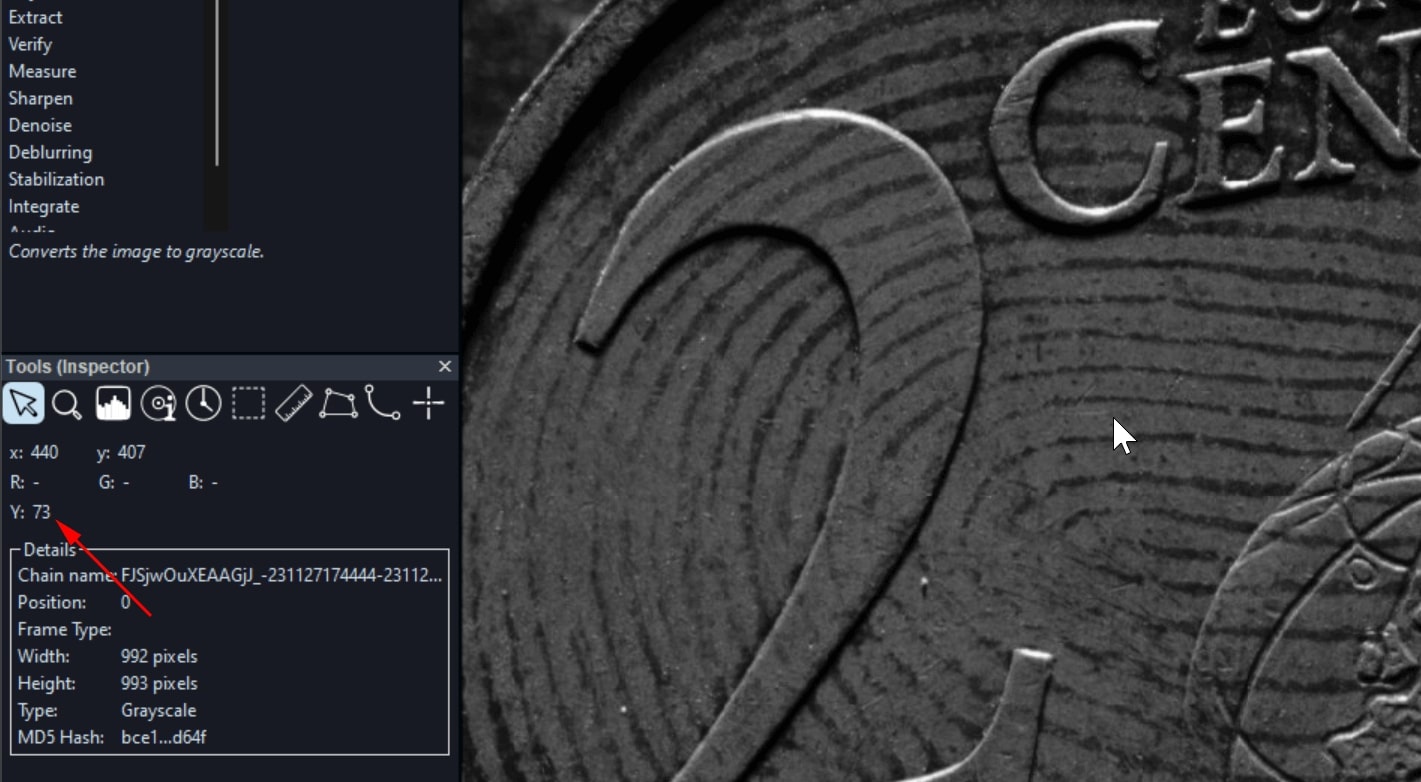
We will first apply the Threshold filter in our chain. We will then have a look at the luminance values inherent in the actual fingerprint mark. Simply click on the Inspector tool and hover your mouse over the area of interest in the viewer. The tool is telling us that the luminance value of the actual pixel hovered over with the mouse is 73 (as shown below).
In the filter settings, we will apply a threshold range of approximately 10-pixel values at either side of the value of reference – 73. In this case, we have a range between values 64 and 85 (as shown below).
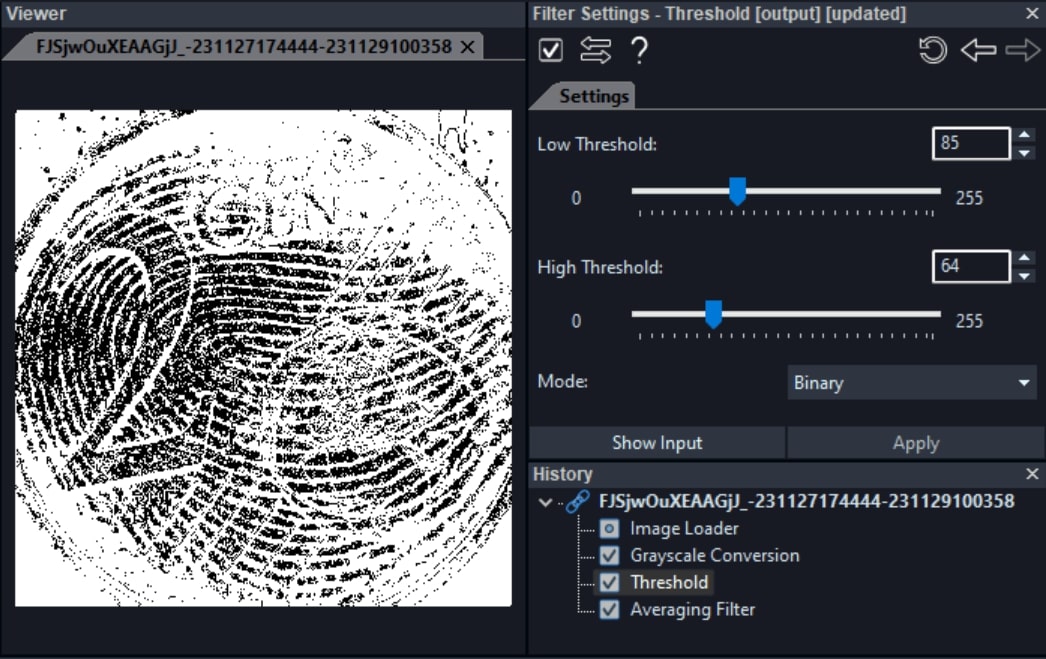
Because we have set the high threshold to a lower value than the low threshold, any pixels with values outside the [64, 85] range will be maxed out to 255 (pure white), and those inside the range maxed out to 0 (pure black). Although we were not able to remove all of the background (sharing very similar pixel values with the fingerprint), we now have a much more identifiable mark.
Separating Periodic Patterns from Fingerprint Marks
Another issue with discerning fingerprint marks could be the presence of identifiable patterns. For example banknote fibers or surface layers. If these are regular patterns, then we can use the Fourier filter. The usage of this filter is described in quite some detail in a previous article of the series. It uses the frequency spectrum to identify periodic noise. This could be really effective if the patterns are regular and identifiable. Have a look at the image below. It portrays a close-up view of a fingerprint mark left on a banknote.
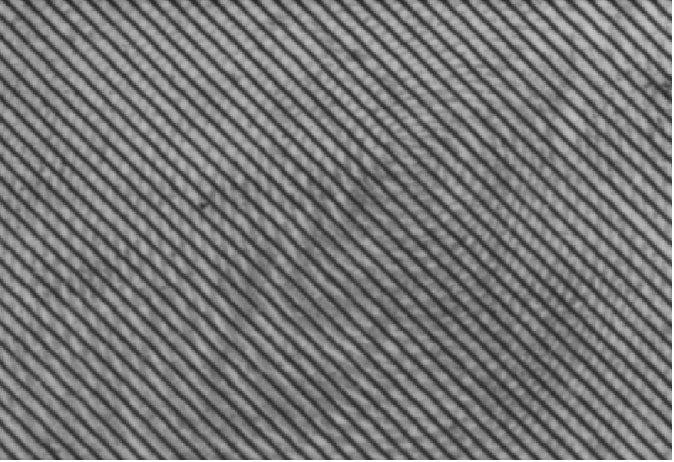
In this instance, we can simply use the Fourier filter to remove the periodic diagonal fiber lines of the banknote. We will simply perform an automatic selection in the filter settings. This gave us a much clearer view of the fingerprint impression.
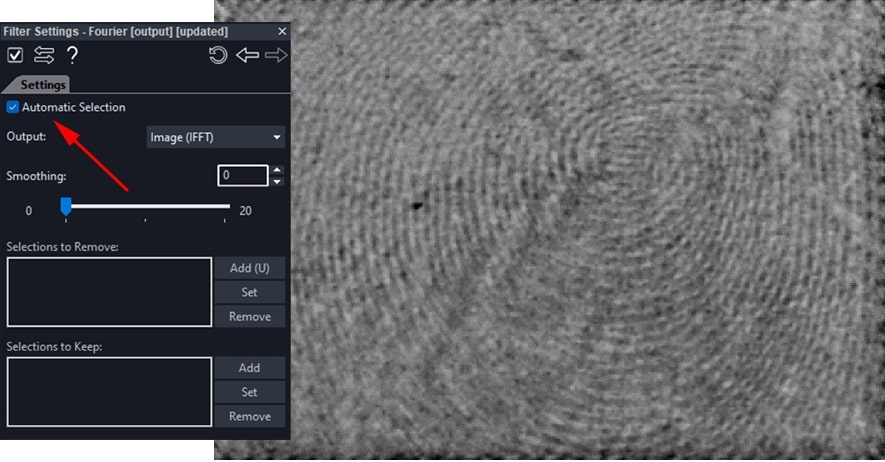
Check out the video below to learn how to use the Fourier filter.
Conclusions
We hope you enjoyed this week’s article. Now you should have a better understanding of how to separate a fingerprint from the background. Next week, we will talk about a completely different but equally important subject: speed estimation in video and understanding timing data. Until then, folks, as we always like to say, stay safe and take care.


