

Hello again folks and welcome to the second article in our new series “Learn and solve it with Amped FIVE“. As mentioned in our previous article, this series is focused on how to solve common challenges related to video evidence using Amped FIVE.
This week we are going to look at the advantages of integrating multiple frames in a video together. Also, we’re going to discuss how this technique can assist in reducing noise and enhancing detail.
What is Frame Integration?
As we know, a video is a sequence of still images (which we refer to as frames) that, if logically linked together and reproduced fast enough, will give us the illusion of movement. Video works with us mere humans (!) because our eyes do not perceive the flicker between the frames. This phenomenon is called visual persistence: the last projected image remains impressed for a small period of time (a fraction of a second) on the retina even when removed from our vision.

Courtesy of Animation History Museum
The beauty of visual persistence is that when dealing with a video containing noise, our brain will gradually “deregister” it and will focus more on the static detail within (as shown below).


But how does this help us clarify a license plate or a person’s face? When we have multiple frames in a low quality video containing detail of interest, we can combine them all together by computing the average value of every pixel across all the frames to create one single and much clearer image. This process, called frame integration, clarifies the image since noise and artifacts in the video are mathematically averaged out because they change rapidly throughout the various available frames (whereas the detail does not).

Preparing for Frame Integration
Before we integrate frames together to clarify detail, we must first ensure that:
- We use an adequate (but not so excessive) number of good quality frames available showing an undisturbed view of our target (using an appropriate filter from the Select Frames group).
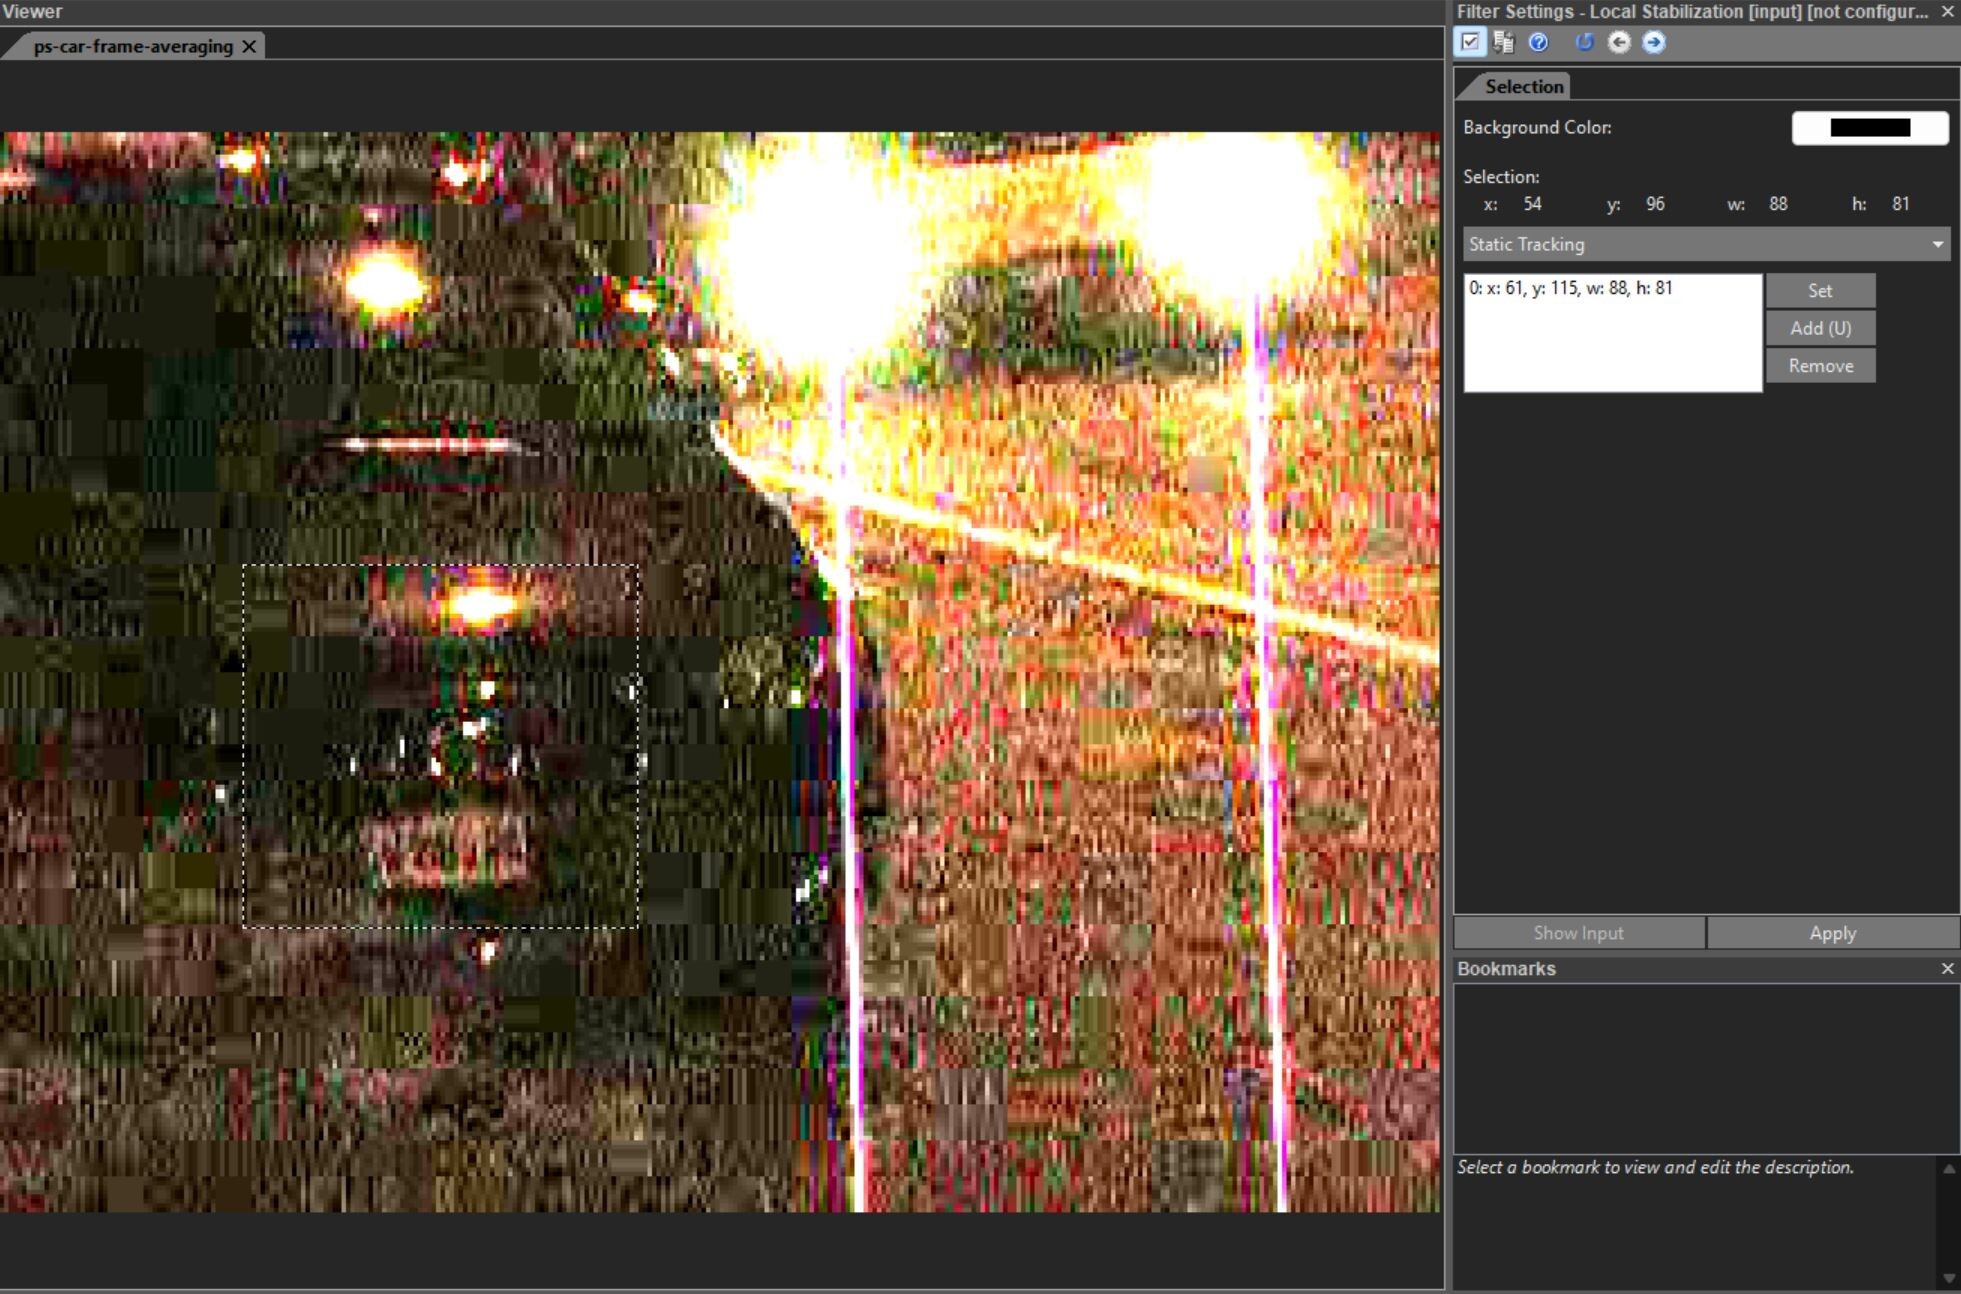
- Our target is static throughout the selected frames (using an appropriate filter from the Stabilization group if it isn’t).
First, drag your video into Amped FIVE. Then, move the play head to the relevant portion showing an undisturbed view of the target. At this stage select a good amount of frames using the Range Selector. Sparse Selector and Remove Frames can also be used to discard bad quality frames. The I-Frames Selector can be used to select the best quality frames in a temporally compressed video. Adjust the Levels to obtain the best possible contrast of pixel values in the target area.
If the target is not completely static, maybe due to a shaky handheld camera, use the Local Stabilization filter to stabilize it throughout the selected frames. Please note that if the target is moving towards or away from the camera or if it’s changing its angle/perspective towards the camera, then the Perspective Stabilization filter may be required.
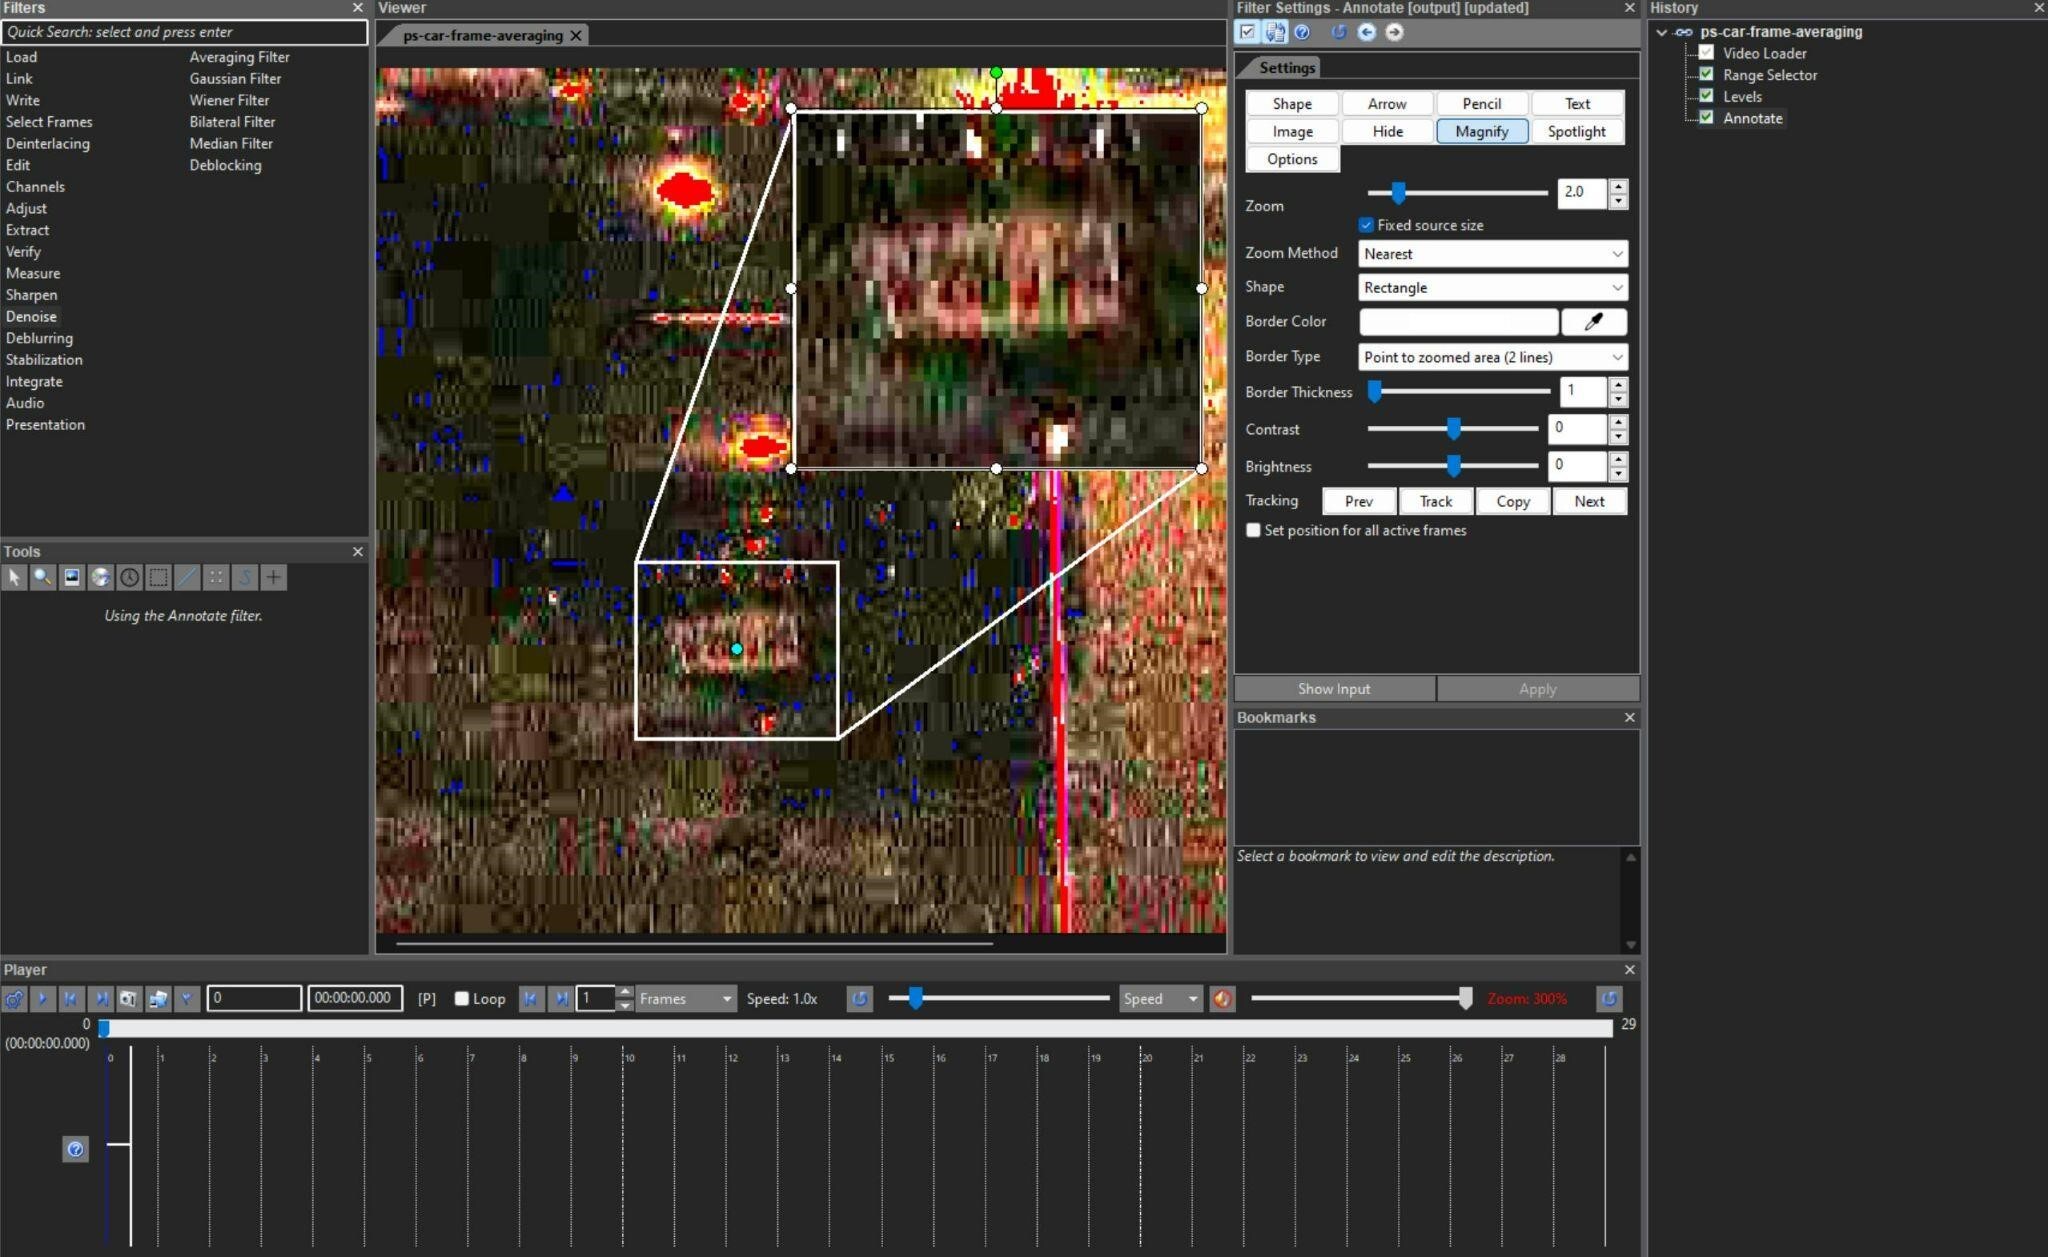
Applying the Frame Averaging Filter
Once you are satisfied that the frames selected are adequate and that the target is static throughout the selected frames, apply the Frame Averaging filter from the Integrate group.

The filter does not have any configurable settings as it will simply overlay all the available frames from the previous stage in the chain and output one single averaged image. Pretty cool, right?
You should hopefully now be able to get a much clearer representation of the target. And at this stage, you could apply refinement filters such as Unsharp Masking, Blind Deconvolution or Turbulence Deblurring to increase the contrast of detail around the edges of the target.
This would also be a good time to Crop the image to the area of interest. Then, enlarge it using a Resize filter with bicubic interpolation. Finally, apply a Compare Original to showcase the improvement you have obtained between the original video and the enhanced image.

To learn more about the Frame Averaging filter check out this video on our YouTube channel:
Conclusion
That’s all for today! We hope you’ve found this issue of the “Learn and solve it with Amped FIVE” series interesting and useful! Stay tuned and don’t miss the next article coming out next Tuesday!
Don’t forget to share this blog post with your friends and colleagues on LinkedIn, YouTube, Twitter, and Facebook.


