

Welcome, loyal followers of this series! Some of the most common reasons that make a CCTV video apparently useless are that it’s just too dark (recorded at night?), too bright (infrared camera mounted just next to a floodlight?), or it’s grayish everywhere (fog, mist, etc.). In this post, we’ll see how Amped Replay can help you improve contrast and brightness of a video!
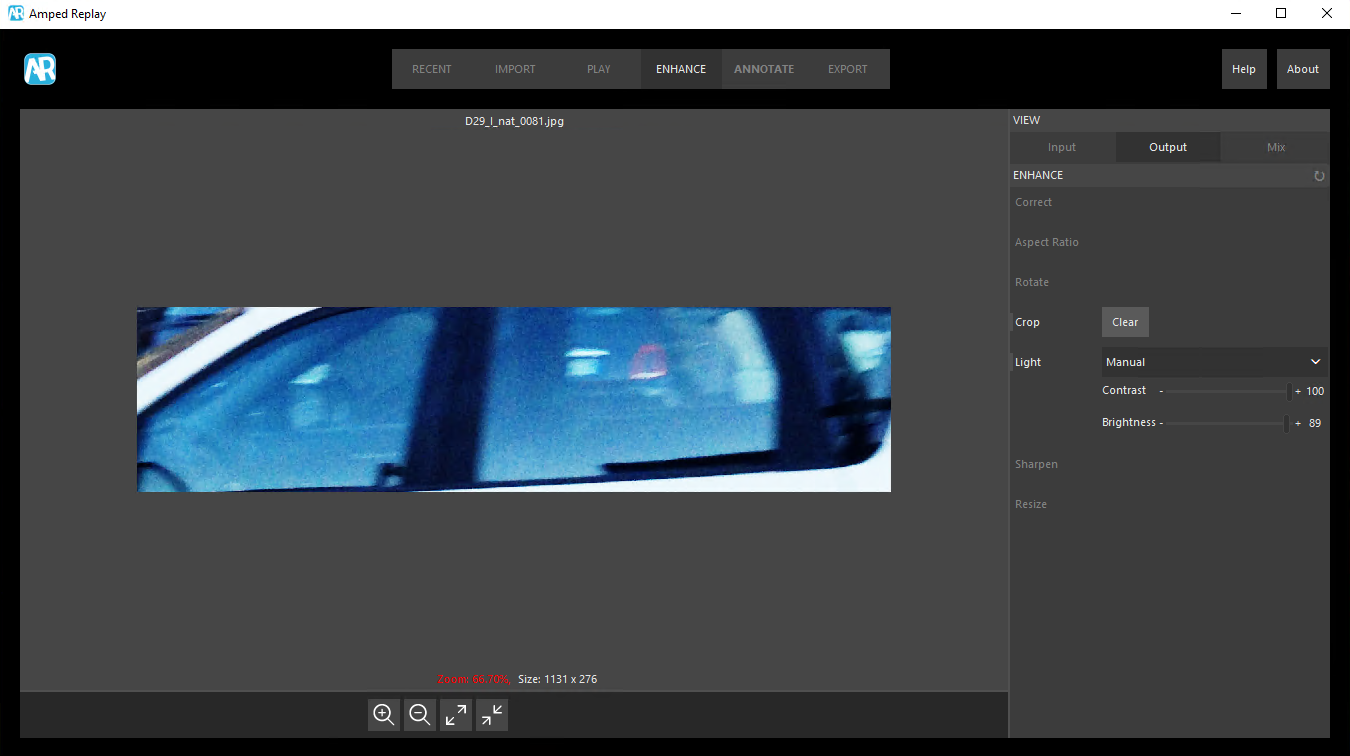
In Amped Replay, go to the Enhance tab and activate the Light filter. There’s an Auto mode that works great most of the times, but you can switch to Manual and adjust the brightness and contrast by dragging the respective sliders.
Brightness and contrast adjustment belongs to that class of image processing operations that are “easy” and yet so powerful! It is not uncommon that some detail of interest is available in your video. But you can’t see it because of the current level distribution in your image. Here are some examples:
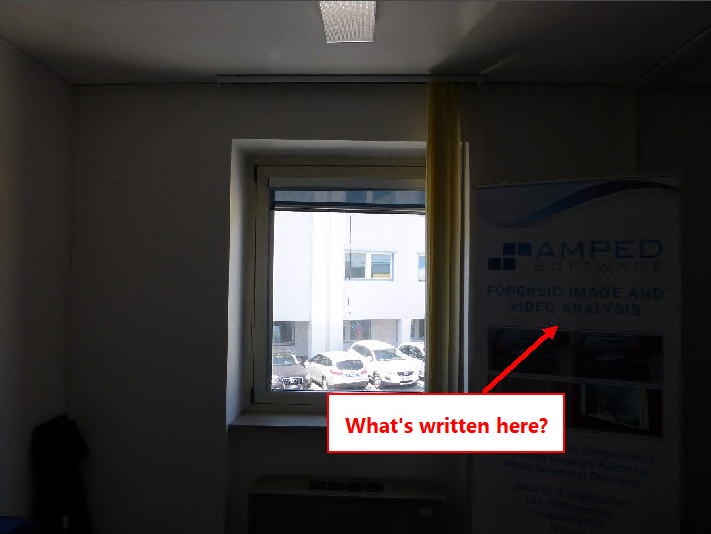

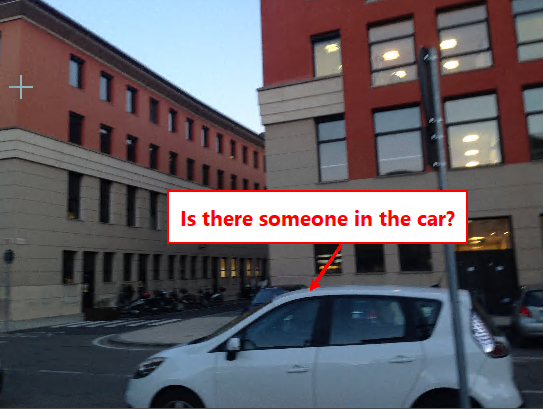
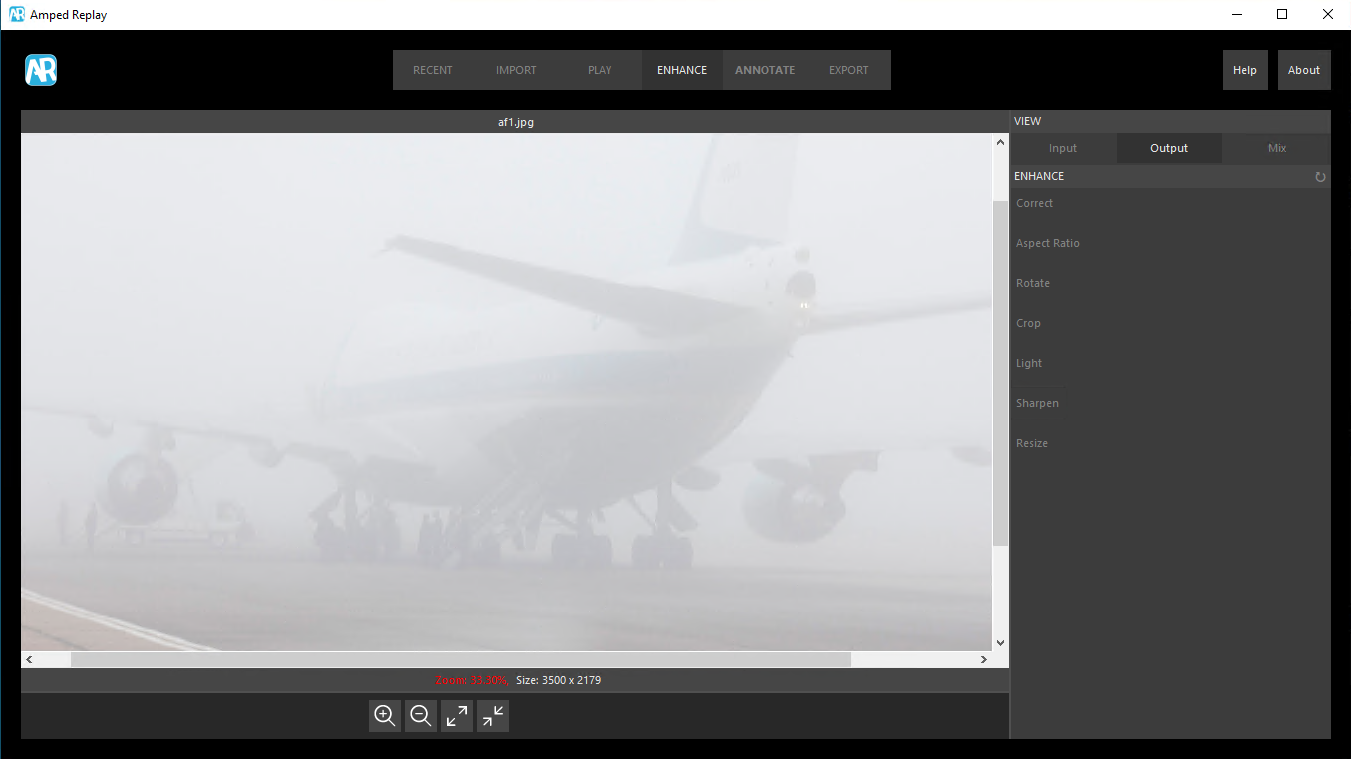
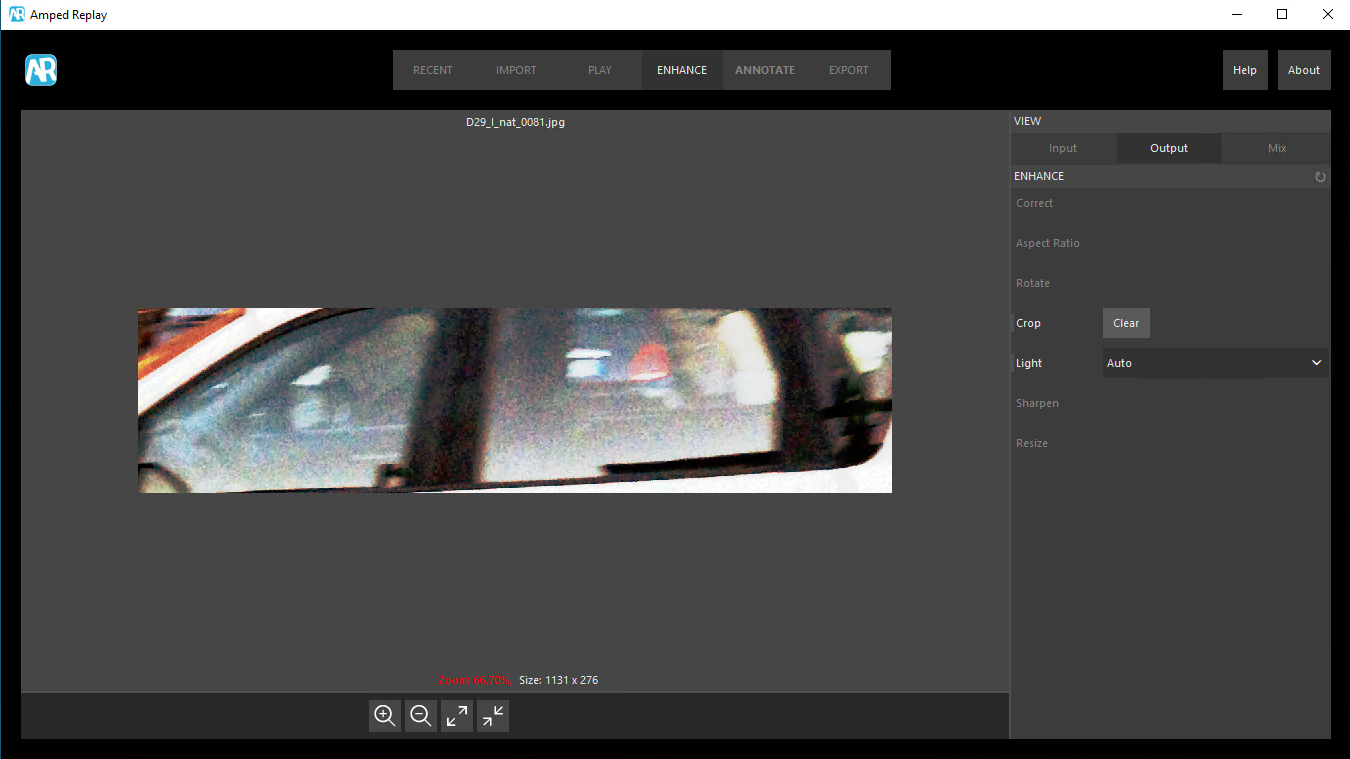
All the examples above have issues about brightness and contrast, for different reasons. The banner is too dark because the camera “adapted” the exposure to the strong light coming from the window; the airplane is barely visible because of fog, the car’s windows shield the internals making their contrast very poor.
Despite being quite different, all the situations above can often be brilliantly solved with Amped Replay’s Light filter! Let’s start with the banner example. We drag the image into Amped Replay, click on the Enhance panel, and turn on the Light filter:
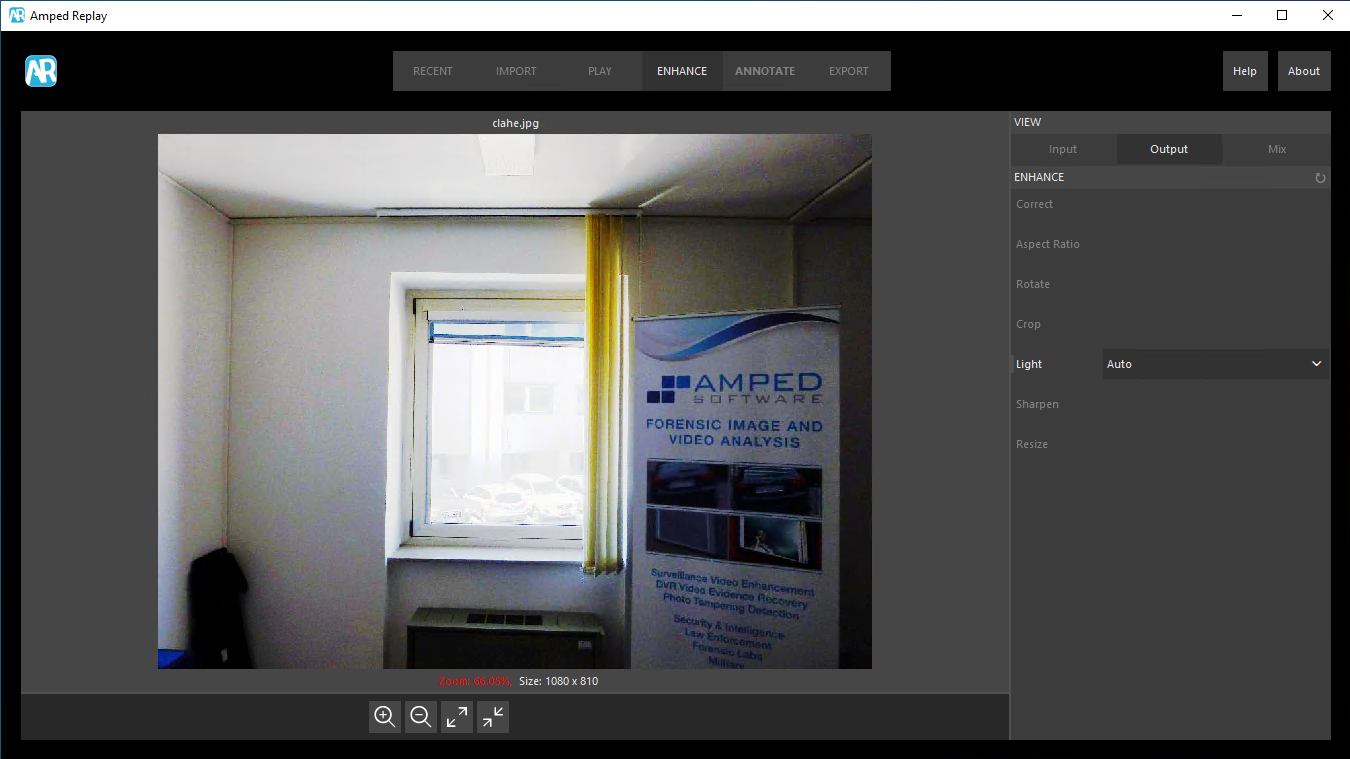
It’s already way better! The banner visibility has improved at the expense of the window’s visibility. This is common and normally accepted in forensic enhancement. The goal is gathering information, not making nice wallpaper pictures. If we’re not satisfied with how the banner looks, we can try two more things:
- Crop the banner, and see how the Auto mode of the Light filter changes;
- Switch the Light filter to the Manual mode and manually tweak the brightness and contrast sliders.
Let’s try both. We just click on the Crop filter and drag a rectangle around the banner. All done, the Light filter will automatically update!
Hey, it’s even better! Why is that? As we alluded to in last week’s post about cropping, the Light filter, when used in Auto mode, does an operation called histogram equalization. This operation’s behavior depends on the pixel values of the whole input image. So if we limit the filter’s input to the part of the image that’s of interest, we’ll likely get better results most of the time!
Let’ try switching to the Manual mode and adjust brightness and contrast:
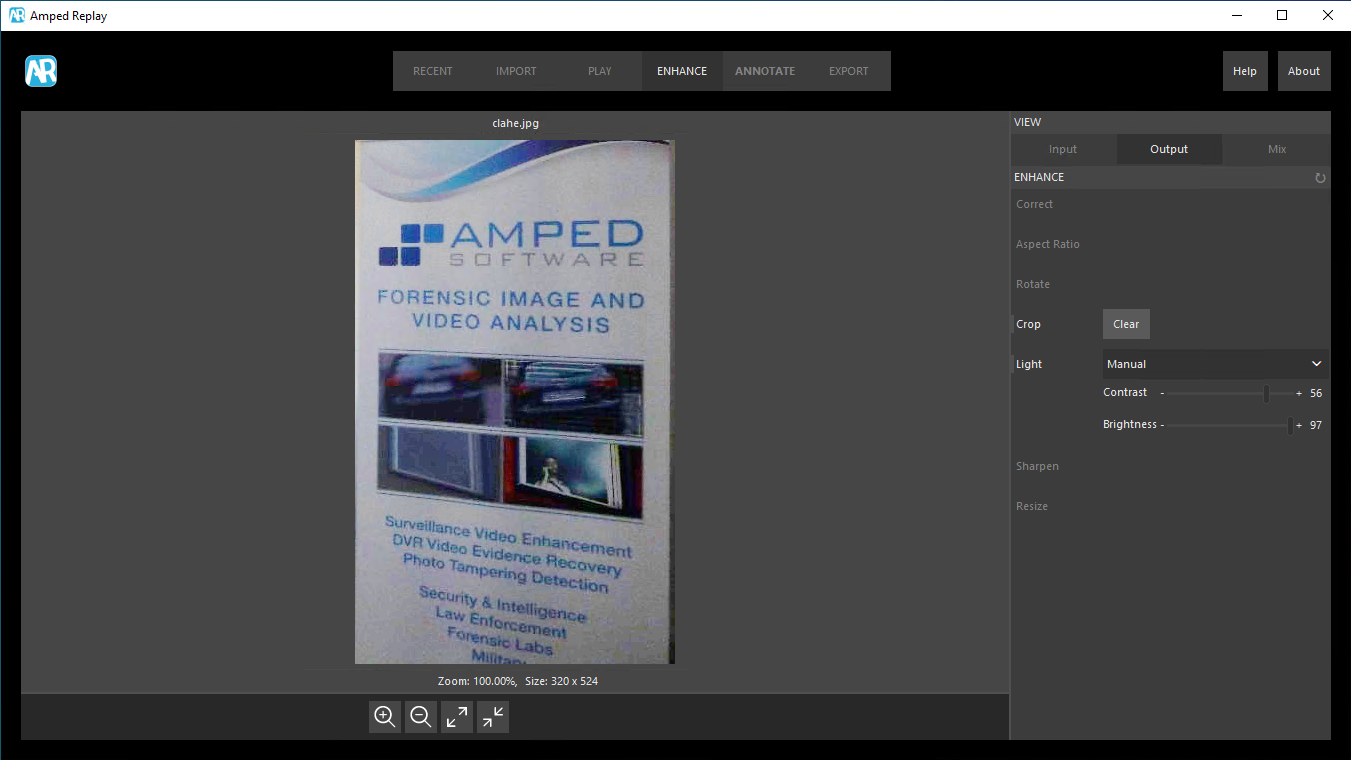
We get a nice result as well, perhaps less readable but also less “exaggerated” than the previous one. But that depends on personal taste.
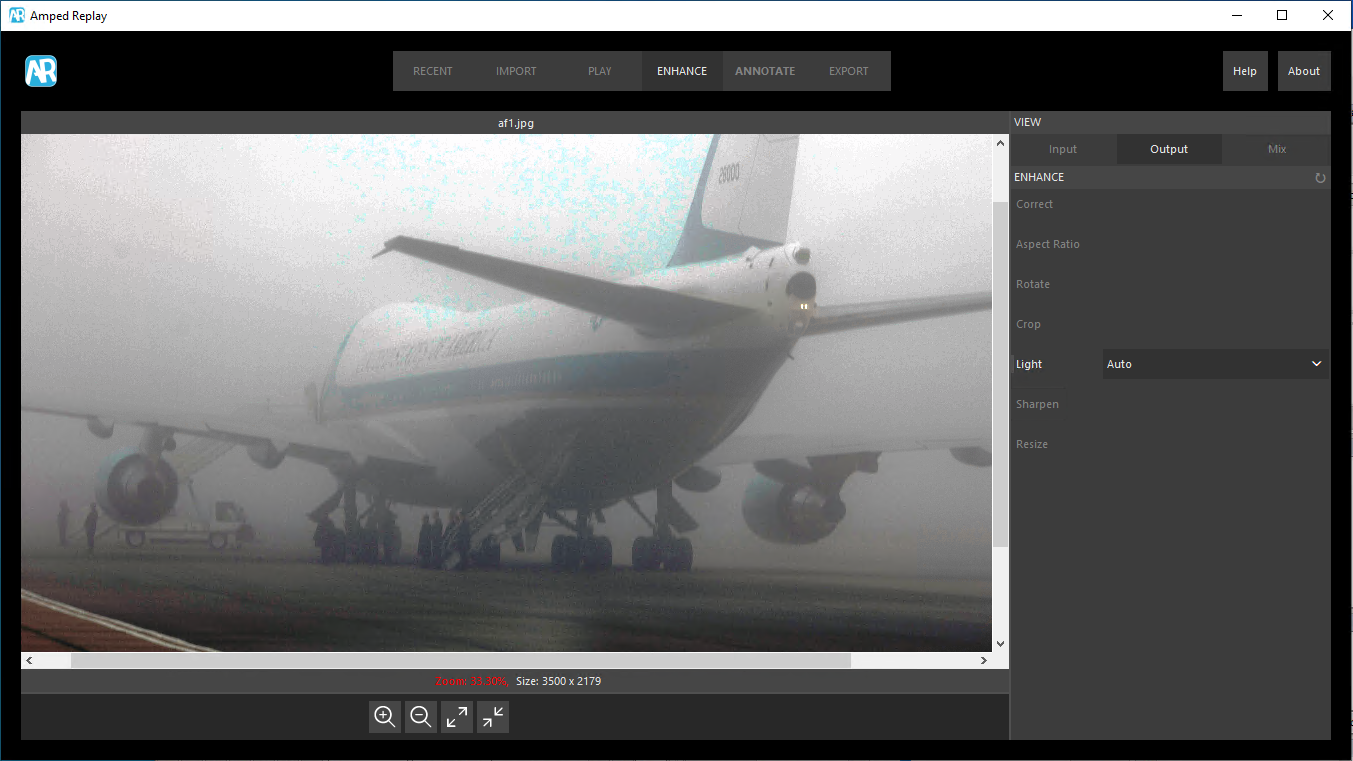
The Auto processing mode is phenomenal when the disturbing element is fog or mist, as shown by the airplane example below:
Sometimes you may achieve good results with both the Auto and Manual mode. But there are cases where one is clearly preferable over the other. The car example is one of those, as testified by the image below. The result obtained with the Auto mode looks much better than the best achievable solution with the Manual mode.
And that’s it! If you want to dig a bit deeper about these topics, you may check this previous blog post about what the image histogram is and how to interpret it. Last but not least, remember that while Amped Replay’s Light filter is great for the most common needs, there is a load of more advanced solutions available in Amped FIVE.
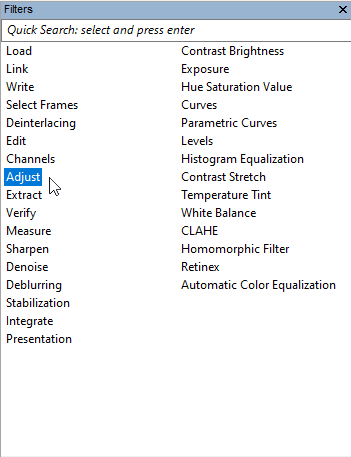
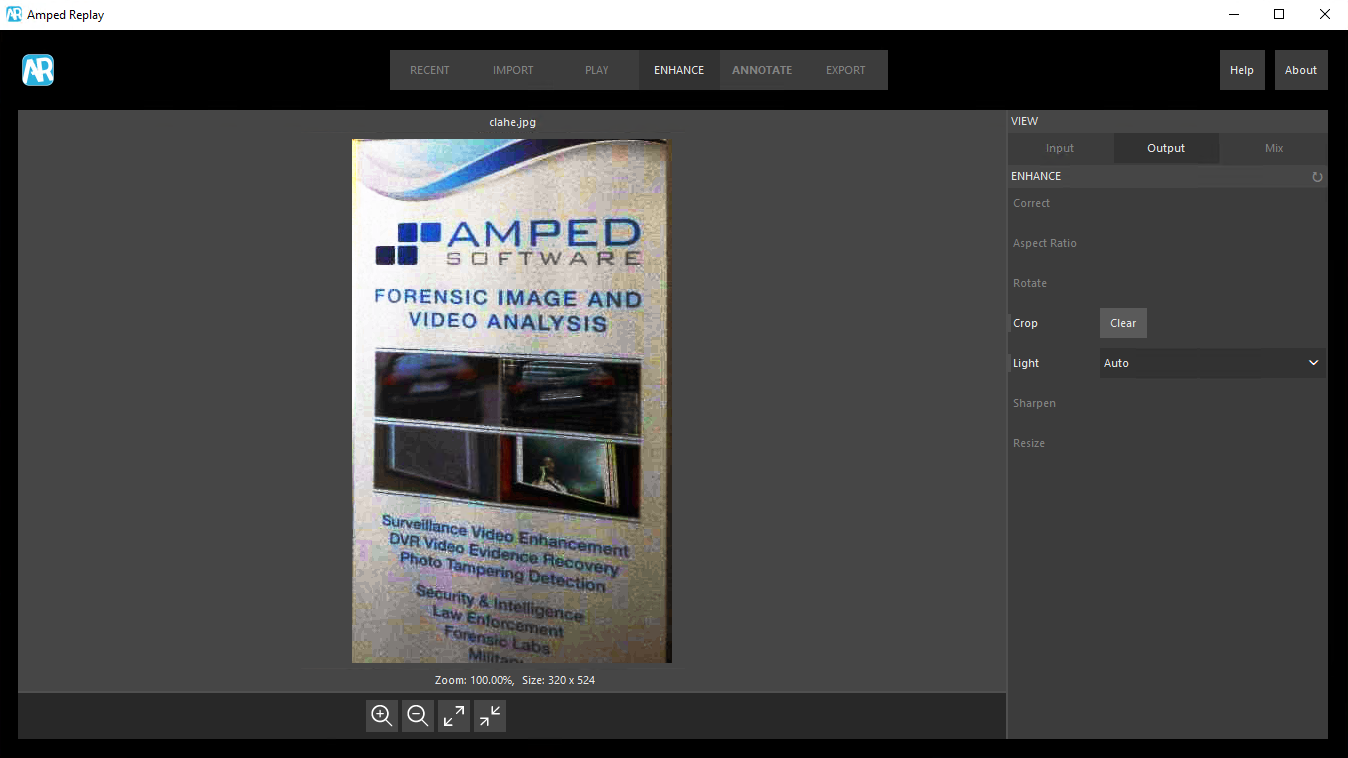
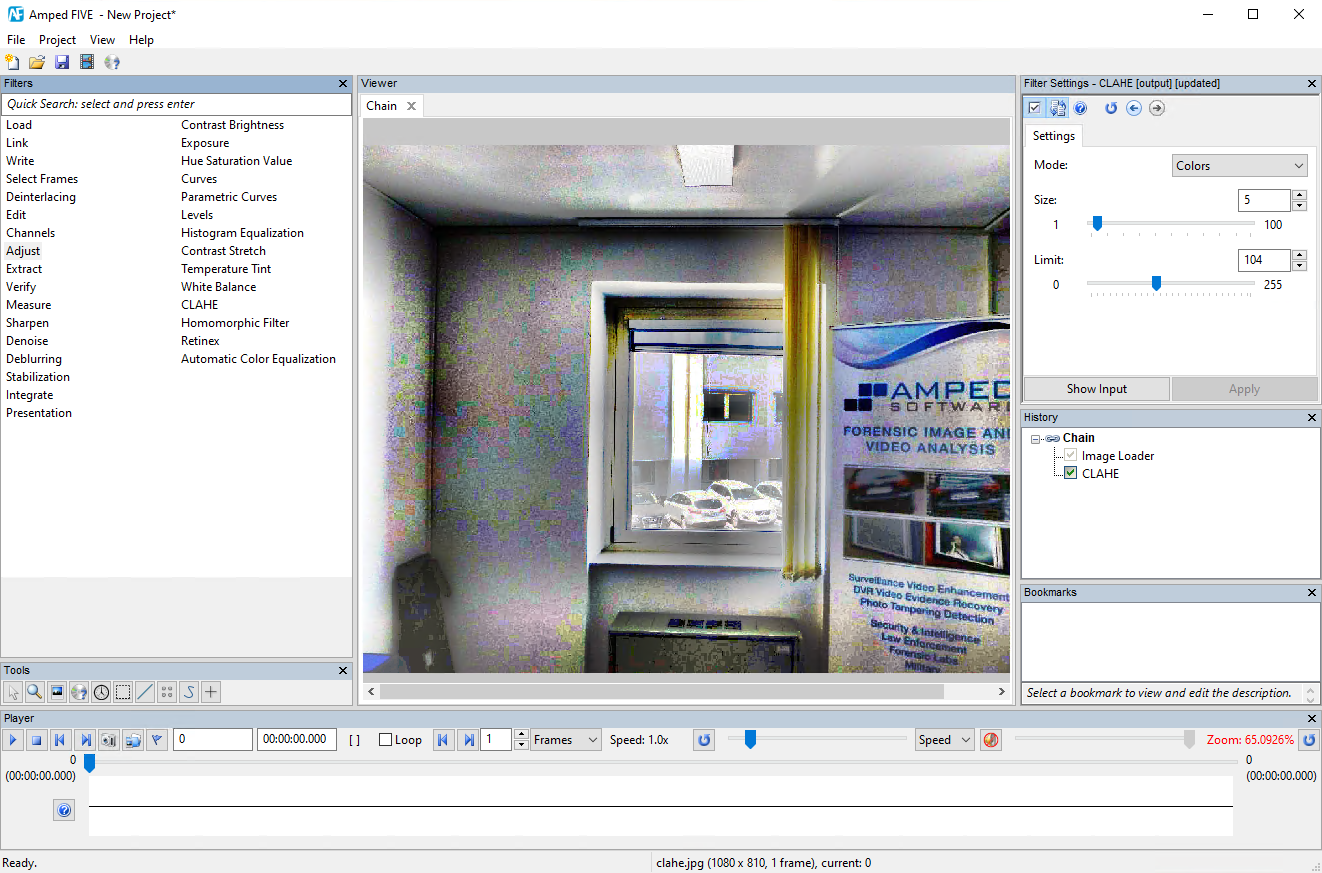
For example, if color reliability is of the essence in your job, you’d better use Amped FIVE for the enhancement. Or, staying within the examples we’ve seen above, Amped FIVE’s CLAHE filter would allow you to enhance simultaneously the visibility of the banner and of the window.
That’s all for today! We hope you’ve found this issue of the “Amped Replay Tutorials: How do I do this?” series interesting and useful! Stay tuned and don’t miss the next ones. You can also follow us on LinkedIn, YouTube, Twitter, and Facebook: we’ll post a link to every new tutorial so you won’t miss any!


