

In this “How To”, we will walk through the process of dataset generation and comparison using the new Validation Tool in Amped FIVE. Designed to identify pixel value changes, the tool is a quick way to create initial datasets, and then compare them against others from different software versions or when FIVE is used on different workstations.
Amped FIVE has a huge filter set, with over 100 that have the ability to affect the pixel values in an image or video. Many police units and forensic video services are now required to validate the software being used in any video or image processing task to achieve accreditation. With many filters to test, this can be quite a challenge.
There are two stages to this validation, with the first being the generation of an initial dataset. Next is comparing datasets to ensure the software is still doing the same thing. Re-validation after any software update, or when it is used on different hardware, is no longer a time-consuming process. The new tool’s automated dataset comparison takes just a few minutes.
Before generating the initial dataset results, we must create some projects containing the filters we wish to test. Large video units may already have this set. Also, Standard Operating Procedures (SOPs) may only require certain filters to be tested.
Project Creation in the Validation Tool
Having everything in a single Amped FIVE Project (AFP) is possible, but it may be difficult to maintain. Breaking the filters down into separate projects can make things easier, and the tool can work with a directory of projects and even sub-directories (folders in a folder). Each project will have the necessary loaded sample media, and then the filter being tested.
For many filters, the same sample file can be used by the Loaders, so there is no need to have hundreds of different files. As an example, all the filters in the Adjust category could use the same image or video to test each filter.
For those people that do not have any sample set yet, here is something to get you started. This link will allow you to download an Amped FIVE project file, that will enable you to write a validatable Test Card video.
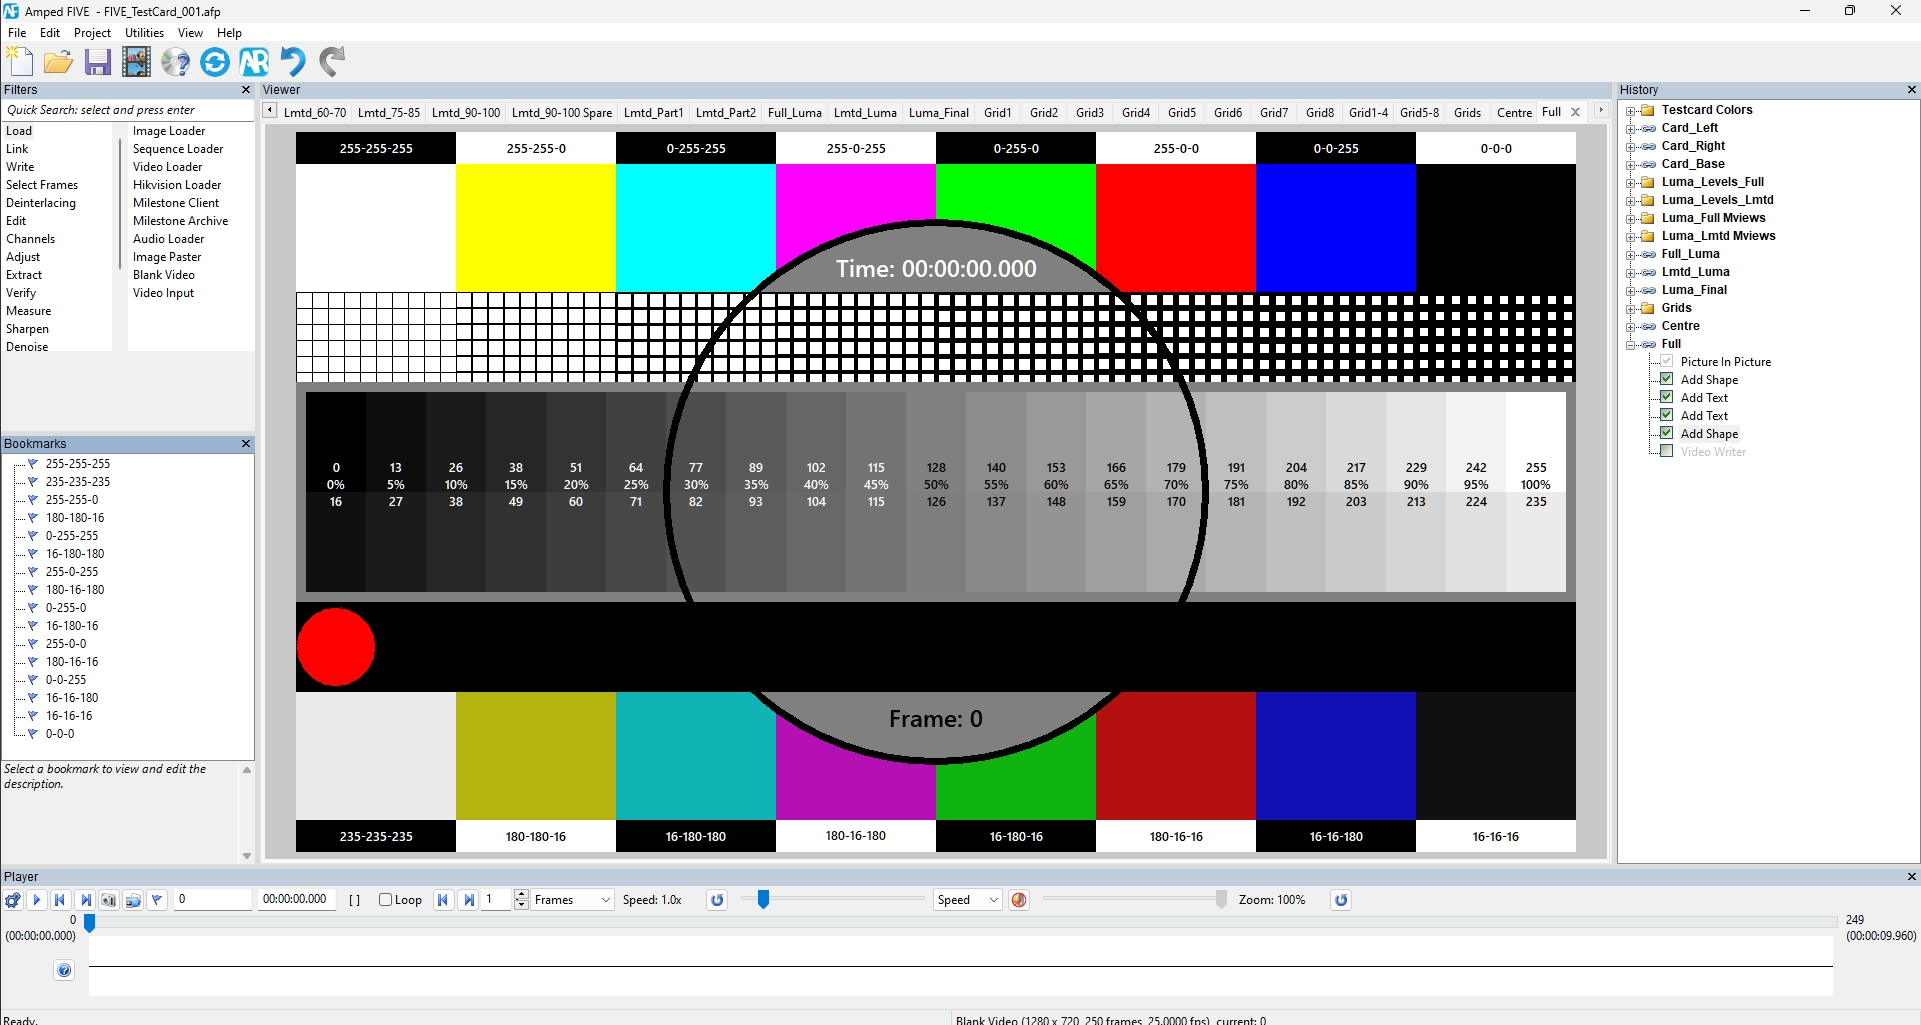
Each component can be checked for created values, decoded values, and then, after being written out, those values can be compared.
Here we have created a FIVE project for the Adjust category of filters. Note that we named each chain with the filter being tested, which will later make the analysis of the results easier.
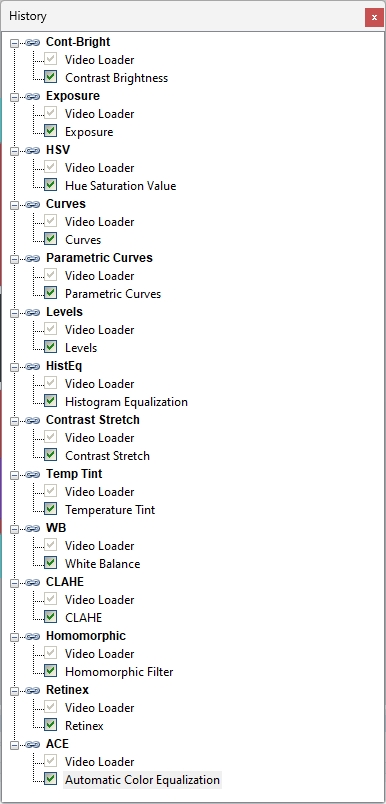
Using the individual categories is just a suggestion. You may find that it’s easier to group them differently to suit your specific work environment or individual testing requirements.
Using the filter category method, we end up with a series of AFP files.

You will also see the MEDIA_SET directory here. This is where we stored the sample media used in the projects.
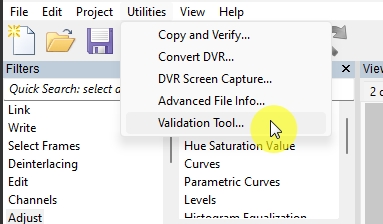
Now comes the fun part! Under the Utilities menu, we have the Validation Tool.
Three Possible Processes
The tool has three possible processes, selectable by a dropdown menu at the top:
- Generate: Create a new dataset
- Generate and Compare: Create a new dataset and then compare it against a previous one
- Compare: Compare two different previously created datasets
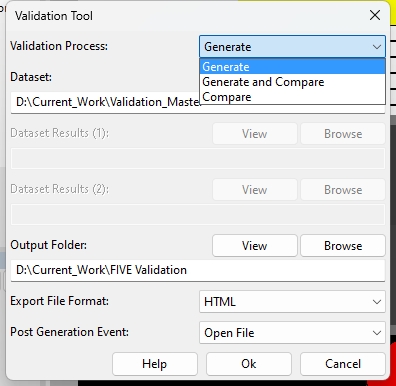
The folder selection boxes will only be visible for the process selected.
Generate
Let us now go ahead and generate our test results by clicking OK.
Generation Results
Within the output folder, a new directory is created, which now contains the individual generation results. Each set of results is then stored in another directory named with the FIVE Revision number and then the date and time of the generation.
Inside this folder will be a series of images generated at the time of frame hash calculation and then the results in the desired format. Either HTML or TSV can be selected from the tool’s interface.
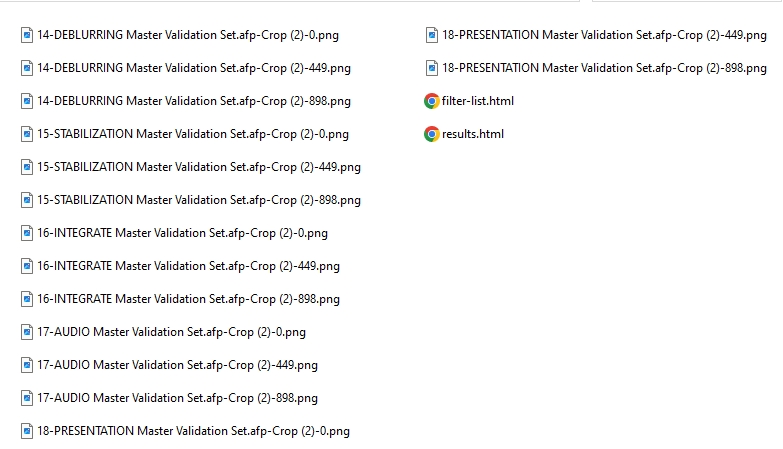
For each test (chain), three images are created for video files. The first frame, the middle frame, and the last frame as obtained by the last filter in each chain. The frame numbers are also associated with the resulting images. The purpose of image generation is to assist in determining what has changed if any failures are identified during a subsequent comparison test.
Filter List File
Before we move on to the results, let us look briefly at the filter list file.
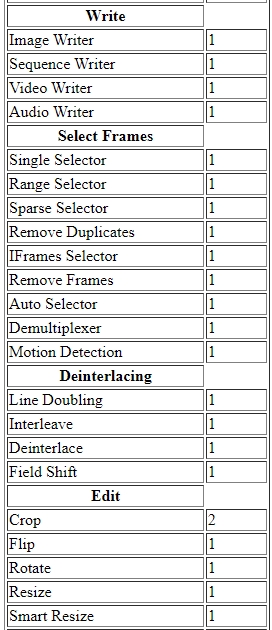
This handy table lists all the categories, all the filters, and then the total of each filter used in the test. There will, naturally, be some filters that get tested extensively, such as Video Loader. This is because a video is required to be loaded prior to many filters being used. Conversely, there will be some filters that cannot be tested for pixel changes. Audio Loader or Change Frame Rate are examples of this.
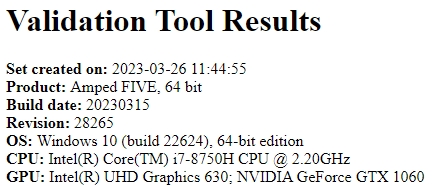
Validation Tool Results
The Validation Tool Results file starts with the system details.
Projects and Chains Tested Table
Following this will be a table listing all the projects and chains tested, including any sub-directory. What follows is a small segment of these full results, with the “Deinterlace” AFP file highlighted.

After the AFP name will be the Chain name and the internal Chain ID.
Following each one is the number of the frame used for testing and comparison purposes. You will see, for Line Doubling, that three frames have been used: 0, 374, and 749.
The next column is the MD5 hashcode of the file loaded for that chain. You will see that the Line Doubling test was used on a different file from Interleaving. We can see this because the hashcodes do not match.
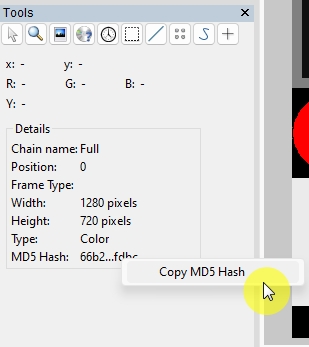
The next column is the frame hash (MD5) of the frame tested. This is not the file hash. The frame hash is calculated by using the data from the individual pixels. It is the same as is displayed in the Inspector window of Amped FIVE’s Tools.
Finally, you will see the time taken to run the test on that chain. Now that we have a dataset, we can move on to Generate and Compare.
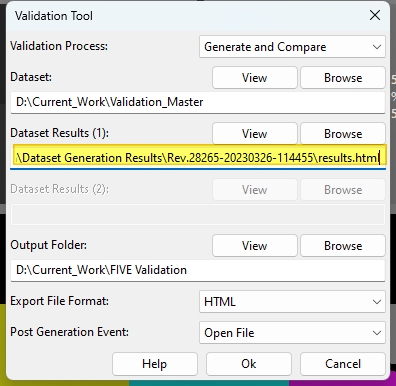
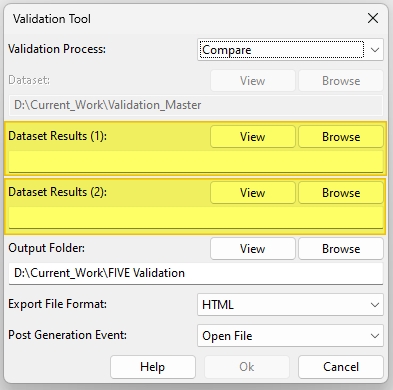
Generate and Compare within the Validation Tool
When selected, the Dataset Results (1) field will be selectable. You must select the results file of a previously generated dataset.
It will only take a few minutes after clicking OK to have several new directories and your comparison results. A new dataset will be created inside the Generation Results Folder. There will also now be a new directory in your Output Folder.
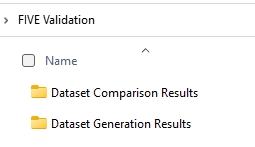
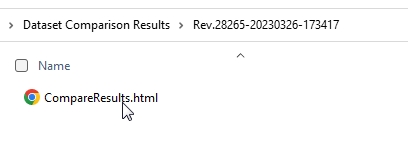
Within Dataset Comparison Results will be the new directory containing the Compare Results.
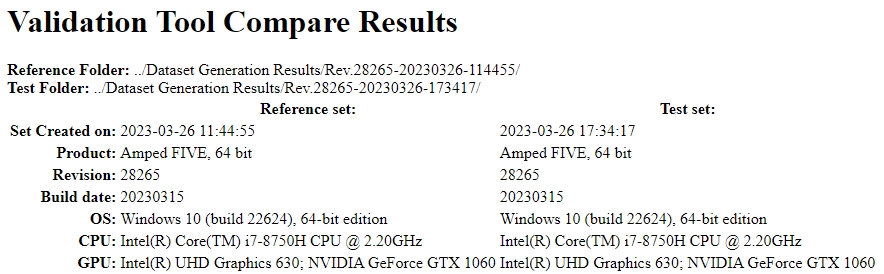
Validation Tool Compare Results
At the top of the Compare Results table will be the header detailing the two sets used.
Results Table
Following this is the table containing the comparison results.
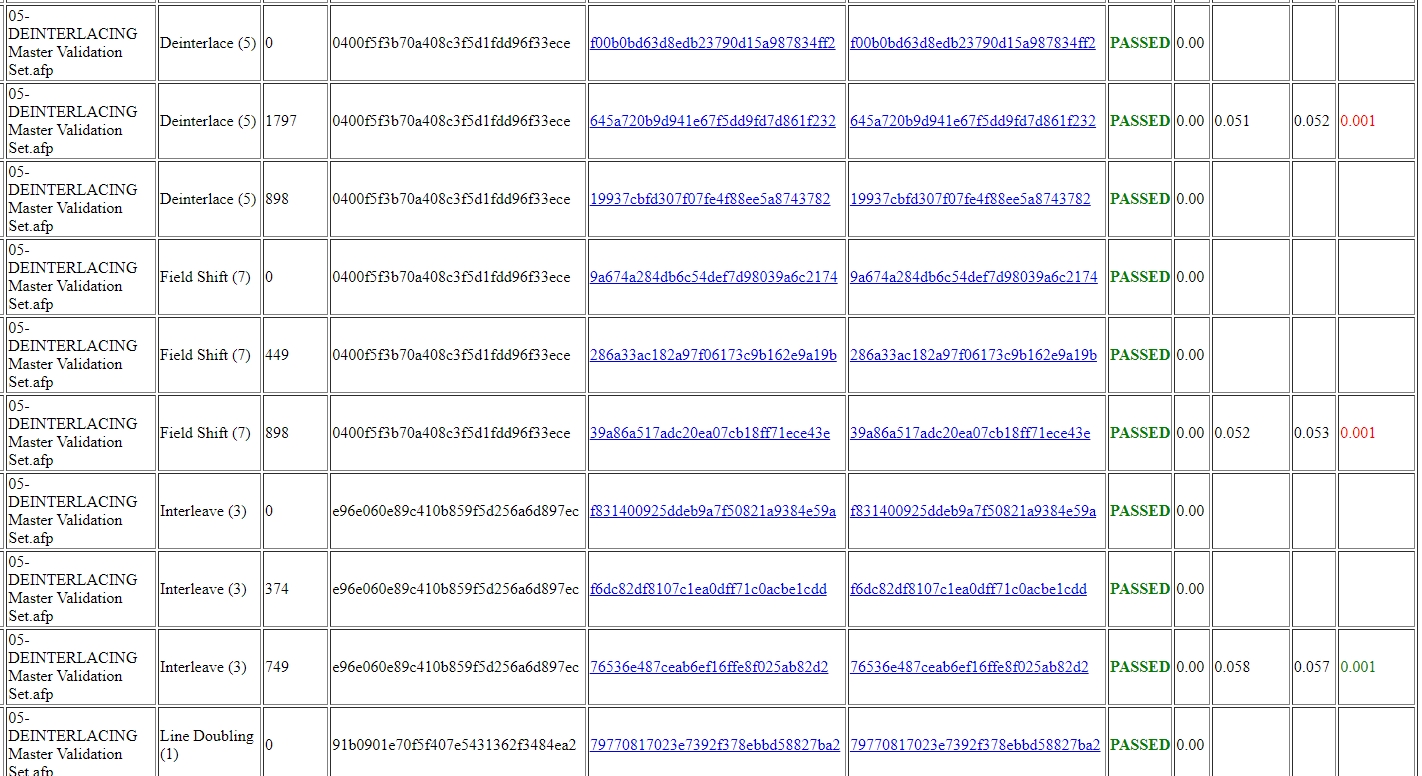
This compares the frame hash values and then presents a PASSED or FAIL message for each comparison. The time taken to process each image is also compared, with fast processing presented in green and slower in red. This may help to identify system faults in hardware configuration if a particular computer is taking a lot longer to process the chains than others.
Following on from the PASSED column, you will see the Sum of Absolute Difference (SAD). In the example shown above, they are all zero, as the two resulting images are exactly the same. However, if a FAIL was encountered, this value would show you how different they were.
A very low value may suggest that something has changed in the behavior of that filter. A high value, however, would suggest that the filter has failed. An example would be if Correct Perspective was tested and the quadrilateral points were miscalculated or not entered.
Compare
If the compare process is selected, only two previous dataset results are required, and a simple comparison will be conducted, resulting in a table similar to that shown above.
When an update to Amped FIVE is released, it is now a very quick process to generate and compare results between the previous version and the new one.
If staff use different workstations or Windows versions, it is now simple to check for differences. Even on a single workstation with dual graphics processing options (CPU and GPU), it is a quick test to verify that both methods produce the same result.
The Validation Tool has been built with flexibility in mind to ensure it will fit into any unit working practice, and Standard Operating Procedures (SOPs) can be written easily for it. Just as the Assistant Tool can be used to guide users through a processing SOP, the Validation Tool was designed to help you with your Software Validation Processes.
If you haven’t updated yet, what are you waiting for?
Don’t Delay – Update Today
If you have an active support plan you can update straight away by going into the menu About > Check for Updates within Amped FIVE. If you need to renew your SMS plan, please contact us or one of our authorized partners. And remember that you can always manage your license and requests from the Amped Support Portal.


