
Dear friends, welcome! Today we’re dealing with a widespread and important issue: viewing the timestamps of a surveillance recording. Indeed, as much as “what” happened is important, “when” it happened is also crucial most of the time. Keep reading to find out how Amped Replay lets you see and present timestamps in two clicks!
Timestamps are automatically shown on the bottom left in Amped Replay. To render them over the video, go to Annotate, choose Text, and pick “Time” from the “Add Time and Name” list.
Surveillance videos are typically recorded by a Digital Video Recorder (DVR). A DVR is nothing but a computer dedicated to receiving video signals from connected cameras, converting them to digital, compressing and storing them. Like every computer, a DVR has an internal clock, and while recording videos, it writes down some date and time metadata (also known as “timestamp”), telling at which time each frame was captured.
As to how this “writing down” occurs, there’s enough to write a book about. Some DVRs will just literally “write over pixels” the date and time, which has the advantage that they will remain there regardless of how you export/acquire footage. But of course, you’re sacrificing the original pixel content there since they are replaced by the timestamp.
Most DVRs will, instead, write the timestamp separated from pixel data. Sometimes, they’ll be made available as a separate file, e.g., a .smi or .srt file. Alternatively, they will be saved inside the same file containing the video stream, according to some proprietary pattern. If you use the proprietary player, it will be able to decode and show the timestamps. However, if you want to import your video into a forensic video enhancement software, such as Amped Replay or Amped FIVE, these proprietary-encoded timestamps must be decoded.
Accessing date and time metadata
The good news is that Amped products assist you with decoding and displaying both kinds of timestamps! If you’re using Amped Replay, all you need to do is, as usual, drag the file into the software or open it from the Import tab (which we described recently). For example, let’s say you’re given this file here:
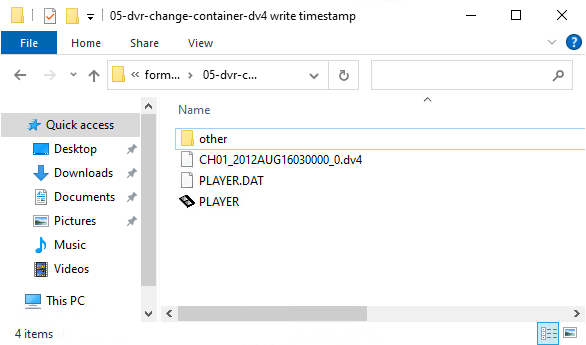
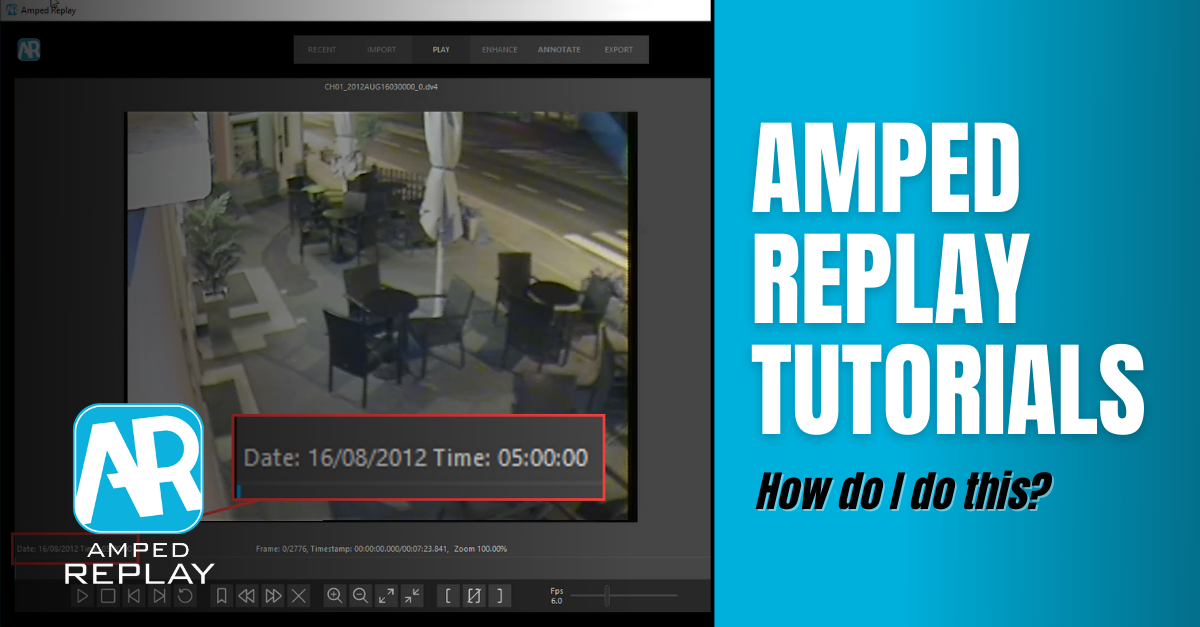
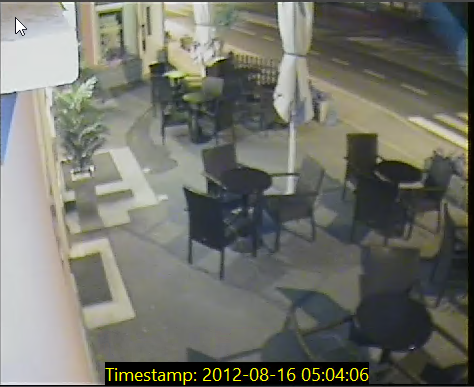
We drag the .dv4 file into Amped Replay, and in a moment we are shown this:

As you can see, the timestamp associated with each frame is made visible on the bottom left, and it will update when you play or skim through the video.
Showing date and time over frames
All of the above is great if you just need to know each frame’s timestamp, but you may also need to show the timestamp over the frame you need to export. Of course, Amped Replay is here to assist!
Let’s move to the Annotate tab and click on the Text tool.
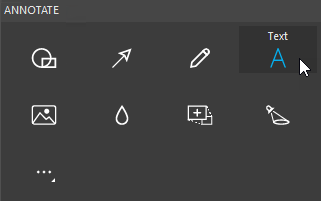
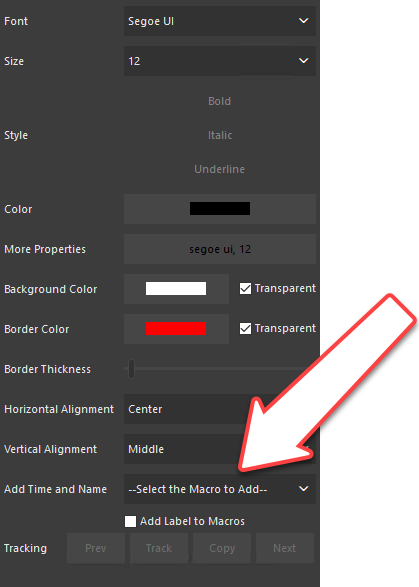
You can now check the pretty featured option list that appears below. In the bottom part of it, there’s a promising Add Time and Name dropdown list:
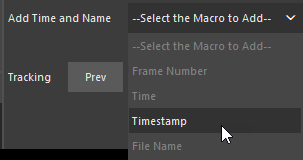
Just open the list and choose Timestamp.
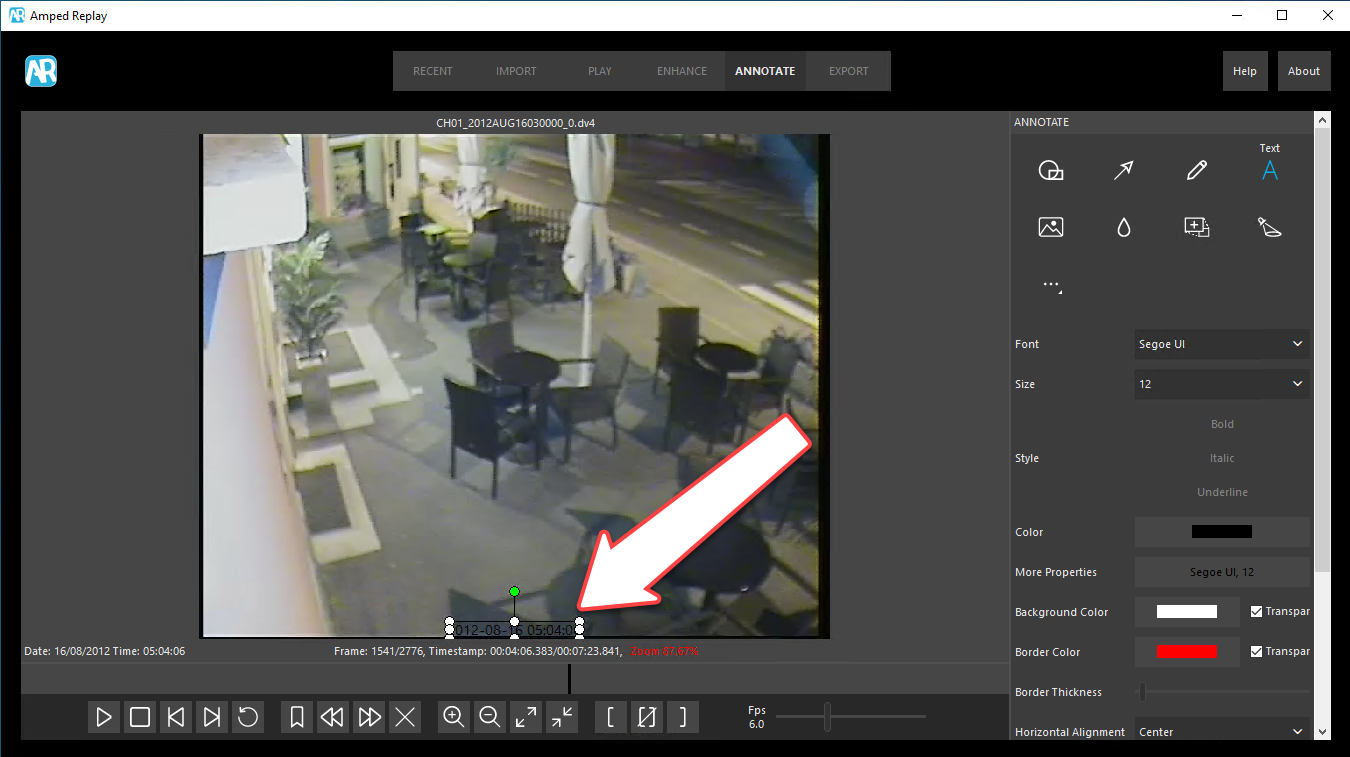
You’ll see that the timestamp gets printed on the screen automatically.
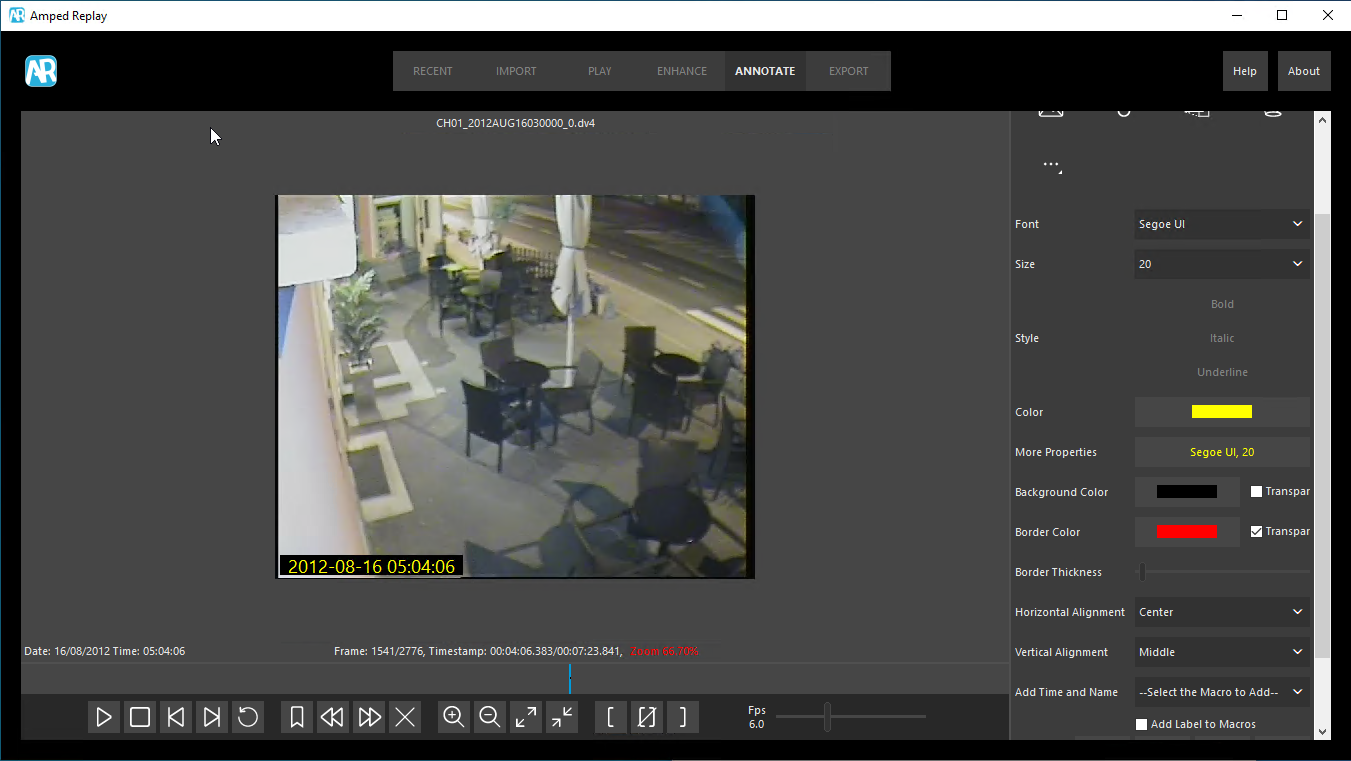
We can move it around and adjust the text settings to make it look better. My personal taste is yellow text on black background, and position it bottom left:
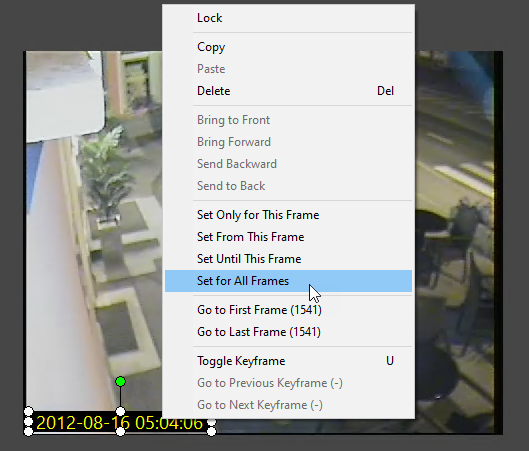
Once done, remember that you have to set the annotation to remain in all frames! Otherwise, by default, it is only applied to the current frame you’re working on. Just right-click on it and choose Set for all frames.
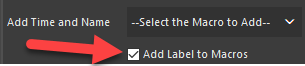
One final thing: you can add some custom text together with the actual timestamp. A prevalent choice would be to write “Timestamp:” followed by the timestamp. If that’s what you’d like, then you can save time by clicking on the Add Label to Macros checkbox before selecting the desired option from the dropdown list.
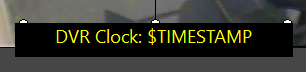
This way, you’ll get this when choosing Timestamp from the list:
However, you can double-click on the text and type in whatever you like. The timestamp placeholder will be clearly visible ($TIMESTAMP) and will turn to the actual timestamp value as soon as you finish editing (click out of the text box).
Just a final note: always keep in mind that timestamps, like all other metadata, should not be blindly trusted. What you’re showing is obviously what the DVR wrote. If the clock was wrong, you’d be showing the wrong time.
That’s all for today! We hope you’ve found this issue of the “Amped Replay Tutorials: How do I do this?” series interesting and useful! Stay tuned and don’t miss the next ones. You can also follow us on LinkedIn, YouTube, Twitter, and Facebook: we’ll post a link to every new tutorial so you won’t miss any!


