Dear Amped blog lovers, welcome to this week’s tip! Today we’re dedicating some room to a very simple yet powerful tool in Amped Replay, namely the Light filter. We’ll see that it actually embeds two distinct processing algorithms, and we’ll guide you to a full understanding of what’s under the hood. So, keep reading to find out!
One of the most common issues affecting CCTV videos is poor contrast or exposure. Especially for video captured at night, everything is often very dark, and we need to improve the light to get a minimum understanding of what’s going on. In some other cases, a subject is sitting inside a car and the window reflection makes their face almost invisible, calling for some processing to see “through the glass”.
Since these problems are very common, Amped Replay has a filter to tackle them: the Light filter. Although very simple from an image processing point of view, this filter often has a great “wow-power”, meaning that it turns the invisible to visible… as in the example below.
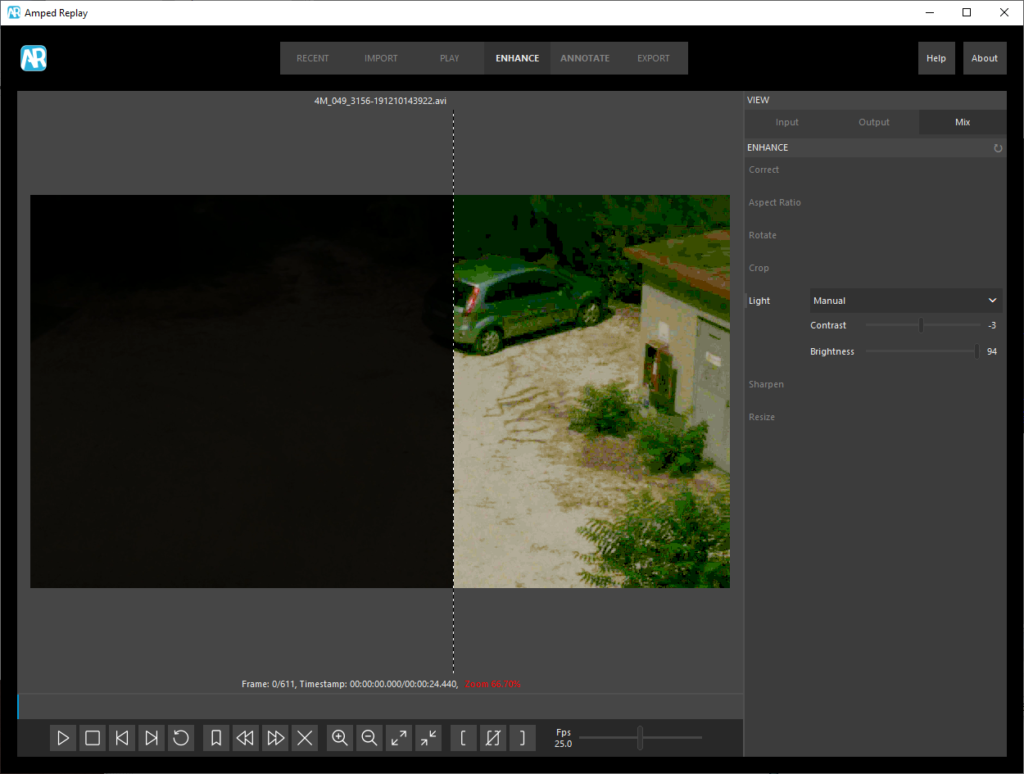
Looking again at the picture, we see that we had a very dark, but luckily not black-saturated video (shown in the left part of the viewer), that has been processed using the Light filter set to Manual mode. We increased the Brightness parameter quite a bit. Indeed, that’s what we needed: raise the brightness to make things visible, then we may adjust the contrast as a secondary step.
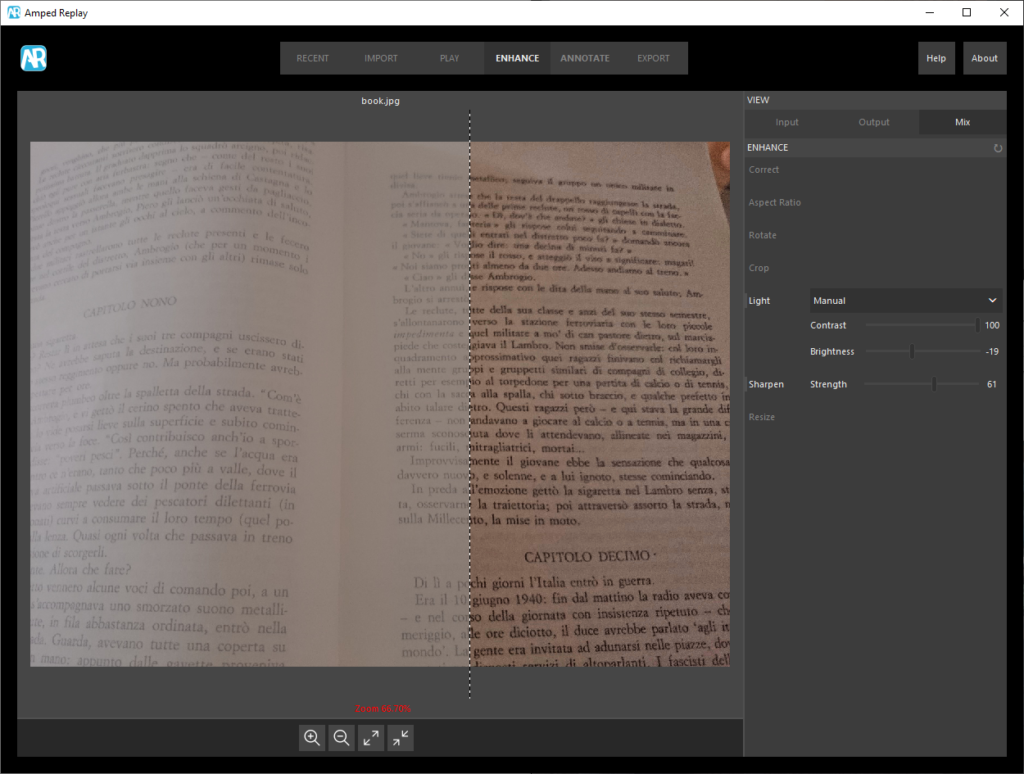
There are other cases where it’s the contrast that needs some help, as in the example below, where we’d love to make the text more readable.
Then there are cases where we need to remove some kind of “fog” from the scene. It does not necessarily have to be “atmospherical” fog, we just mean something that uniformly covers the pixels of interest like a veil. Let’s take this example: we’re asked to enhance the drawing on the vehicle’s window screen, as it could help to identify a vehicle.
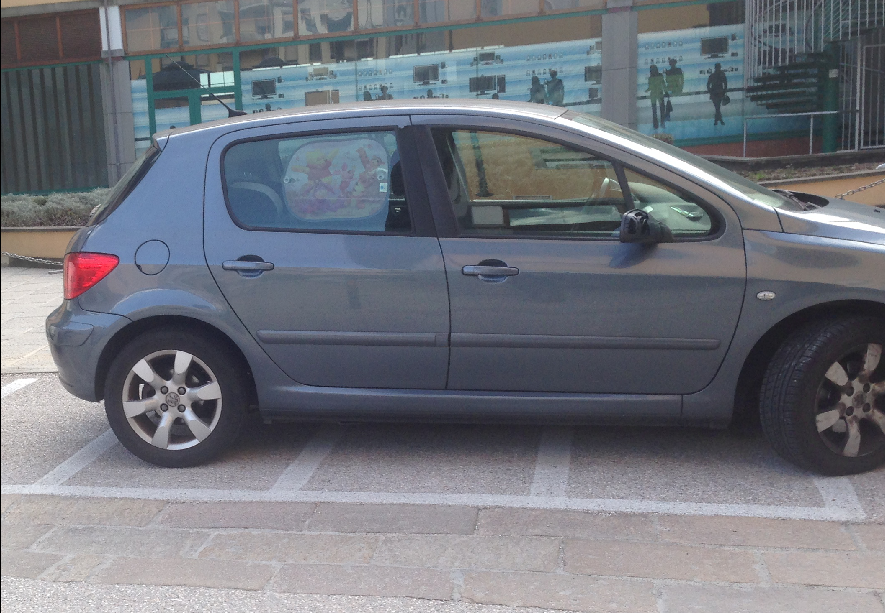
If we open the image in Amped Replay and head to the Light filter, we’ll realize that the Auto mode does an excellent job, and combining it with the Sharpen tool, provides us with the nice improvement shown below.
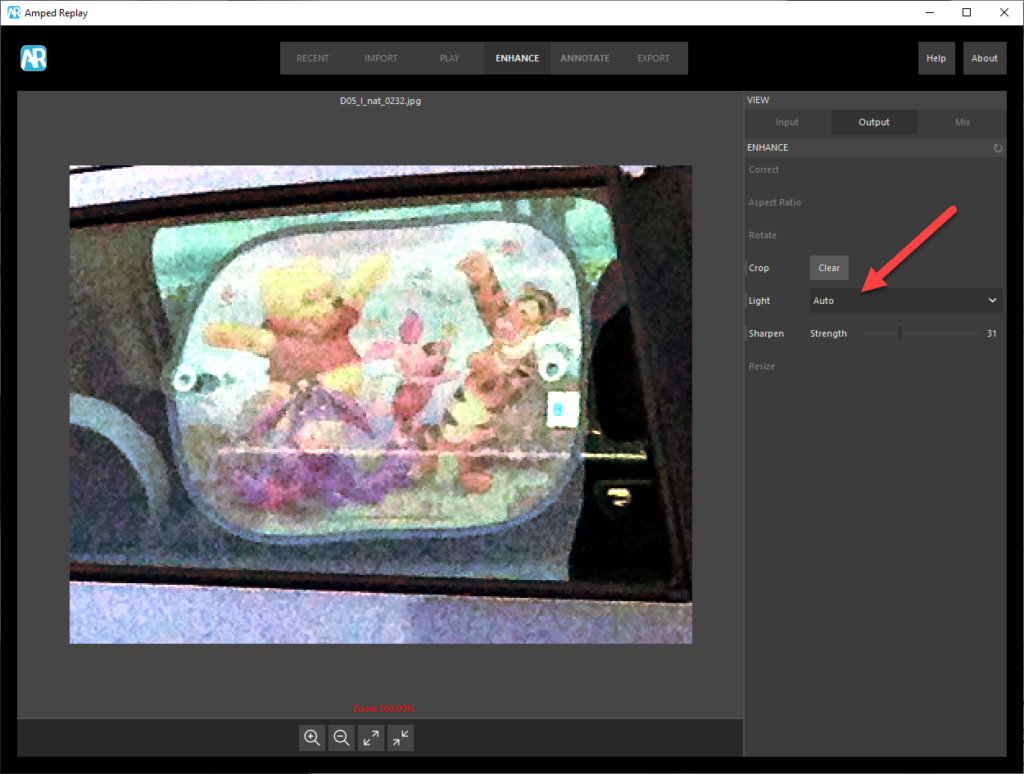
It is quite common during training to see students trying to replicate, with the Manual version of the filter, the result they obtained in Auto mode. They rapidly realize that there is commonly no way to obtain the same kind of improvement using the Manual version of the filter, no matter how they set the Brightness and Contrast parameters. Why is that?
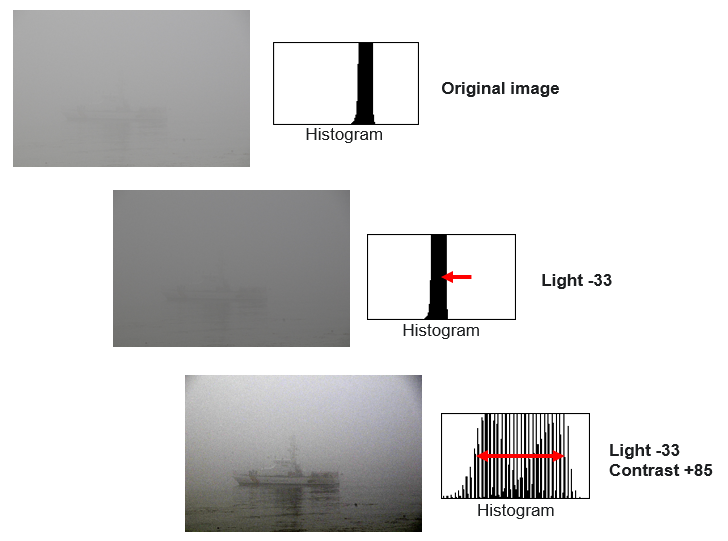
The reason is that the Auto and Manual modes are not based on the same algorithm. When you set the Light filter to use the Manual mode, you are allowed to adjust the brightness, which means shifting the image histogram towards higher values (when you set the Brightness to positive values) or lower values (setting to negative values); moreover, you are also allowed to adjust the Contrast, which means, stretching the histogram so to cover a wider range of values. The figure below hopefully clarifies the concept.
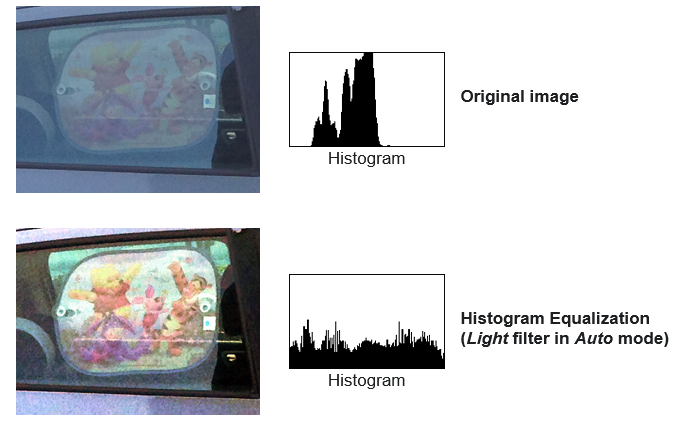
When you set the filter to Auto, it automatically applies histogram equalization, which basically means that the histogram is “flattened” so to uniformly cover the whole range of available levels.
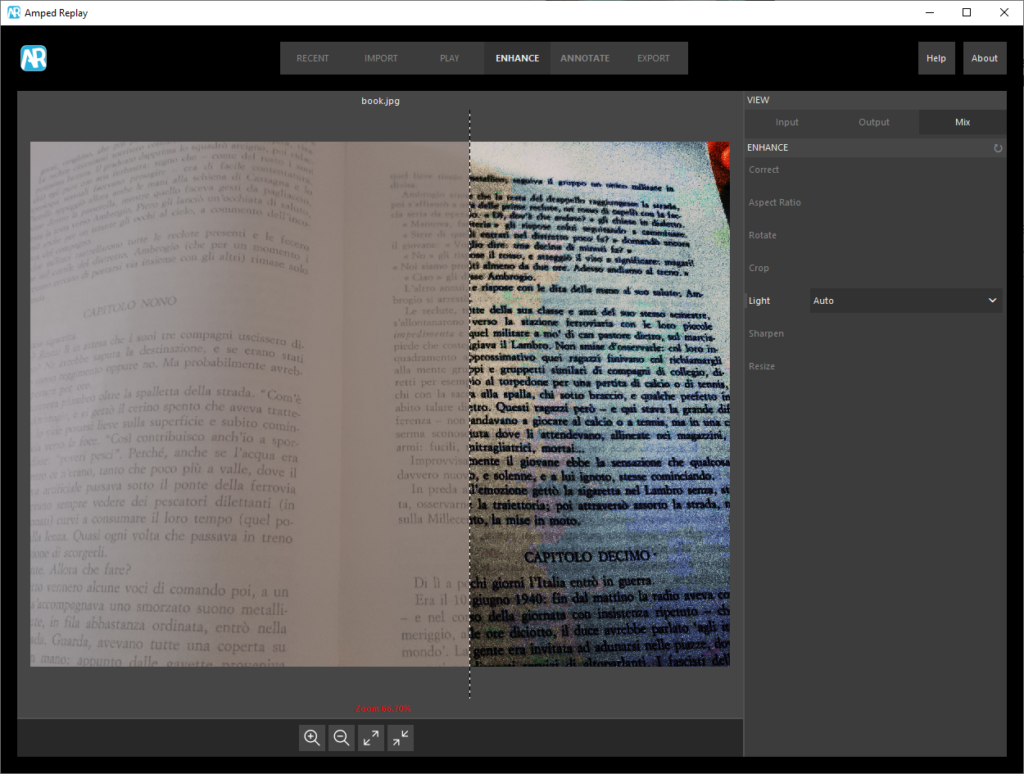
Since the Light filter is an enhancement filter, it makes sense to tune it based on your perceived enhancement. And since the Auto version of the filter takes less than one second to produce its result, we normally recommend checking whether that version of the filter is already enough to meet your needs. If you find the result unsatisfactory, or perhaps too aggressive, you can switch to the Manual mode and tune the brightness and contrast. For example, if we had used the Auto mode in the example with the book we’ve seen above, we’d probably concluded the processing was too aggressive:
