
Welcome, dear Amped blog maniacs! Digital image forensics people have a bittersweet relationship with metadata. We love them… but can we trust them? Today’s tip is about how you can cross-check Exif information about the camera model that allegedly created your evidence image. We’ll see that Amped Authenticate‘s JPEG Quantization Tables is a great resource for that, making your integrity verification far more reliable. Keep reading to find out more.
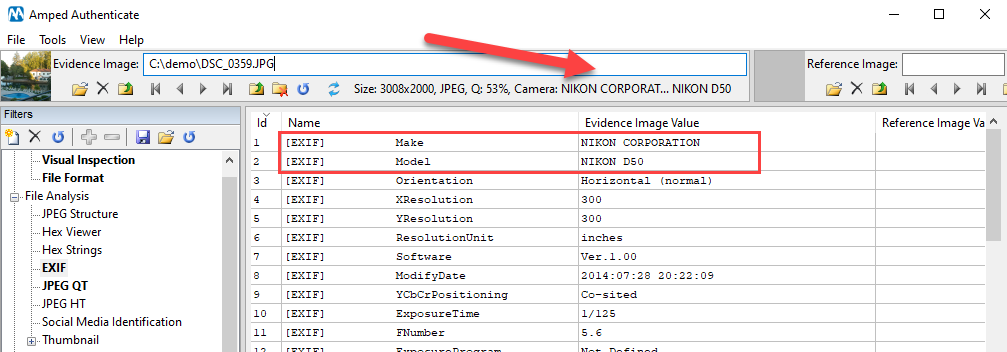
If you know a bit about JPEG compression, or you have attended our Amped Authenticate training (there are some upcoming ones in the US and Italy!!! check here!), then you know that JPEG Quantization Tables are a great resource for digital image integrity analysis. When you’re doing integrity analysis, one of the first questions you ask yourself is: “which device model was used to capture this image?”. Normally, it doesn’t take much to reach the first answer, since most devices today write their brand and model straight in the image metadata, as you can read in the Exif filter. Not only: when this information is available, Authenticate will also read it and show it in the top bar for your convenience (red arrow below).
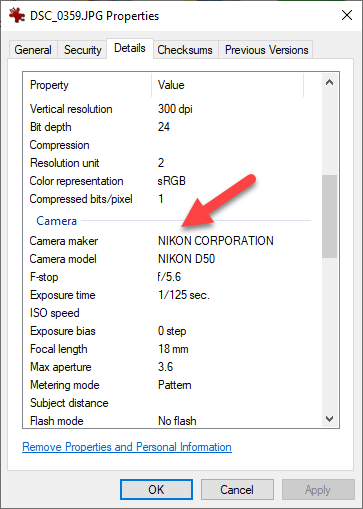
Exif metadata are nice, but they do have a drawback: they can be easily altered. The Make and Model metadata, coincidentally, are probably the easiest to alter. If you’re a Windows user, the simple File Explorer is enough: right-click on your image file, click on Properties, then go to the Details tab and… there they are!
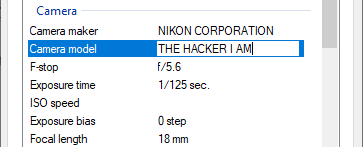
The forensic man in you will shiver with terror realizing that those fields in the property tab are… editable!
That is to say: metadata shouldn’t be your single point of truth. And so? Don’t worry, we have good news! When saving an image, cameras leave many other “less intentional” signatures. Among these, there’s one that is quite distinctive, easy to understand, and hard to edit: the JPEG Quantization Table (often abbreviated in JPEG QT). Without going into too much detail, a JPEG QT is an 8-by-8 matrix of integer values used during JPEG compression, and it’s written in the file header because it’s necessary to reconstruct the file (decompress).
Contrarily to what happens with metadata, it’s not trivial at all to change the JPEG QT of an image file without recompressing it from scratch. And even if you recompress, you’ll hardly be able to use a quantization table of your choice, since most software and cameras will only allow you to pick a “quality factor” from a list, and will then implicitly map it to one of the internal JPEG QT they have (actually, each image normally contains two or more QTs, one used for the luminance and the rest for colors. And if the image contains a thumbnail, that will also have its JPEG QTs. Here we limit to consider the main image luminance QT for simplicity).
Now, the very nice fact is that despite the JPEG Standard provides a suggested set of quantization tables, most camera producers created their own tables, and they often use different tables for different camera models of their brand. This is the reason why JPEG QTs are considered a real asset in source camera model verification. You can check whether the JPEG QTs of your evidence image are compatible with those used by the camera model declared in Exif metadata. Of course, to do so you need a database where JPEG QTs are linked to the compatible camera models.
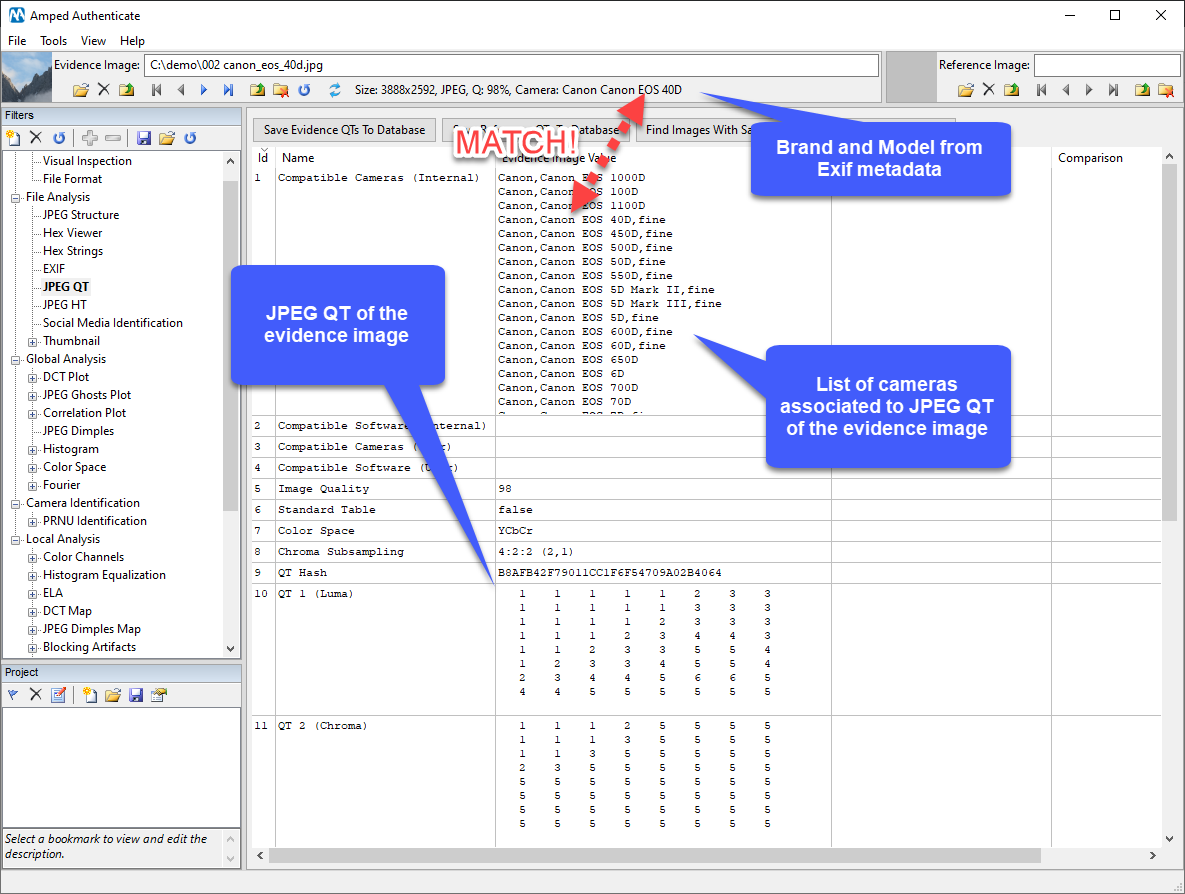
We love to give you good news, and here’s another one: when you get Amped Authenticate, you’re also getting a huge database of 14.000+ quantization tables associated with the compatible camera brand and model. Just click on the JPEG QT filter, and Authenticate will automatically list all the cameras in the database that are compatible with your image’s QT.
In the example below, we see that the image QT is compatible with a lot of Canon cameras, among which there’s the one declared in the Exif metadata!
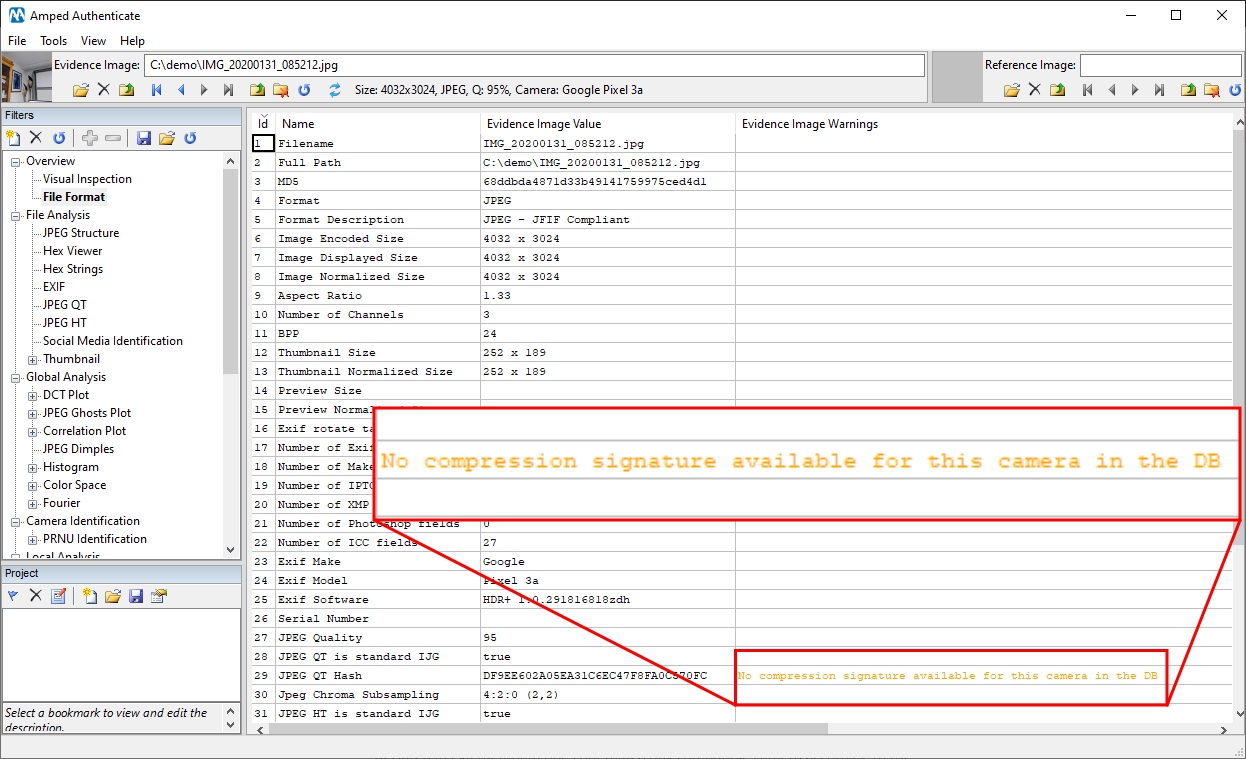
Since this cross-check is very important, Authenticate does it for you automatically. When you click on the File Format filter, there’s a line dedicated to warn you when:
- The camera model declared in Exif metadata is not present in Authenticate’s database;
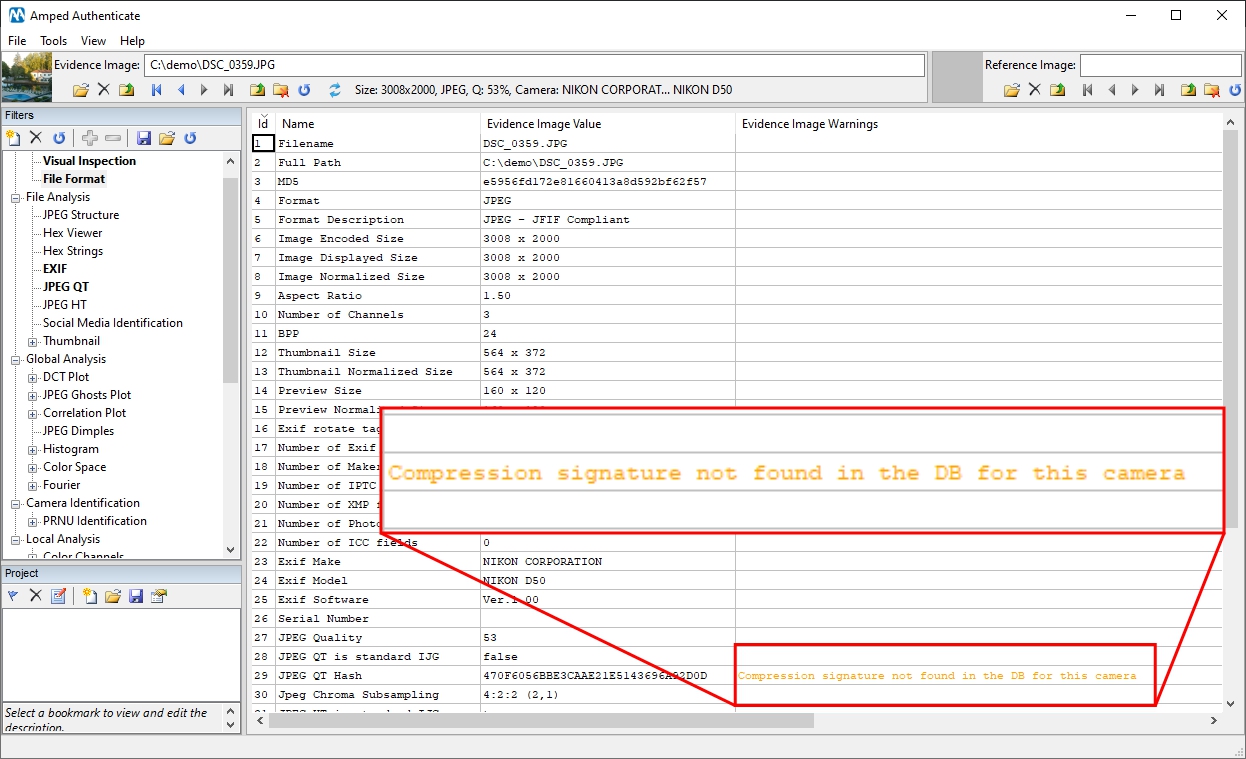
- The camera model declared in your image’s Exif metadata is present in the database, but is not associated with your image’s JPEG QT.
In both cases, we recommend that you obtain reference images to compare with. For example, with Authenticate you can quickly search the web for other images from the same camera model (here’s a tip about that).
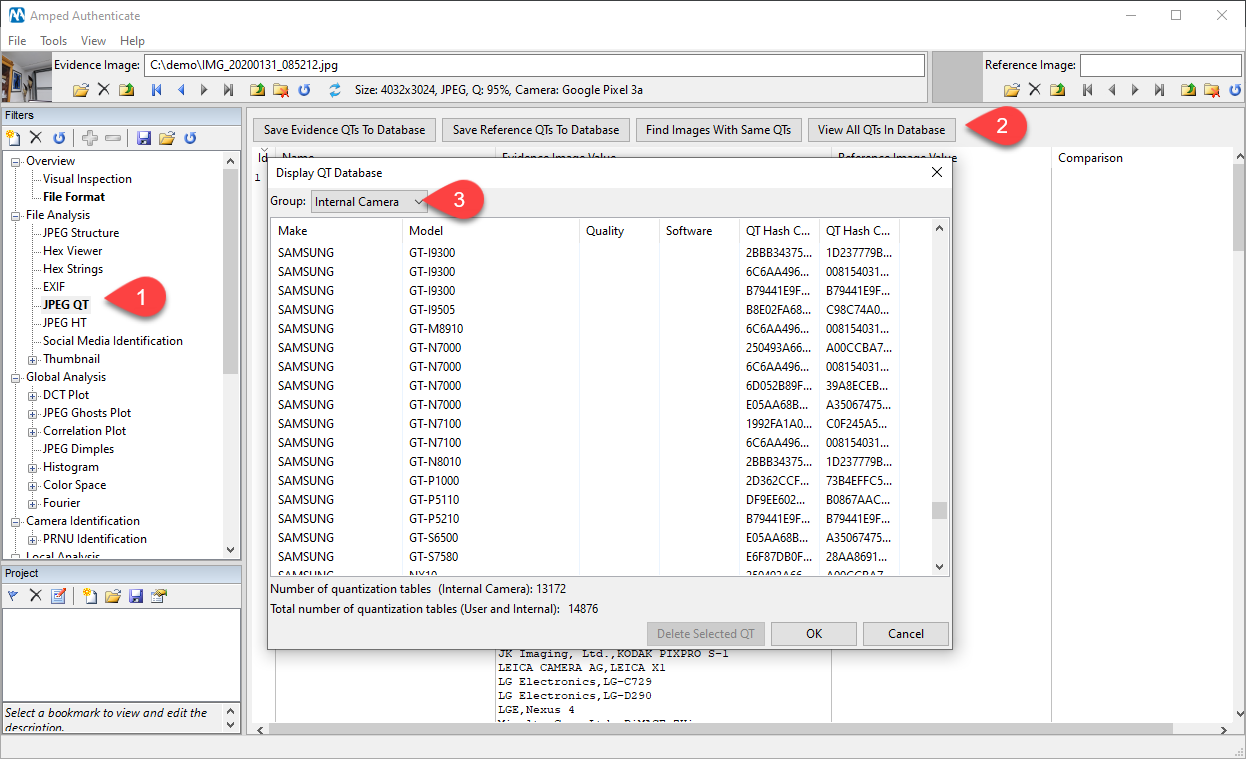
If you need to check whether a specific camera model is present in the Amped Authenticate JPEG QT database, just head to the JPEG QT filter and click on the View All QTs in Database button. A window pops up, where you want to choose Internal camera from the Group dropdown menu. Entries are sorted by Make and then by Model.
We note once more that, while Exif metadata is just text written in your image file header, JPEG QTs are stored differently and can hardly be altered. Thus, if you can cross-check brand and model info obtained through Exif and JPEG QT, that’s a great added value to your integrity verification.


