
You may remember the announcement of our partnership with Griffeye, some months ago. This partnership is especially interesting since we both work on images and videos, but in a different, yet complementary way. Griffeye focuses on finding the needle in a haystack, while Amped focuses on sharpening the needle and verifying it is actually a needle and not a stick.
In the latest release of Griffeye Analyze, the Amped FIVE plugin has been added to the Analyze Forensic Market, but in the near future we plan to also add apps for Amped Authenticate and Amped DVRConv. In this post, we will show you how to start with the integration and how the two software work together.
First of all, we assume that you have installed Amped FIVE (build 9010 or later) and Griffeye Analyze (17.1.0 or later) on the same machine.
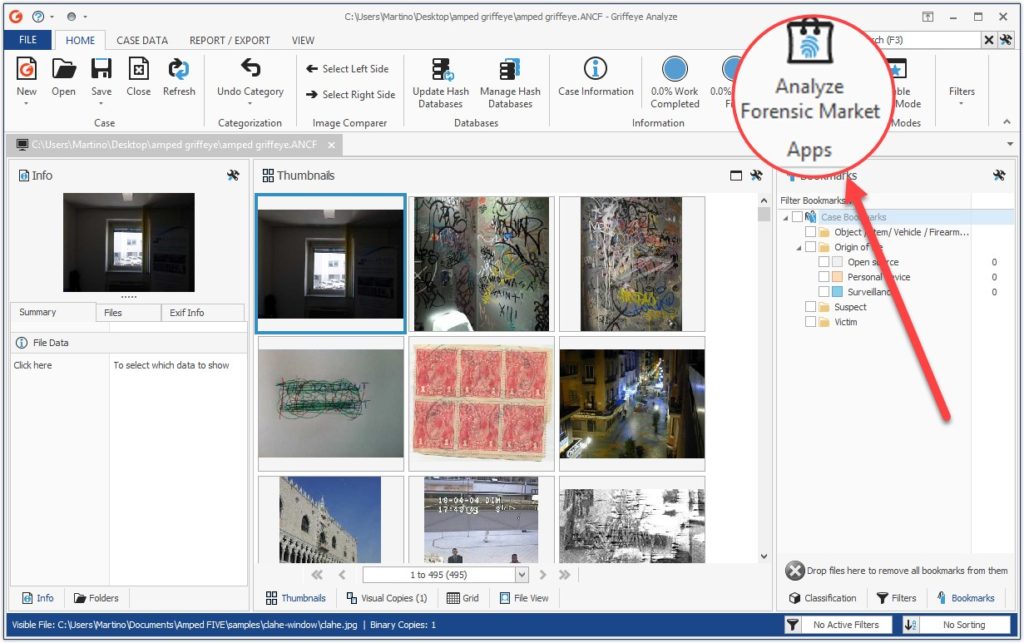
In order to enable the integration, you need to click on the button “Analyze Forensic Market”.
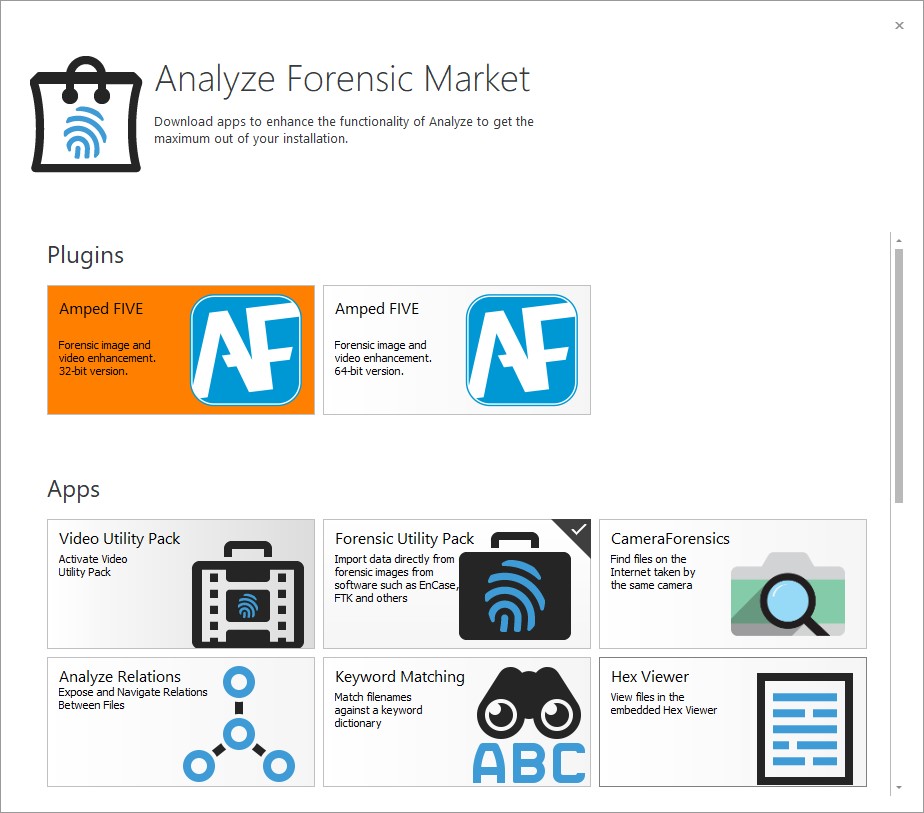
Then from the Market window you will see the Amped FIVE Plugins for 32 and 64-bit versions. We suggest you enable both plugins. Amped FIVE is normally installed in both versions since the 64-bit allows you to better exploit the system resources but the 32-bit allows for compatibility with some legacy codecs for video which are not available on 64-bit systems.
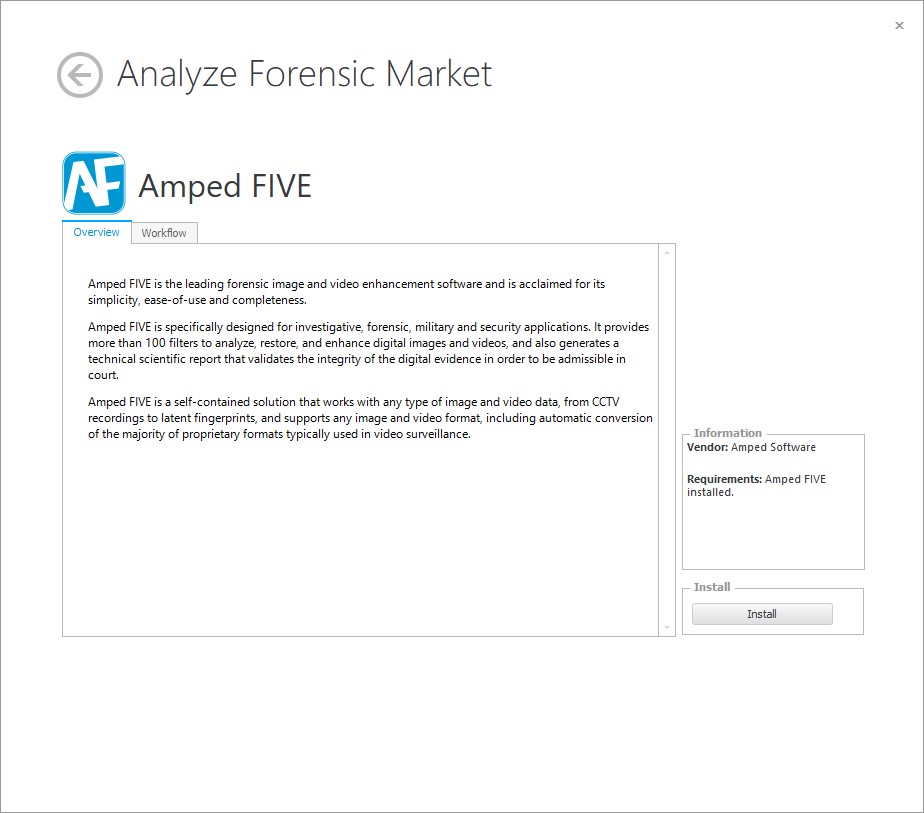
To install the plugin for Amped FIVE 32-bit, click on the first button. The following dialog will appear, with an overview of the integration.
Clicking on the “Workflow” tab gives you some additional information.
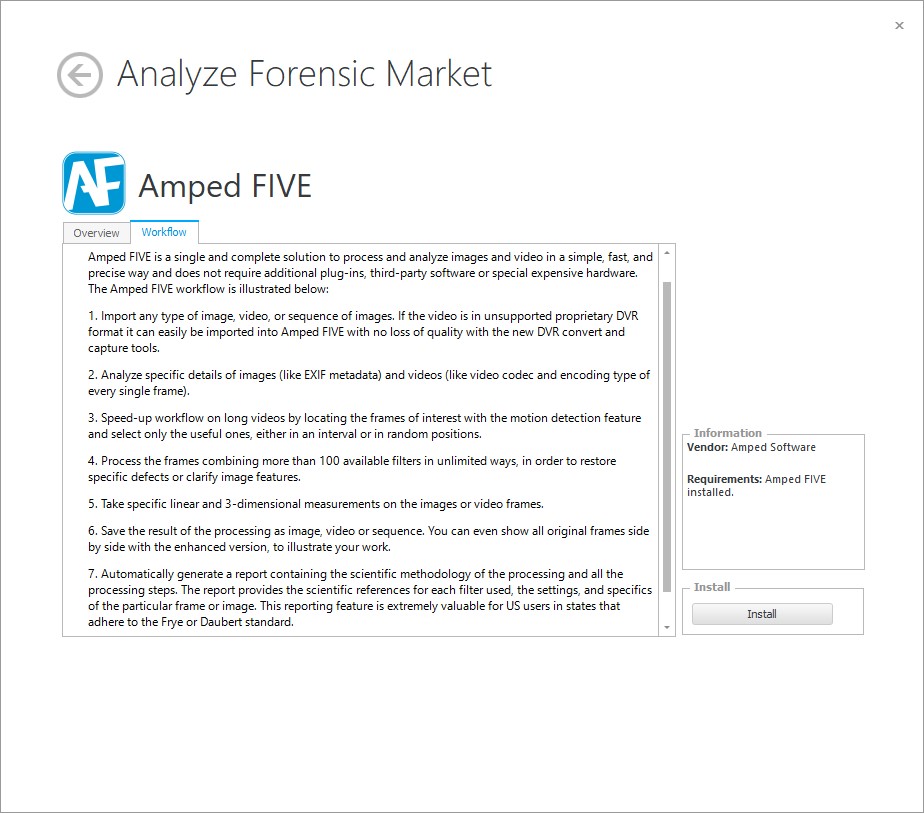
Just click on the “Install” to install the plugin. Repeat it for 64-bit and you are good to go. Quick and easy!
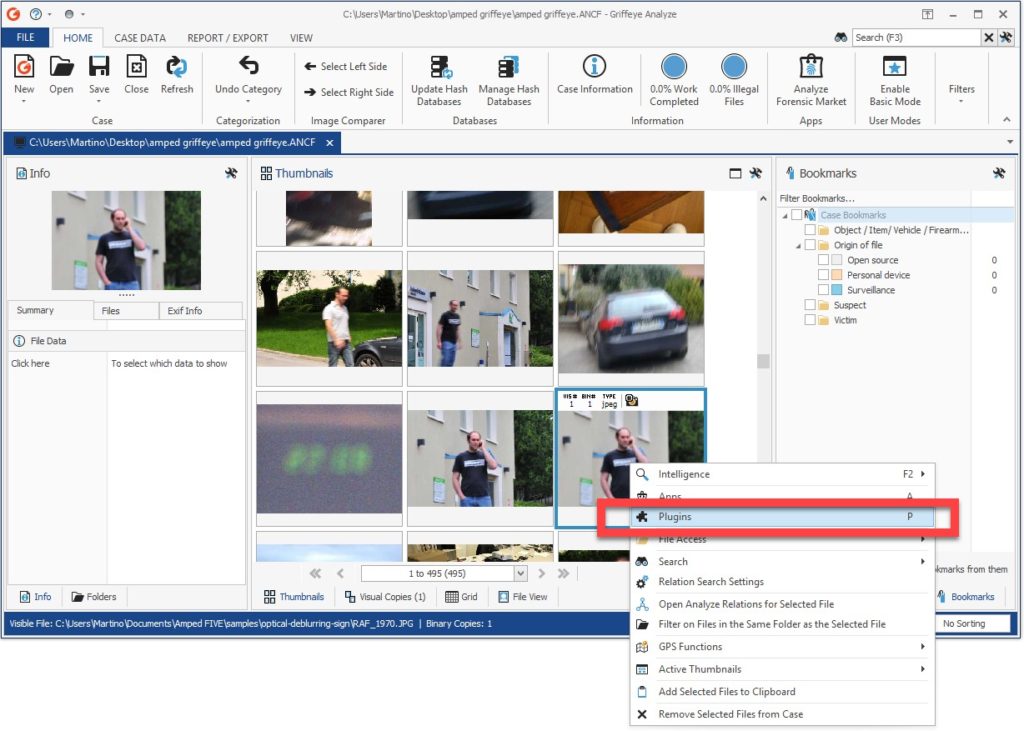
You can now go back and search for the images you want to analyze and enhance in Amped FIVE. Once you have found the media of interest (either an image or a video file) right click on it and select “Plugins” or simply hit the button “P”.
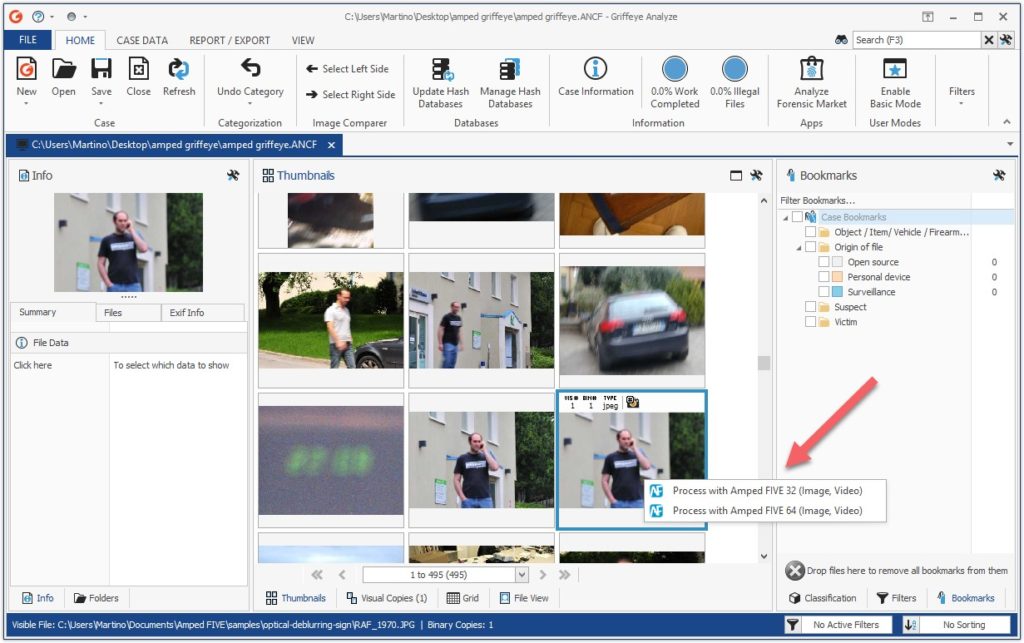
Now, you can choose to open the image with Amped FIVE 32 or 64-bit. Clicking on “Process with Amped FIVE 32” will open the selected file into Amped FIVE.
Below is the image of interest in Amped FIVE.
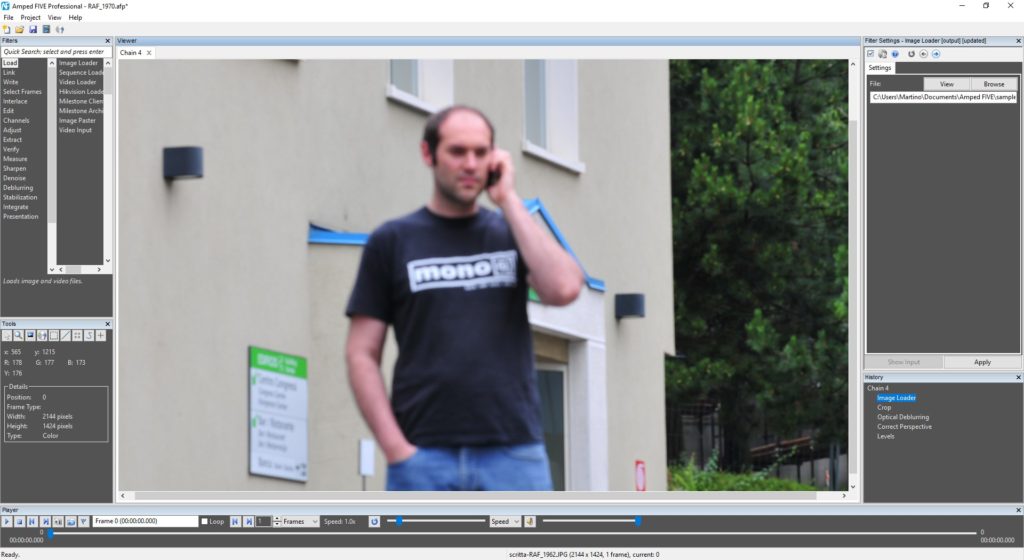
In this example, we want to be able to read the sign behind the subject to identify the location.
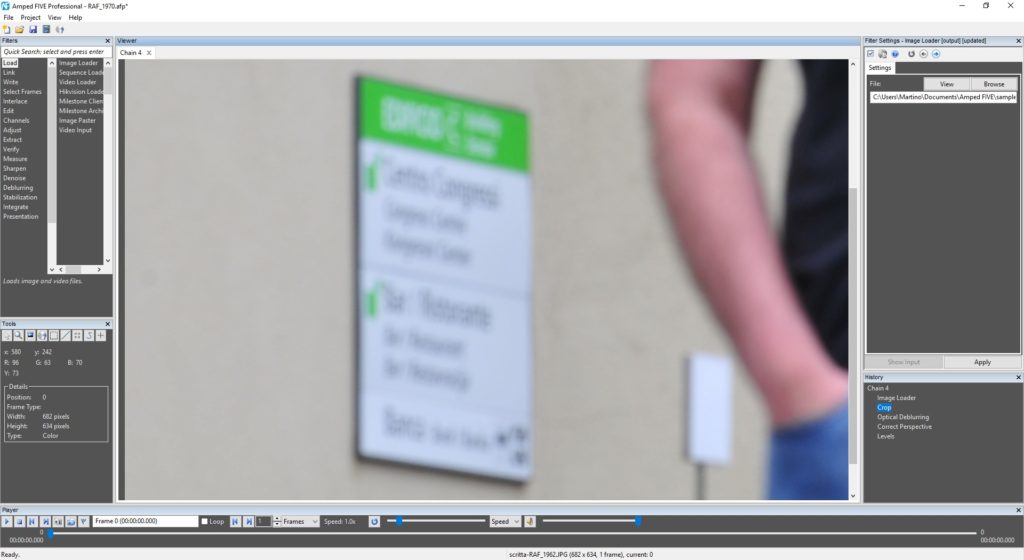
With some deblurring and perspective correction, the sign is now readable.
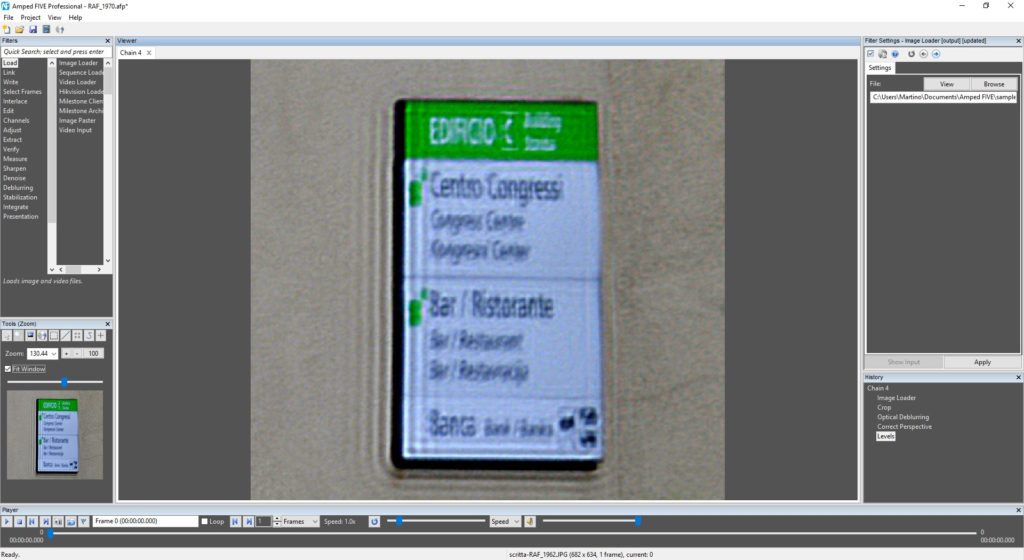
The sign is written in Italian, English and Slovenian…it’s a building with a Congress Center, a Bar / Restaurant and a Bank… and it’s very close to Amped Software HQ…
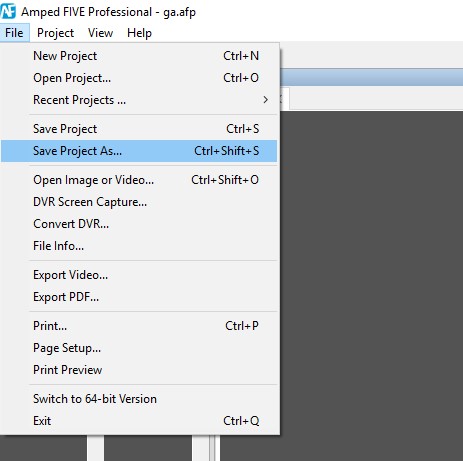
Now, let’s save the project and close the software.
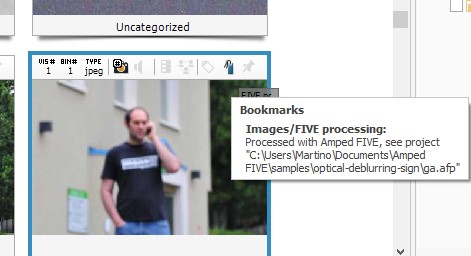
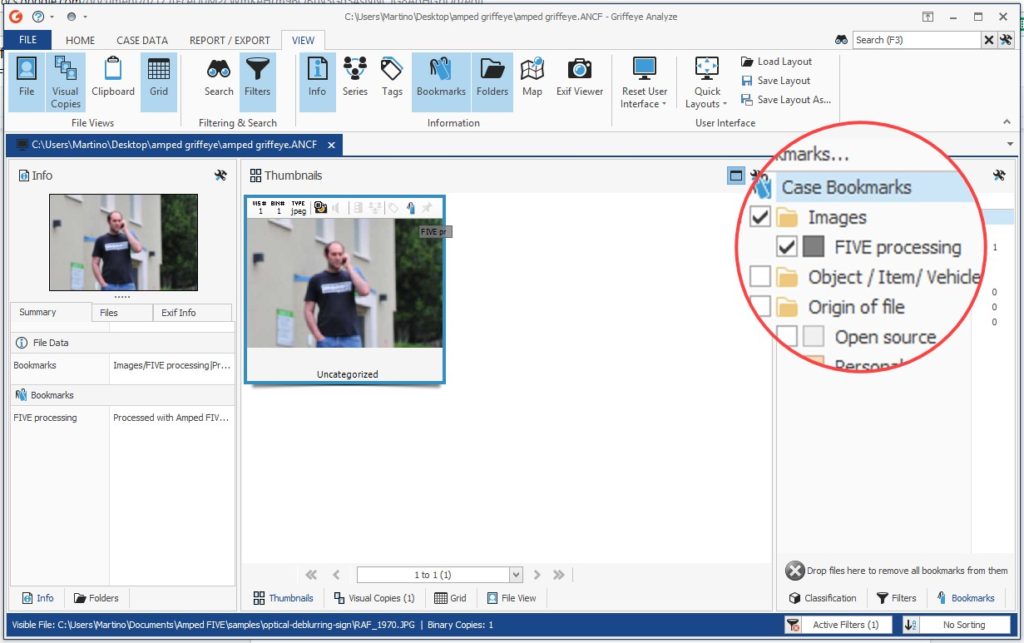
If you go back to Griffeye Analyze, you will see in the thumbnail view that a bookmark named “FIVE Processing” (shortened “FIVE pr”) is visible.
If you hover over the bookmark icon, you will see the path of the Amped FIVE Project file. This means that the next time you launch the command “Process with Amped FIVE” you will continue working on the same project instead of only looking at the original image.
Note that in order to view this data in the thumbnail you must have enabled “Appearance” > “Show Information Bar on Thumbnails”.
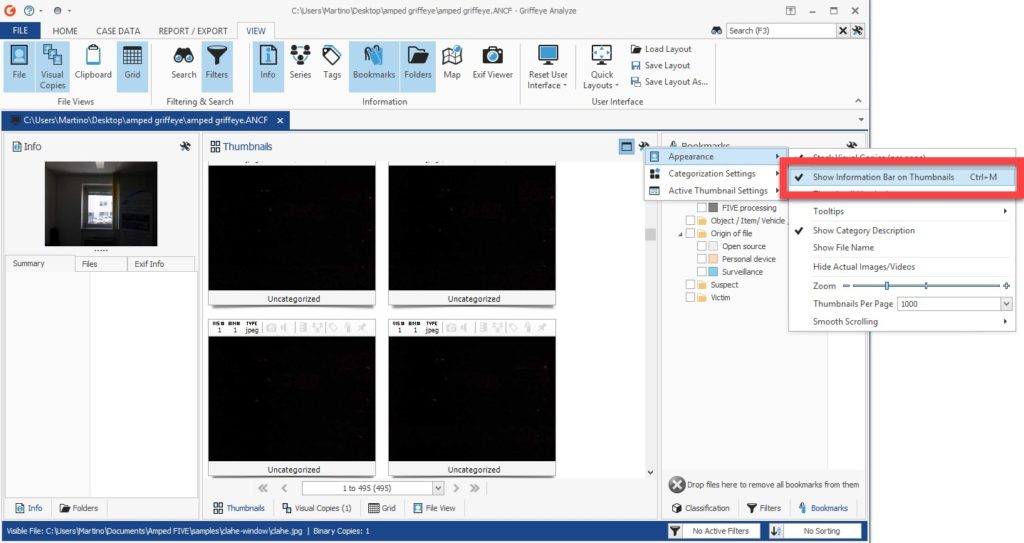
You can also do other cool things with bookmarks, for example filtering the images to show only images processed with Amped FIVE.
In this introduction, we have just seen how easy and quick it is to work with Amped FIVE and Griffeye Analyze together.
Stay tuned for more!


