
This latest post within the CCTV Acquisition series brings us to CCTV Device Removal and Replacement. We will look at the considerations for both and highlight some possible issues.
In the last post, we dived into networking and examined how to acquire video evidence via network access. Networking is often conducted within the Forensic Video Unit after a device has been removed from a location. A DVR can sit noisily in a workroom, whilst an investigator slowly acquires footage back at their desk. Let us first look then at the removal process.
In several recent posts in this series, we have emphasized the importance of competency and care when handling and acquiring data from CCTV devices. These are again vital when considering the removal of a working, live device.
As we discussed in the navigating a CCTV device post, some initial considerations exist.
What are the priorities and parameters for the investigation?
If you know that part of the footage relates to an incident, but you are also required to acquire all of the video data for other purposes, then should you consider conducting a backup of the incident before powering down the device?
In this case, the backup could be a non-native version of the evidential data. An example could be a quick recording of the incident captured directly into Amped FIVE using the Video Input filter as described here.
Why complete a backup?
Hard Disk Drives (HDD) get hot. They can get very hot, especially with insufficient cooling, broken fans and age. When a device is powered down, the metal of a HDD contracts and the air inside the device changes. Consequently, when you attempt to power back up the device, the drive fails. Always think of the what-ifs!
We will look at other backups after the removal of the device.
Physical Access
This is a continuing theme in our posts, but when removing a device, you will need to have some space. Cables are often cut to length and, as such, there may not be much room for a device to move.
Electrical safety and your access safety must be considered. Trying to feel your way around behind a poorly wired electrical device whilst balancing on 3 boxes may not be in your best interests (Author has witnessed such an event, and it did not end well!).
Date and Time
Every access of a CCTV device necessitates a date and time offset check. We discussed this in previous posts and it is again vital before powering down a DVR or NVR.
The timing is often controlled by a timing chip within the device. This retains its time reference even when powered down, thanks to a small battery.
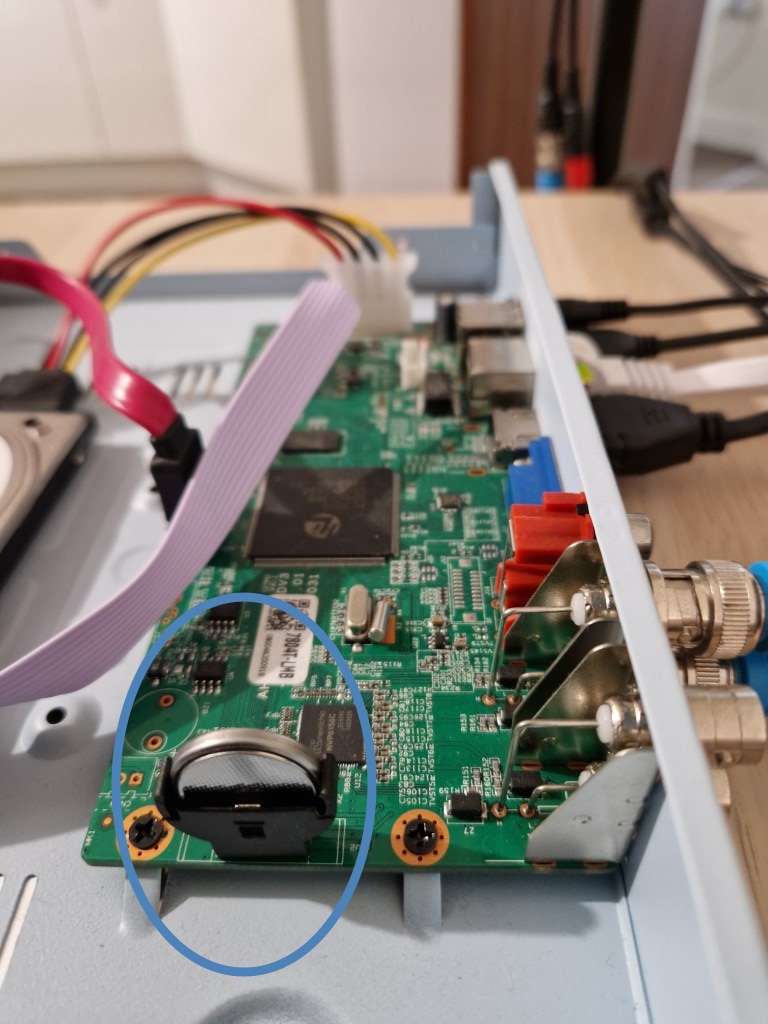
But these batteries do need changing every few years. If a device is powered down, and cannot retain this reference, then many date and time systems will fail after being turned back on again. The result is that the indexing system will start at that point. It may not be able to detect anything previously recorded. More modern systems have overcome these issues by storing an actual date and time rather than a simple link to an index. However, it is something to be mindful of.
Another commonly found problem is that if the batteries are low, the offset will change after powering back up. The result is that you may have had a 90-minute difference when the system was powered down. However, upon booting back up again, the offset is much higher.
After the completion of the necessary date and time offset check, any incident backup, and the safety assessment, it will be time to power off. There are now two possibilities for this.
System Shutdown
This is the safest way to power off a recording device. It stops any recording, finalizes any file writing and ensures that the indexes are complete. However, how and when the system overwrites must be considered.
Most systems overwrite when the HDD is full in a “First in, First Out” (FIFO) method. Some though can remove files after a certain period, such as removing all files recorded from camera 10 after 2 weeks, but keep other cameras for longer. If you come across such a system, changing the settings to avoid deletion may avoid them from disappearing from the index after a re-start.
Most system menus will have the option to shut down.
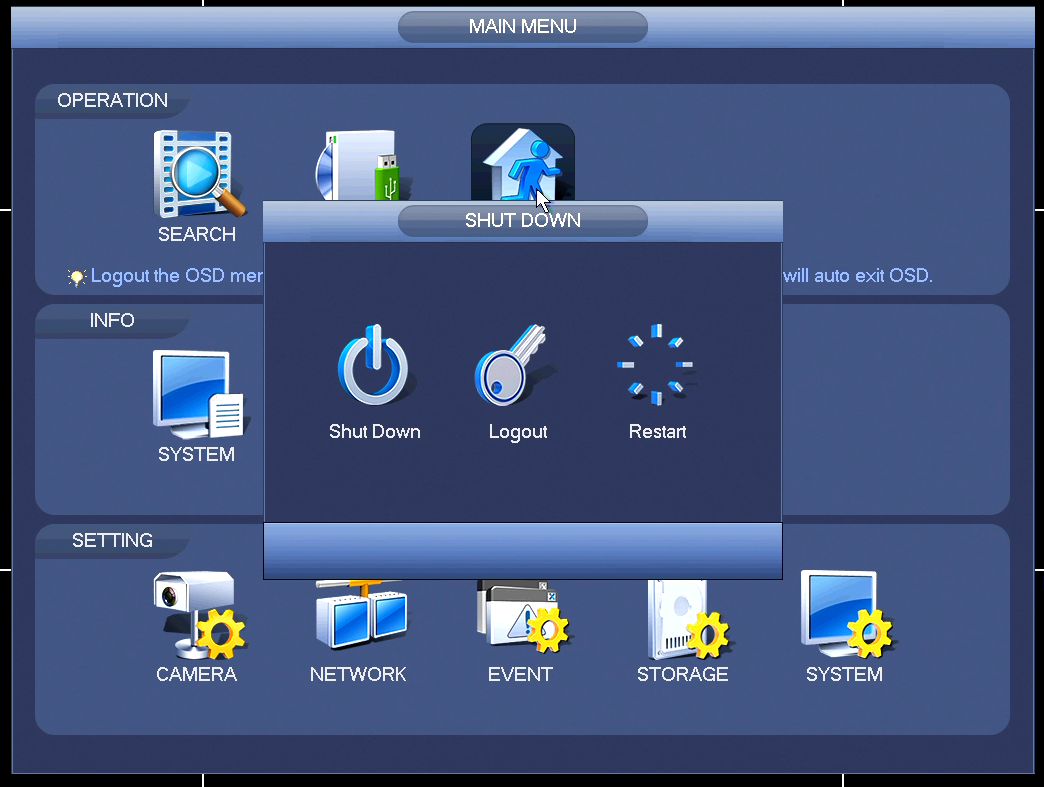
You may find that after selecting this, the cameras stay on, and it doesn’t turn off. In these cases, it is common to get a new message on the screen that says the system can be safely shutdown.
There may be on-screen recording icons that then disappear, or they change to have a line through them, indicating that they are not recording. At this point, when safe to do so, the power cable can be disconnected.
Hard Shutdown
You may not be able to access the device or there may not be any method to shut down using the menu. In these cases, you may just have to pull the plug. It does come with risks, however, and the most common is a corrupted index. You may also find that the last files or recordings are not decodable.
Cable Disconnection
Most cables are fairly obvious behind a DVR or NVR. Nevertheless, the cables bringing in the video and audio may all look the same. Therefore it is advisable to number each one, enabling the identification of cable to camera number. Add some white electrical tape to your kit. Placing tape on a cable and then writing the camera number on it will mean that everything can be wrired back up the same at a later date.
HDD backup
We have already talked about creating a backup of an incident before device removal. However, what about a backup of the HDD whilst it is still warm?
In the next post, we will be conducting an open-box acquisition using the internal HDD. We will look further at creating a digital image or a clone of this HDD during that article.
It may be possible to simply remove the internal HDD and either seize that or, create a clone of it. Nonetheless, the data may not be easily readable. Remember, most are not standard partitions, with standard file-based structures. Again, we will look more at this in subsequent posts.
You may though consider creating a clone or a digital image immediately whilst on the scene as a backup, especially with very old IDE drives. This may avoid you from having to heat the HDD at a later time after it fails to boot. And yes, we have resorted to a blow torch for this in the past!
The device is now ready to be removed from the scene but remember the power supply. Many small devices have unique power plugs and transformers converting to specific power values.
CCTV Device Replacement
In many circumstances, there is a requirement to replace the device removed with another, temporary, recording device. We will look at acquisition equipment later in the series, but there are some important considerations here.
Whilst it is not always possible to replace like-for-like, placing in a temporary device of considerably worse image fidelity, or one with lower camera inputs, may not be entirely appropriate. Having a small selection of generic, reasonable-quality, devices will make the process a lot simpler.
Local Standard Operating Procedures (SOPs) will dictate the maximum length of time that the device should be kept, whilst the data is being recovered from it. It is often around 4 weeks. After that time, the device’s video should have been viewed and/or correctly acquired as evidence.
When fitting a new device, it is good practice to keep the same camera view and camera number as the original. This ensures that owners see a very similar view when monitoring and minimizes the disruption caused upon them. Once installed, and booted up, ensure that all the camera views are correct and it is recording.
The procedures we have gone through for the removal and replacement of a CCTV device are only valid when matched with your competency, and the equipment you have available.
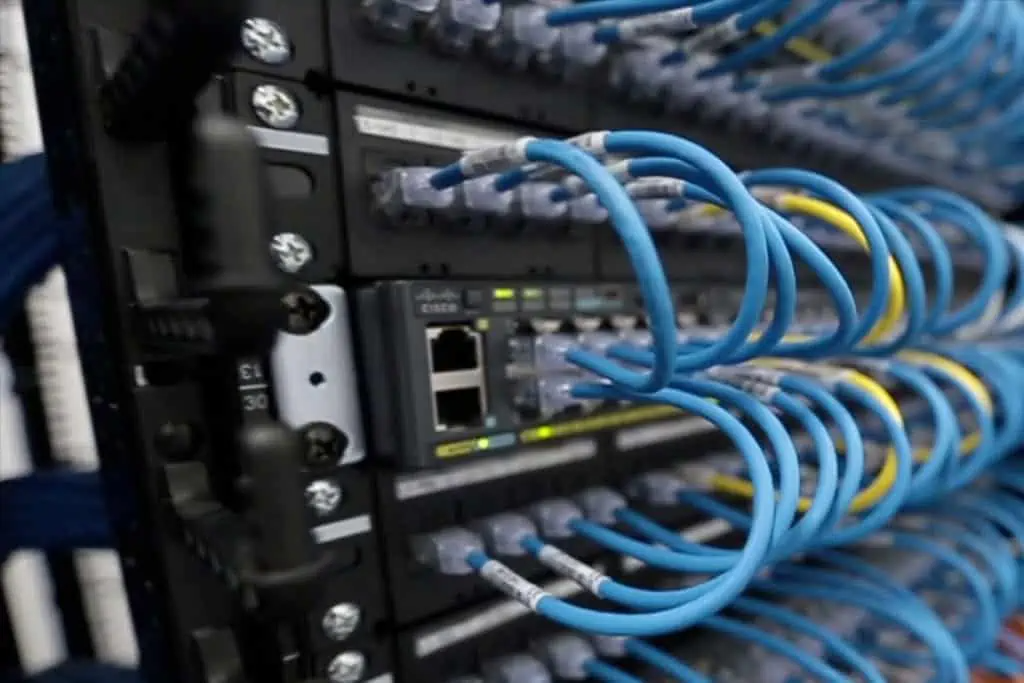
If greeted by a huge wall of NVRs and patch cabling for hundreds of cameras, it is quite likely that the premises will have a security contract. If all of the video data is required, then a discussion with them and the owners may provide a simple and speedy solution.
Conclusion
CCTV device removal is not as simple as just pulling the plug and taking a device into evidence. If not completed correctly, your life will be made much harder, and you may even lose evidence. Taking the time to conduct the removal correctly, will ensure that evidential data is not lost and equipment is returned quickly to its owner.
As detailed earlier, in the next post we will look more at the internal data held on the DVR and will conduct a recovery direct from it. In a later post, we will also look at viewing the CCTV from a removed DVR to identify the required video evidence.
We hope you are enjoying the series so far. Remember to sign up to our social channels to ensure you don’t miss out on more help and guidance on CCTV acquisition and investigation.


