
More and more officers and detectives are using Amped Replay, the enhanced video player for policing, within their everyday duties. With immediate decoding of proprietary CCTV, quick and simple enhancements based on forensic methods, and full annotation and marking capabilities designed specifically for use within a legal setting, it is easy to understand why it has become so popular. User feedback has directly led us to make several advancements such as introducing Unload Timestamps and Audio Playback. So, let’s take a look at the new updates available today within Replay.
See the new features in action!
Unload Timestamps
Timestamps from CCTV files have always brought some unusual challenges. The most common is that they are often wrong. It is not difficult however to explain why it’s wrong, or when correction is required, it is also easy to hand it over to a Forensic Video Analyst to adjust in Amped FIVE.
However, corrupted timestamps can cause some playback errors, especially if they are being used to control the frame rate.
To help users quickly overcome this problem, so they can get on with their video investigation, we have provided a solution to unload the timestamp.
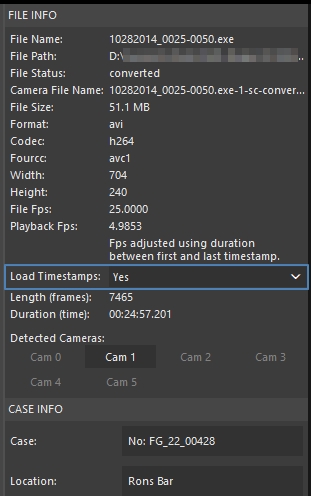
Found within the FILE INFO panel of the Play tab, a simple dropdown, with loading as the default, allows for the selection of a “No” option.
The timestamp data will be unloaded, it will not be visible within the viewer window, and the frame rate will revert to using that reported in the file.
Improved Timestamp Based FPS Adjustment
As mentioned above, timestamps created by video surveillance systems can be challenging. Several Replay users reported that although timestamps were being identified and used by some camera exports, some were not adjusting the playback speed correctly.
The differences are caused by how a system stores the date and time information and links that with several camera streams.
We have identified a way to compensate for any differences and as a consequence, users will find many more files capable of having their speed controlled by the timestamp.
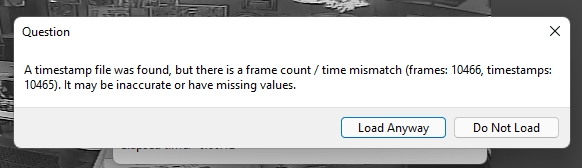
Remember, we always display a warning when there are differences in values.
Custom SMI and SRT Timestamp Formats
We are staying with timestamps but this time looking at standard subtitle formats. Several CCTV manufacturers use external subtitle formats to store the date and time information. These have always been fully supported in all of Amped Softwares video applications, including Replay. However, some of these formats can have custom formatting, and often these would not display as a result.
We have been working hard on these files and Replay is now able to correctly display the custom files.
Frame by Frame Audio Playback
When navigating a video with audio, it is often useful to hear the start or end of a specific sound. Perhaps a car horn or a gunshot.
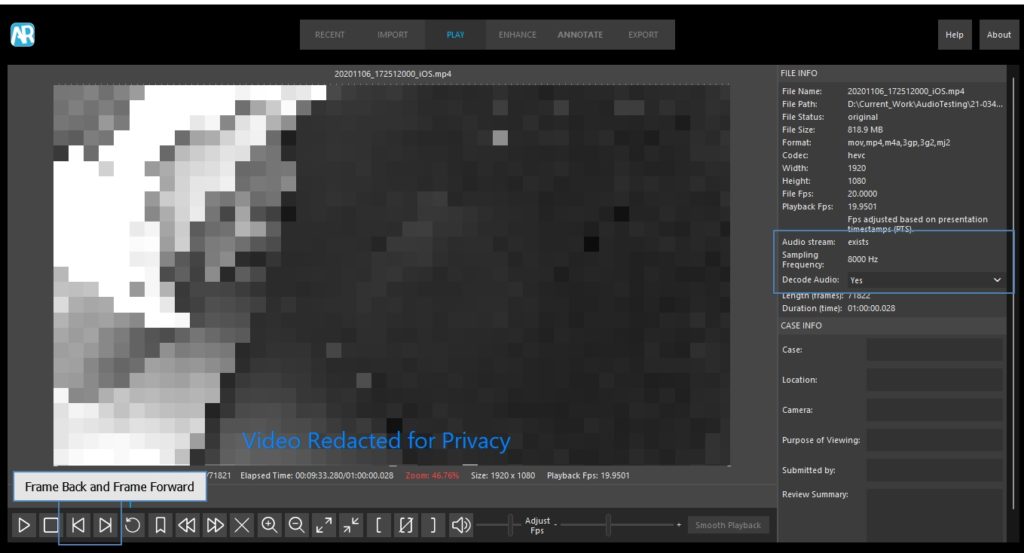
When using the Frame Forward or Frame Backward buttons within the Player control panel, or the shortcuts of J (Backward) and L (Forward), you will now hear the audio sample linked to that individual visual frame.
Numberpad Shortcuts for Viewing Image
Keyboard shortcuts are often a huge time-saver, and many are generic across multiple products and applications. The J and L key mentioned above are used by nearly every video editor on the market for instance.
Image viewing has several associated shortcuts so we have included some new ones in Amped Replay that users of other imaging products may be familiar with.
- Ctrl + Numpad – = Zoom Out
- Ctrl + Numpad + = Zoom In
- Ctrl + Numpad 0 = Fit to Window
- Ctrl + Numpad 1 = 100%
Crop Coordinates
We are moving now to the Enhance tab and looking specifically at the Crop tool.
Users will now see that when you select Crop and start to draw the area over the video, the coordinates will be visible within the tool panel.
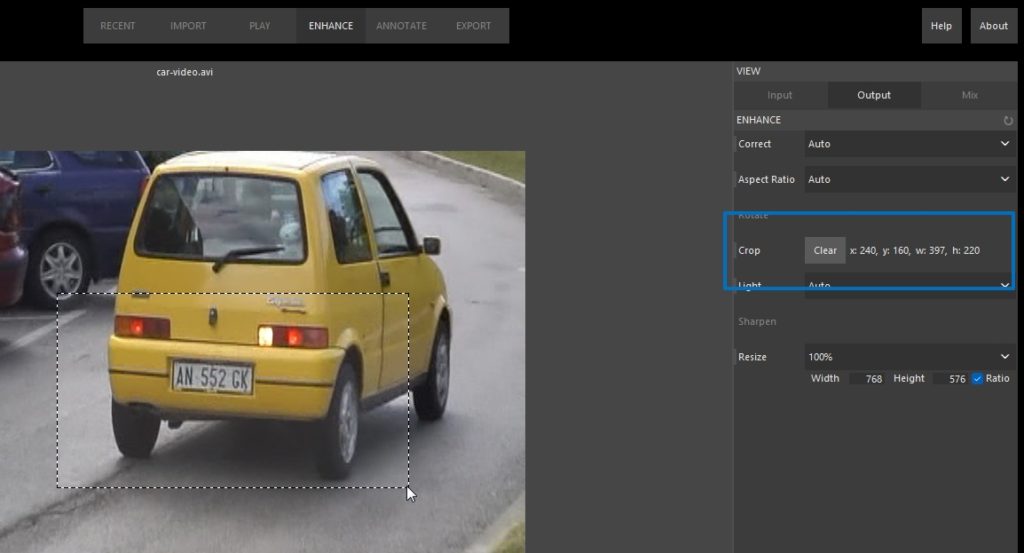
When the mouse is released and the area cropped, these values will stay visible within the tool window.
To reset the crop and return to the original video, simply press Clear.
This is really handy if you have set values that you must crop to.
Resize
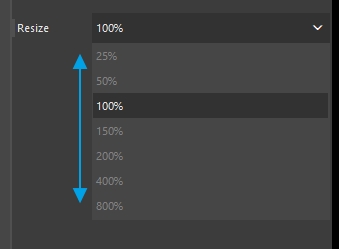
Under the Enhance tab, users have the ability to Resize their video or image.
Users can resize manually or simply use the percentage dropdown to select an option.
There are various methods for increasing and decreasing image size and we have changed the method used for decreasing.
From this update, making the image or video smaller will use the ‘Area’ interpolation method. This produces a cleaner image upon decreasing by applying anti-aliasing to avoid excessive artefacts in the size reduction process.
Increasing the size has stayed the same, using the ‘Bicubic’ interpolation method.
The parameters used are all documented within the report and we have also improved the reporting of the filter description and the methods used.
Lock Annotation
Within Annotate, we have several tools for annotating the video or image.
When you’re done editing an annotation, you can lock it so you won’t move or change it accidentally. To lock the currently selected object, right-click on it and choose “Lock”, or press “W”.
With this update, we’ve changed the interaction with locked objects: to select a locked object you must right-click on it. This makes it much easier to handle multiple objects, especially when they are close to each other.
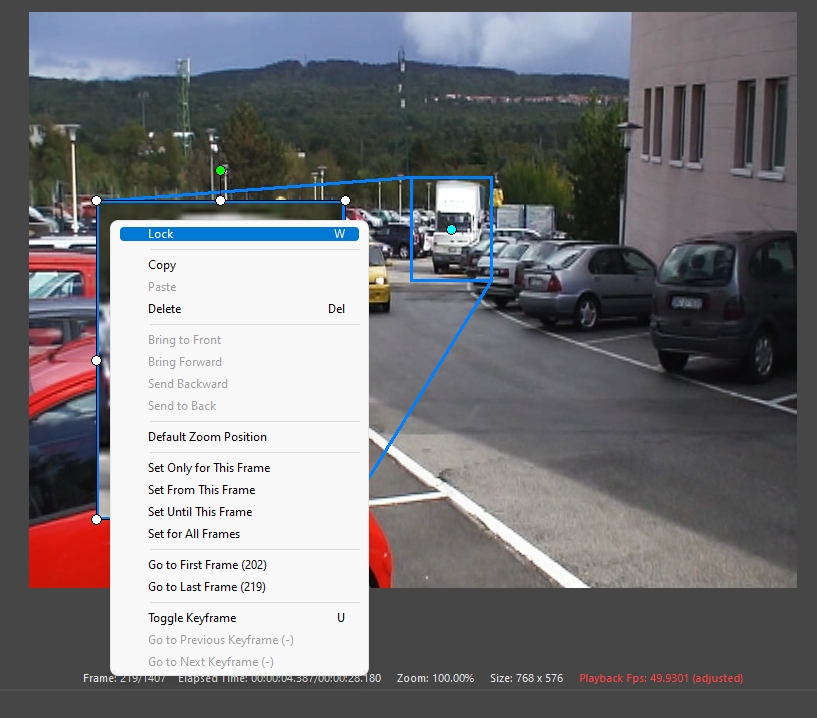
When locked a small icon will appear to remind you that it’s locked.
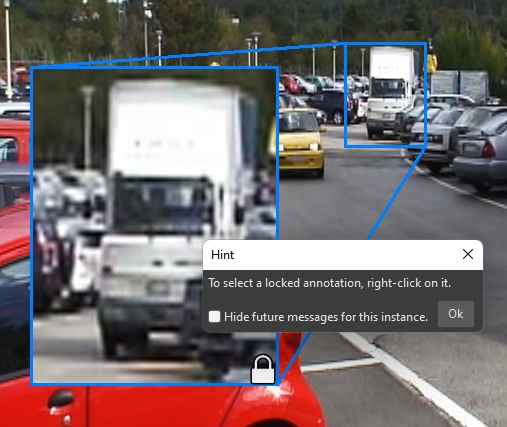
The Hint can be left on until you remember you need to right-click to unlock and make the annotation selectable again.
Using multiple annotations just got a whole lot easier!
Add Time and Name Macros
Adding the Time, Frame Number, or Filename to the output video or image are probably the most common forms of text annotation. Therefore we have moved the Macro selection dropdown to the top of the Add Text Panel to make it easier for you.
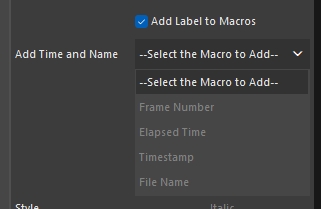
Hint: Remember that you can either select multiple Macros within the same annotation, or you can use several annotations and select individual macros. It is a very flexible tool to suit all scenarios.
Render Annotation
When applying text or graphics over a video or image, you are visualizing the tools representation. It is often wise to see what this will look like when the video or image is exported.
Within the Annotate options, you will now find a button called Render Flattened.
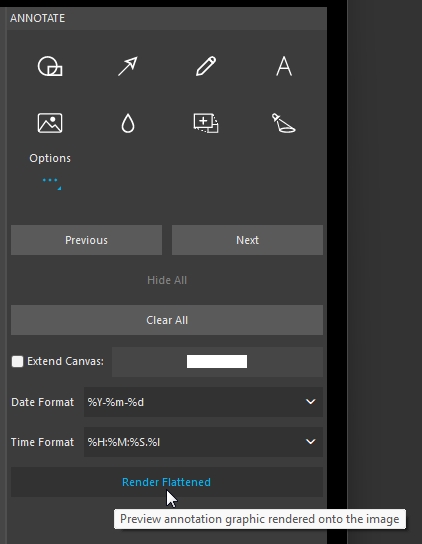
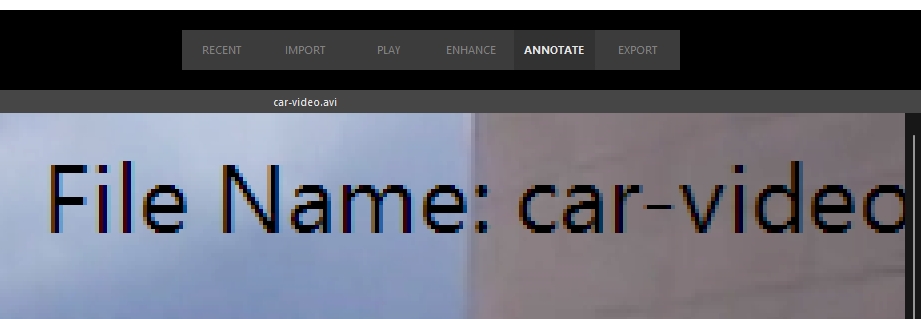
In the below example, we are first viewing the annotation whilst editing. It is using the resolution of the monitor, so the text is high definition.
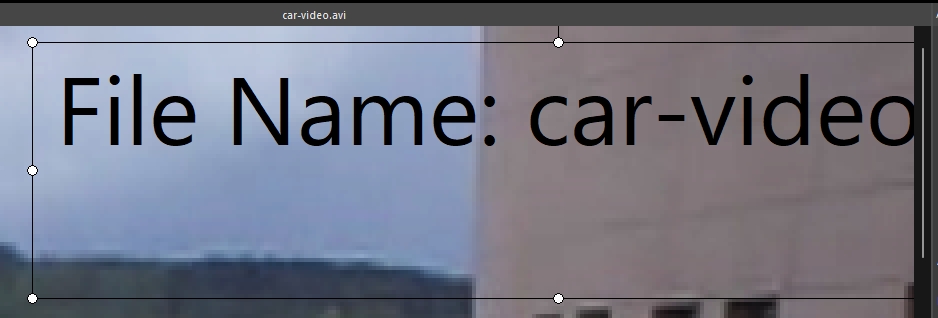
Next, we have Render Flattened, allowing you to view the annotation at the resolution of the video.
Sometimes, simply increasing the font size or line thickness slightly can make all the difference.
As soon as you move to the Replay’s Export tab, you’ll see all annotations rendered. This gives you a better idea of what your exported video will look like.
Export Project
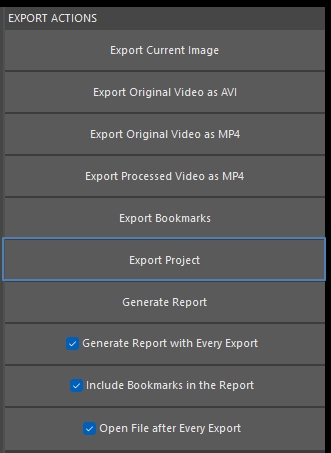
A working copy of the project will always be saved in the cache folder for you, to ensure you never lose any work. Users can export this project and save this elsewhere, such as a Digital Evidence Management System, if required.
The Export Project button is found within the Export tab.
In this update, we have increased the Project status settings to include the saving and loading of audio decoding and the status of the View section within Enhance.
Bugs
One or two bugs always creep in and this update has fixes for:
- Export: fixed a bug causing incorrect first frame in annotated exported video after changing view type in Enhance tab.
- GUI: fixed a bug causing truncation of the long strings in the various controls while in German
- Recent: fixed a bug causing “free space” command deleting folders in custom cache directory
- Recent: fixed a bug causing “free space” command clearing all recent project list data even after changing custom cache directory
- Recent: fixed a bug causing “free space” command to crash on Windows 7
Final Thoughts
Amped Replay goes beyond the CCTV Player. It overcomes the challenges of a limited toolset. It protects officers and staff with the forensic rigour required in today’s legal environment and speeds up your investigations. If you are lucky enough to have Replay on your desktop, then update today or send us an email at info@ampedsoftware.com.
Don’t Delay – Update Today
If you have an active support plan you can update straight away by going into the menu About > Check for Updates within Amped Replay. If you need to renew your SMS plan, please contact us or one of our authorized distributors. And remember that you can always manage your license and requests from the Amped Support Portal.


