
Welcome, loyal Amped blog readers! Have you ever needed to add your unit’s logo over a video, and found it hard to do, perhaps because the video wouldn’t play in a “consumer” editing software? In the old times, you would have needed to export it to a different format and work on that, which is time-consuming and reduces the quality. You’re much better served with Amped Replay! Just read below and you’ll see how easy it is to add a logo or an image to surveillance video.
Just drag the video in Amped Replay. If needed, conversion will be done automatically. Click on the Annotate tab, then on Image. Select the file and drag over the frame to position your image/logo. Done!
I’m sure you agree: nothing is more frustrating than not being able to do something that should be EASY. It gives you that bitter emotion, you feel half helpless and half dummy. Now, if you ever worked with forensic video analysis, or simply dealt with any video outputted by a surveillance system, then you know that even watching the video could be very hard (and I guess watching should be easy).
Indeed, even good players such as VLC won’t help. That’s because surveillance videos are most of the time provided in a proprietary format. The corresponding proprietary CCTV player may play the video but won’t allow you to export it to a standard format. If it does, it kills the quality or distorts the information. But a solution exists.
Thanks to Amped’s powerful conversion engine, Amped Replay will happily eat and convert CCTV videos to standard formats, often without degrading the quality at all. You just need to drag the video in, and you can play it. In the last weeks, we’ve seen the basic yet indispensable enhancements allowed by Amped Replay. Also, we’ve seen how you can annotate the video with shapes, arrows, and text.
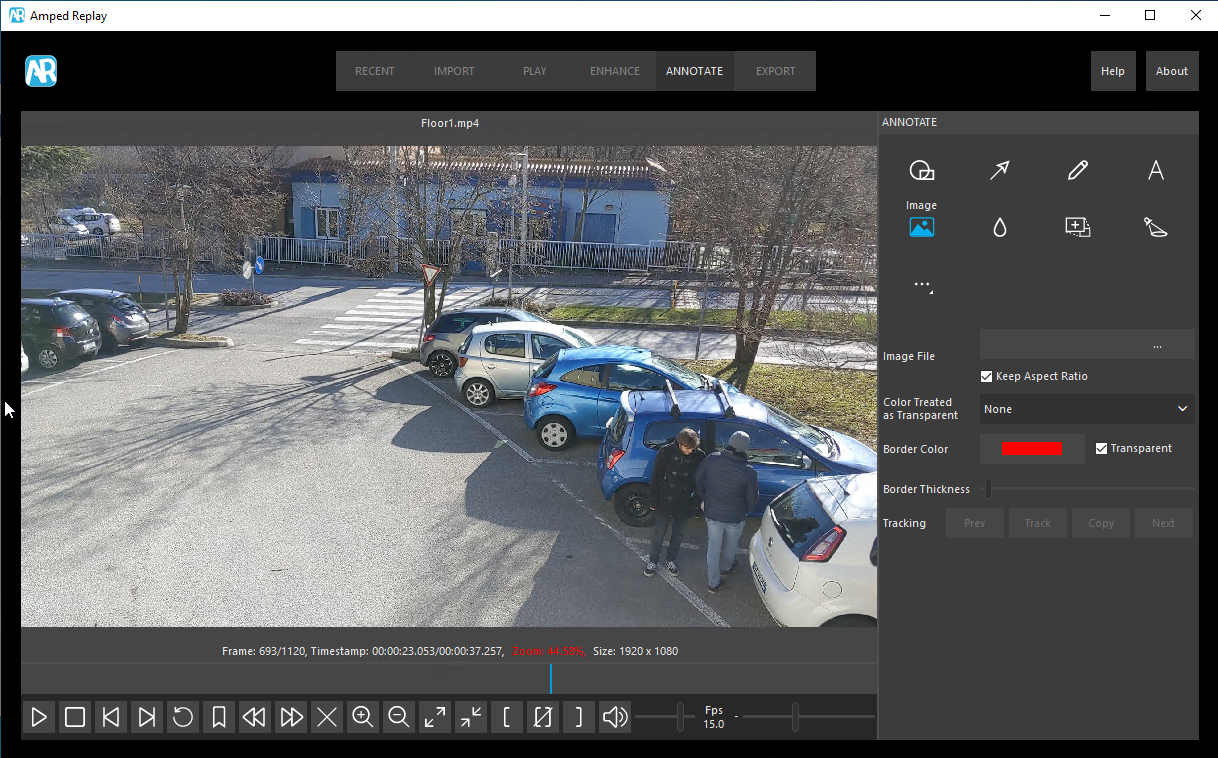
Now, let’s say we want to add two images to the video: a close-up of the suspect’s face and our unit’s logo (nice addition, before sharing the video with the media!). All we need to do is activate the Annotate tab and select the Image tool.
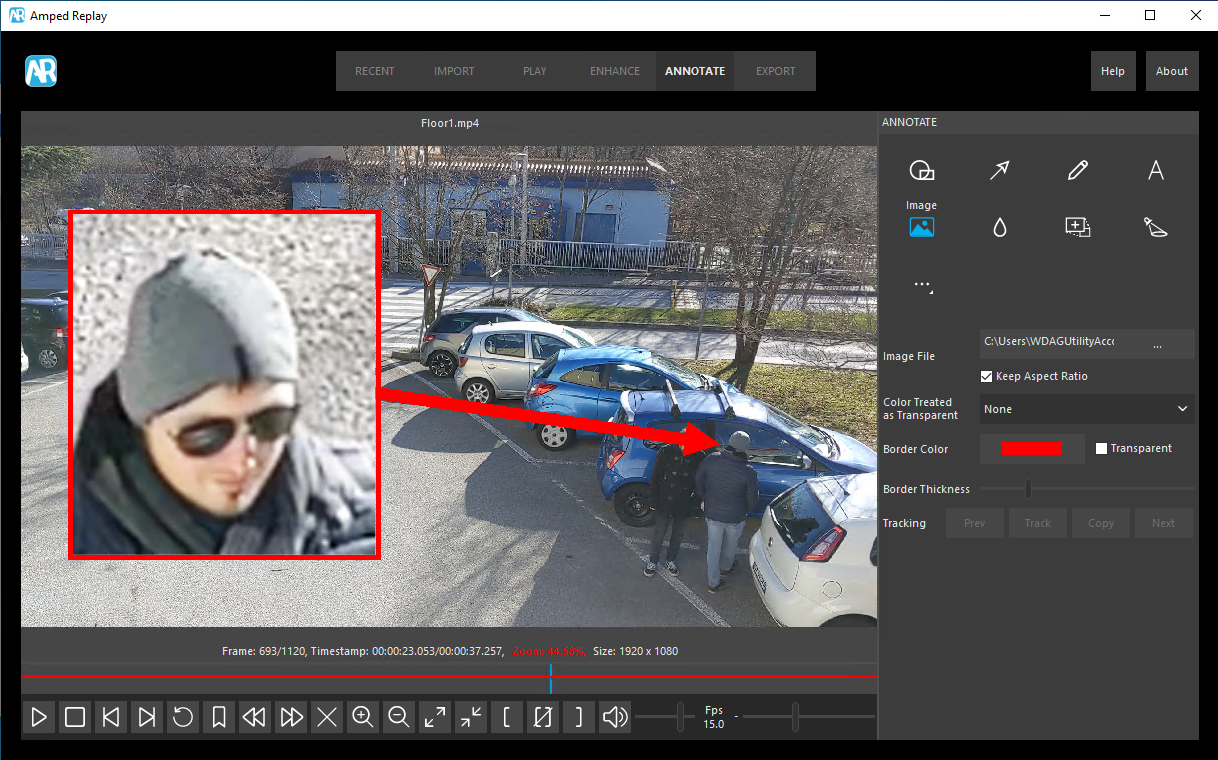
We need to click on the three dots on the right of the Image File input box, and select our input file. Let’s start with the suspect’s face. After selecting the file (step 1), click over the frame (step 2) and drag to choose how large we want the image to be (step 3).

We can optionally show a colored border around the image, and customize its width. And then, as we showed last week, we could add an arrow to clarify where the suspect is in the video.
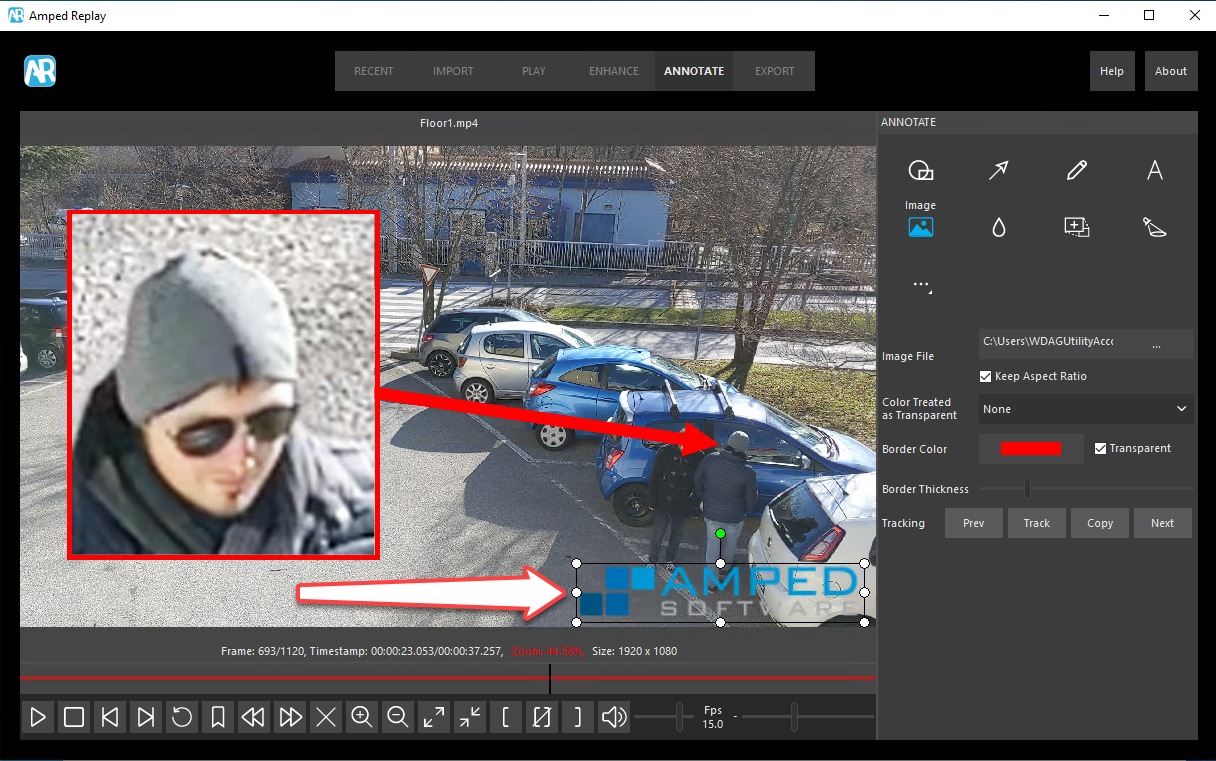
Ok, now let’s go with the logo. We click again on the three buttons close to Image File and select our unit’s logo. If we have a PNG version of it, with transparent background, that’s perfect! Amped Replay supports transparency. We just need to click and drag, as before:
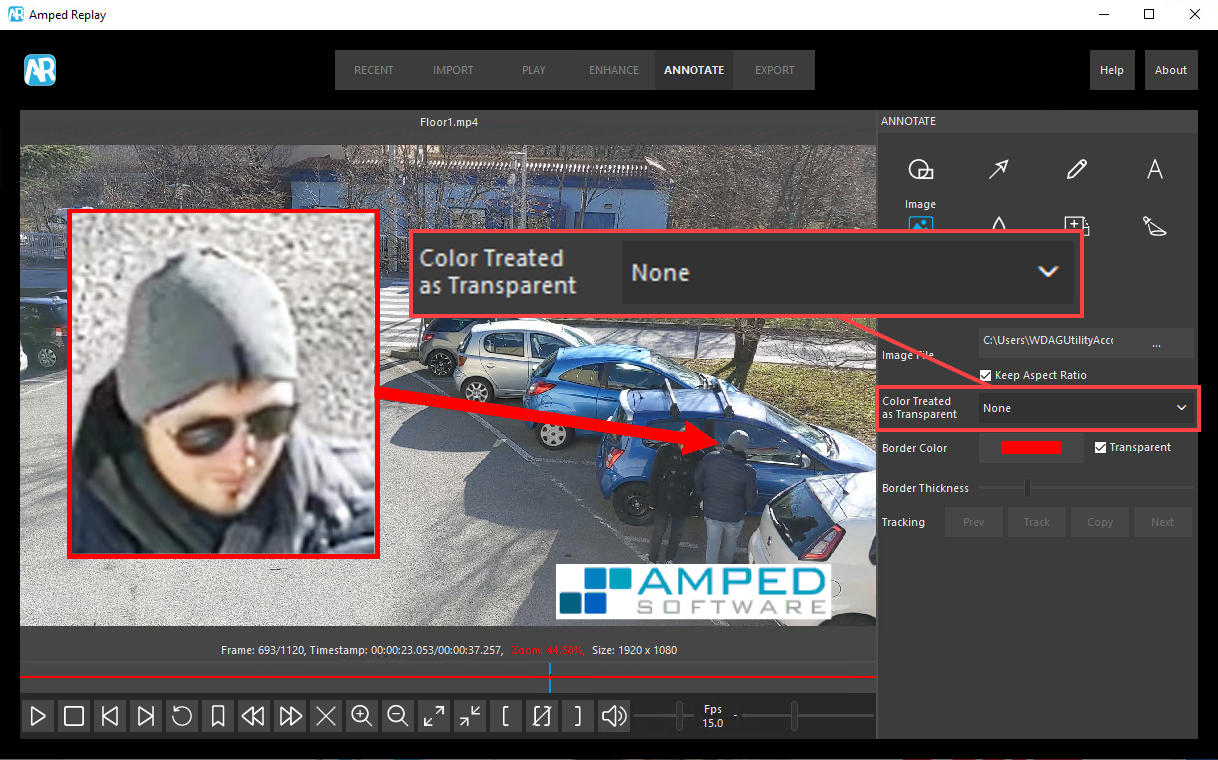
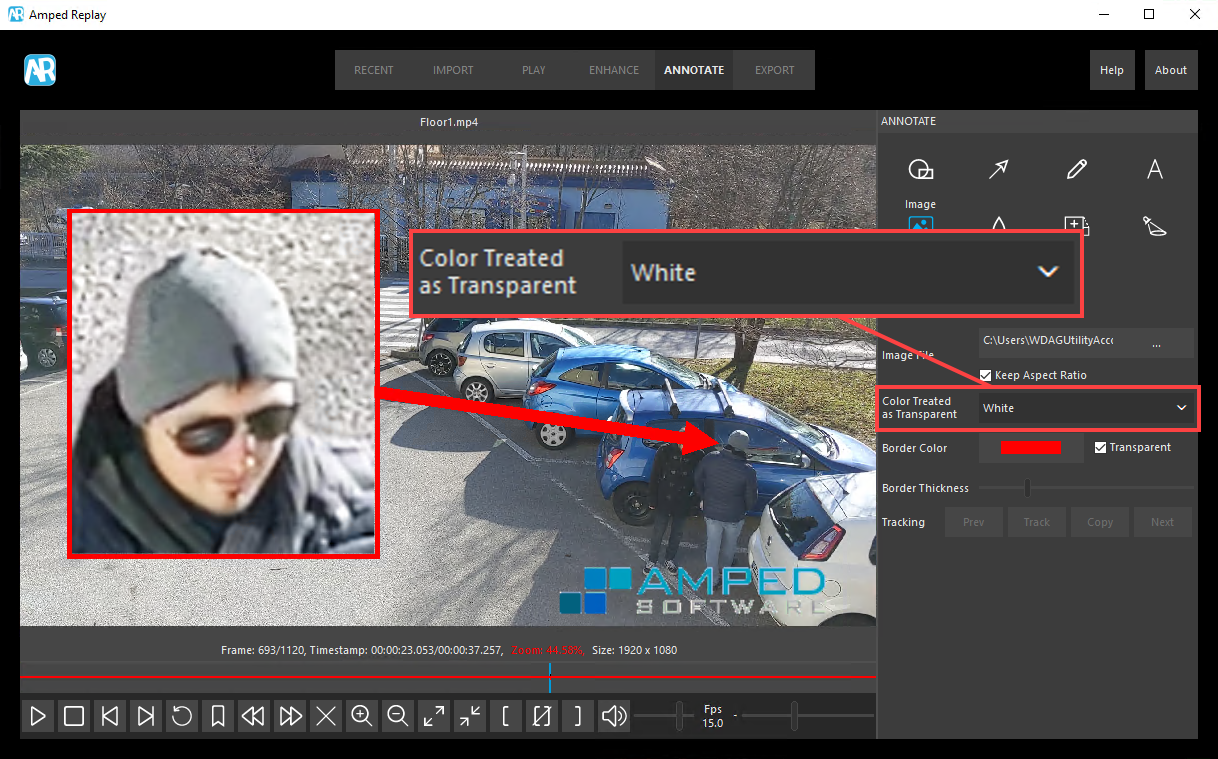
And what if we’re left with a bare JPEG or BMP version of the logo? No worries, Amped Replay will help us as well. We need to load the logo and place it over the image as usual. Then click on the Color Treated as Transparent dropdown list and set it to White or Black depending on the logo’s background. As you can see below, this will make the background color transparent for us. Perhaps the result won’t be as neat as if we had a logo with transparency. But it’s way better than having a white blob over the final video, which would not look very professional.
And that’s it! Amped Replay restores the easiness even when dealing with proprietary CCTV surveillance formats. It brings annotation features one click away even for inexperienced users.
We still have not discussed how to handle the persistence of the images (how long they should stay displayed) and their tracking (whether they should move to follow some object). Don’t worry: that will be the object of a future post of this series.
That’s all for today! We hope you’ve found this issue of the “Amped Replay Tutorials: How do I do this?” series interesting and useful! Stay tuned and don’t miss the next ones. You can also follow us on LinkedIn, YouTube, Twitter, and Facebook: we’ll post a link to every new tutorial so you won’t miss any!


