
Welcome, dear friends, to one more post of the “How do I do this?” series! Today we’ll be dealing with a very common and annoying issue, that is, how to correct interlaced videos. It manifests with a “jagged edges” phenomenon that makes things much harder to see. No worries, though: Amped Replay is here to assist, so keep reading!
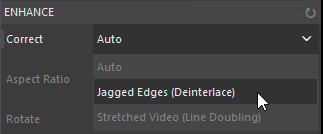
In Amped Replay, go to the Enhance tab and activate the Correct filter. Usually, the “Auto” mode will solve the problem. If it doesn’t, try selecting the “Jagged Edges (Deinterlace)” option.
Those working with surveillance videos have probably met this situation quite often:
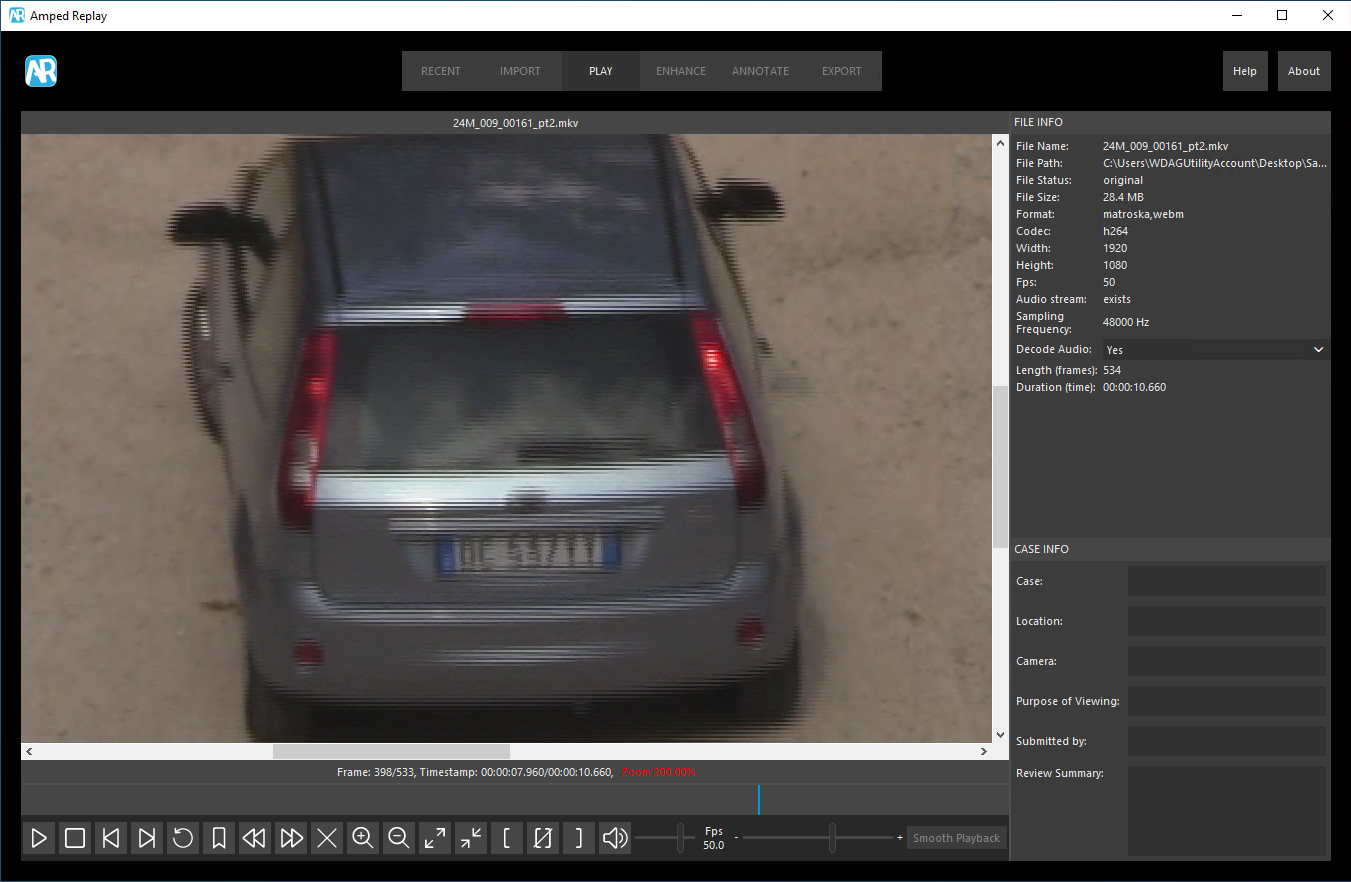
Although the license plate is partially readable, you get a feeling that without that “jagged lines” effect it would look much better. The jagged edges effect is caused by video interlacing. Video interlacing was invented back in the ’30s to overcome a limitation of legacy analog TVs. They could not draw a full-frame sufficiently fast to avoid a disturbing “flickering effect”. Therefore, engineers decided to update alternatively even lines and odd lines on the screen. They coined the term field to define this “halved frame” containing either even or odd lines. Then, at the receiver side, even and odd fields can be interleaved to build a frame (thus going back to the full number of rows of the original video) but drawn independently.
There’s a problem with this method, though. If the video contains a moving object, or the camera itself moves quickly, the fact that even and odd lines belonged to different moments in time becomes a problem. It manifests itself with those jagged edges. The solution to this problem is given by deinterlacing the video in a better way than weaving fields together. Instead of doing that, we first separate even and odd fields, and then interpolate the missing lines in each of them.

If all this explanation frightened you a bit, don’t worry. Amped Replay makes all of this very easy to do. Let’s move to the Enhance tab, and activate the Correct filter by clicking on its name.
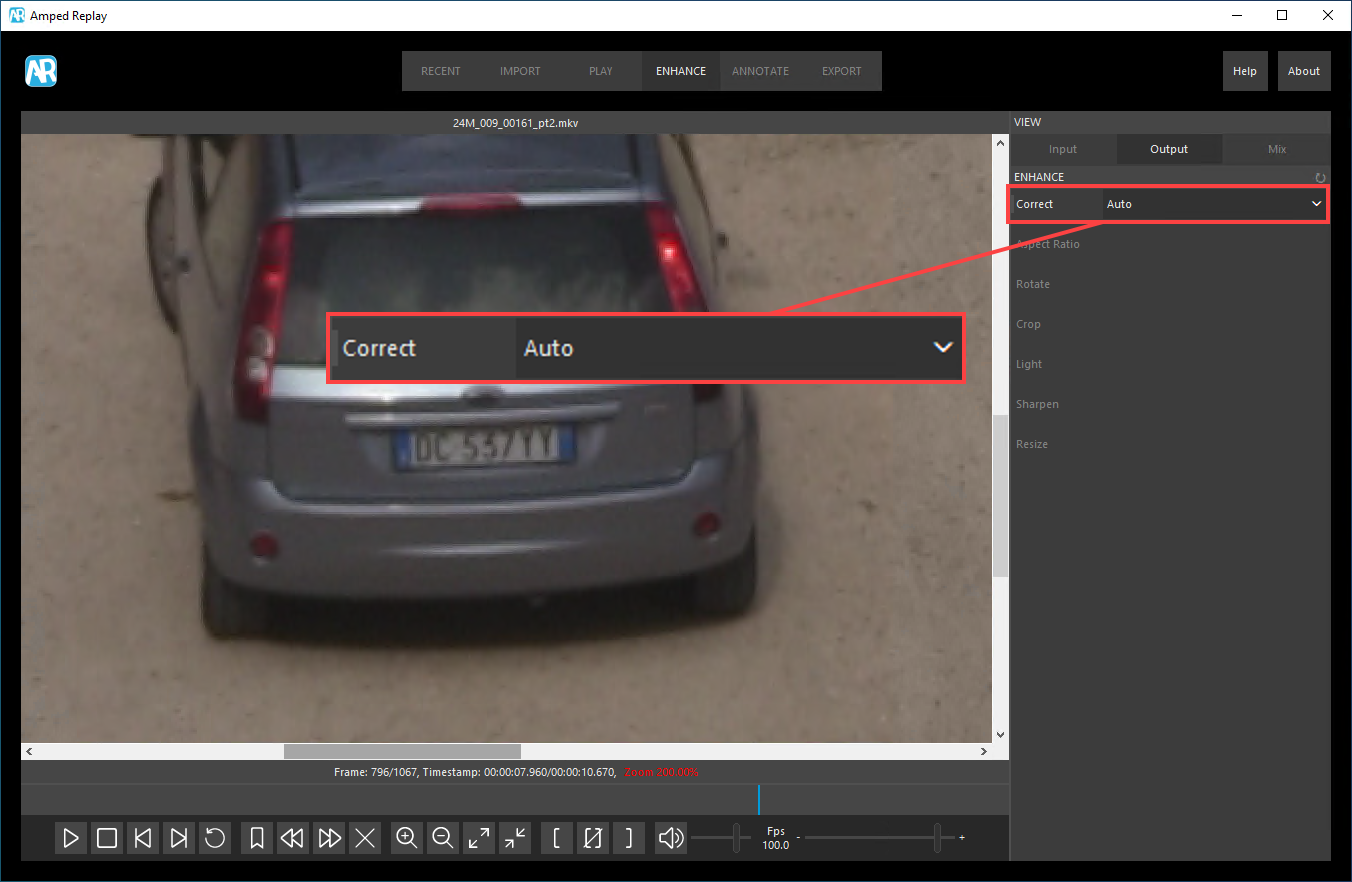
The license plate now looks much better! The Auto mode detected that the video needed deinterlacing and applied the necessary processing. This will be explained in the report that you generate at the end of your work, providing details on the decision taken by the software:

As you can see, Replay detected that the presented video was a “Top Field First” video, the other possible option being “Bottom Field First”, and applied the deinterlacing algorithm accordingly.
When activating the Correct filter in Auto mode does not change anything, it means that Replay did not detect the presence of interleaving in the video. It is worth saying that the decision of whether to apply or not a deinterlacing algorithm is done by analyzing pixels. We indeed determined that merely trusting what’s written in the video container could often lead to errors, especially in the wild world of surveillance videos. That said, if you do believe that deinterlacing is worth a try, you can manually set the Correct filter to deinterlace the video:
Two comments are in order:
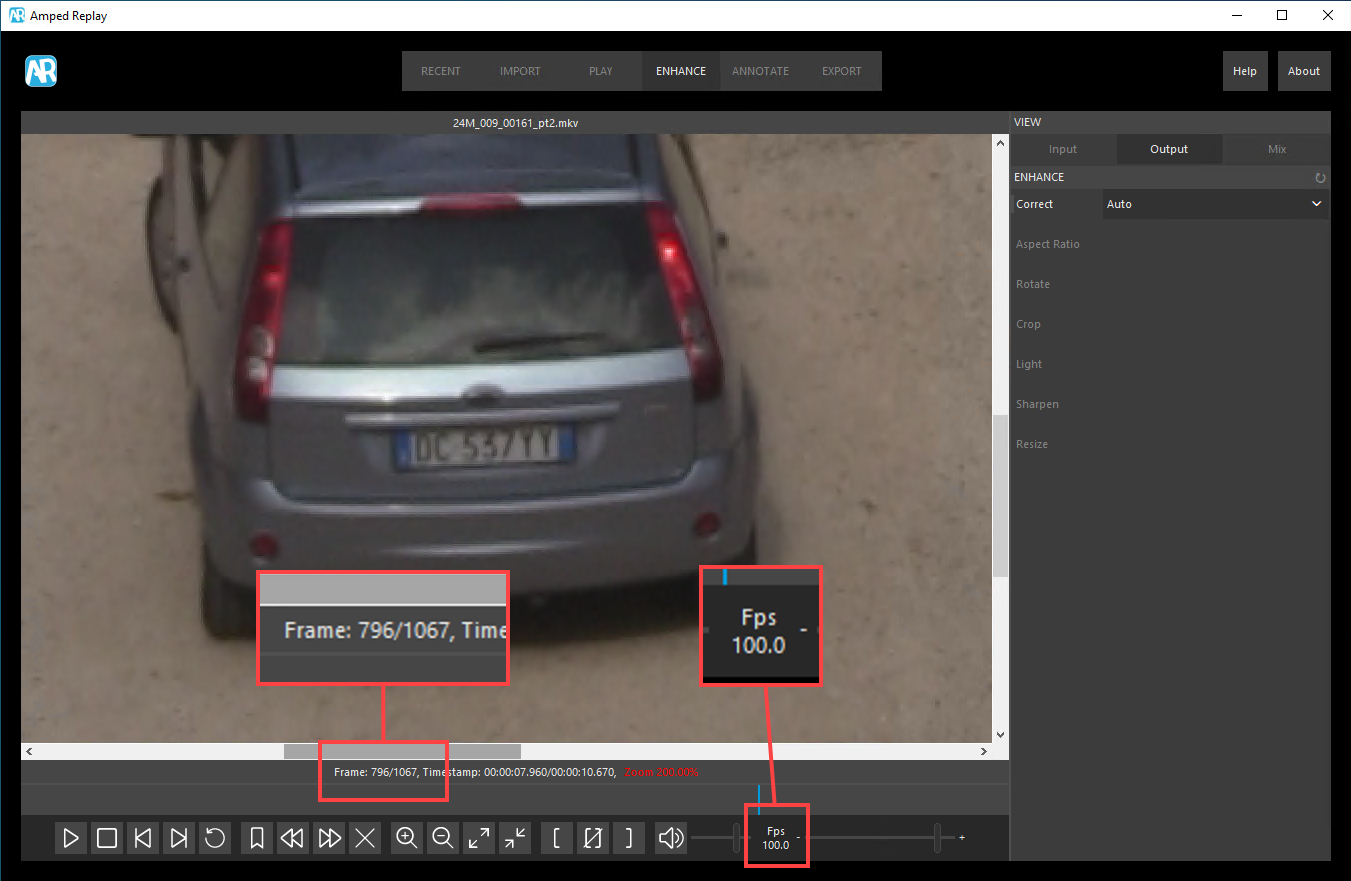
- When you deinterlace, the number of frames in your video doubles. That’s because we are separating each frame into two fields, and then interpolating the missing lines in each field to obtain two full frames from the starting one. As a consequence, Amped Replay doubles the Fps value to maintain the original playback speed (see figure below). It won’t just “throw away” half of the frames (that is, half of the available information!) as some consumer players would do.
- However, there’s no free lunch: you get twice the number of frames, but half of the lines in each frame are interpolated, which means, derived from the previously available information. We’re not adding “new information”, just processing what we already have to make things more visible!

That’s all for today! We hope you’ve found this issue of the “Amped Replay Tutorials: How do I do this?” series interesting and useful! Stay tuned and don’t miss the next ones. You can also follow us on LinkedIn, YouTube, Twitter, and Facebook: we’ll post a link to every new tutorial so you won’t miss any!


