Dear friends, welcome to a new video pitfall post! This time we’re dealing with a very sneaky part of video analysis: can we trust what we see? Sometimes, distinguishing the real detail of an object from that of an artifact is not easy. Today’s post will deal with hiding or adding details to the scene. We will review some of the most common video artifacts and their possible effect on your work.
Issue: Pixels May Not Always Be Trusted
Among the enemies of a truthful interpretation, artifacts are a big player. Let’s consider this example. You are given this video, and you’re asked to check whether some scratches are present on the wall in the indicated region (you can download the video from this link, it’s 7 MB).

You zoom in, play the video, and notice that some “signs” appear and disappear as the video plays. By lowering the playback speed (Fps slider in Amped Replay) and boosting visibility with the Light filter, this becomes very visible, as shown below.
After watching this video, how would you answer that question? It’s not trivial since there are indeed some scratches, but they come and go, depending on which frame you’re looking at. What’s the truth?
Explanation: Compression May Add or Remove Information
When you’re looking at a video, you’re not looking at “what happened,”. You are seeing a representation of what happened. I’ve marked both “seeing” and “representation” in italics. “Seeing” involves your perception and will be the object of next week’s post. Let’s then focus on “representation.”
I think we all agree that, when we look at a video, we’re talking about “a representation” of what happened. The camera was positioned in a certain way, configured in some way, it somehow compressed the video. All these elements influence the final representation. We’ve devoted several posts of this pitfall series to surveillance systems’ visual tricks: optical distortion, perspective, aspect ratio, color accuracy, infrared imaging, etc. In the example above, we’re mostly dealing with compression artifacts, which can manifest themselves in many possible ways, as outlined below.
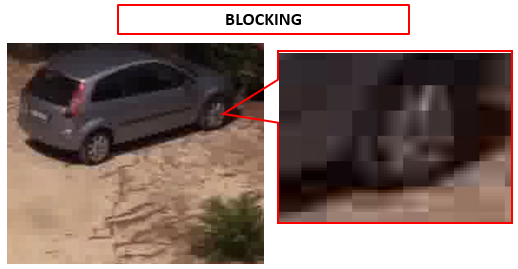
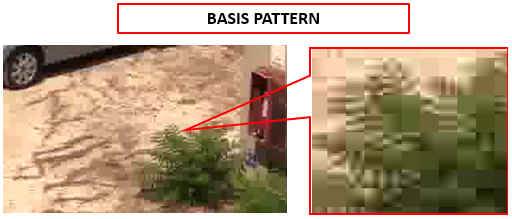
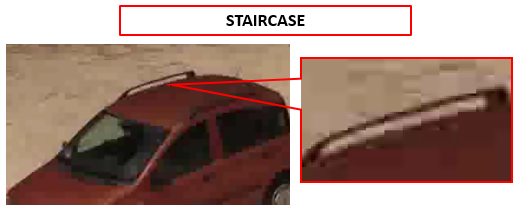
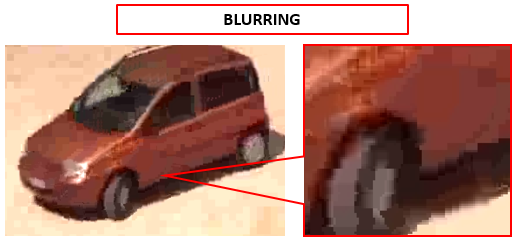
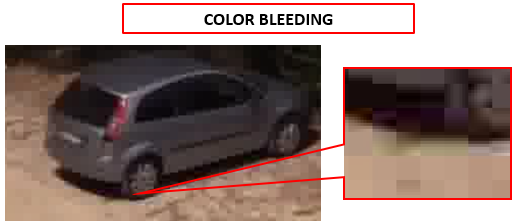
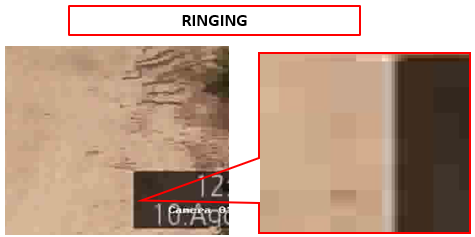
Going into the details of each type of artifact is beyond the scope of this post. But you can find more details on the web or in this nice scientific paper. Here we’ll just show how they look like. In the gallery below, you see an example of each spatial compression artifact:
While the two videos below show, respectively, the mosquito and flickering artifacts.
In general, we can say that compression artifacts could be responsible for both the addition of details that were not present in the scene (e.g., you may confuse an edge caused by a blocking artifact for an object) or the removal of details (e.g., not being able to see a detail because of the blurring artifact).
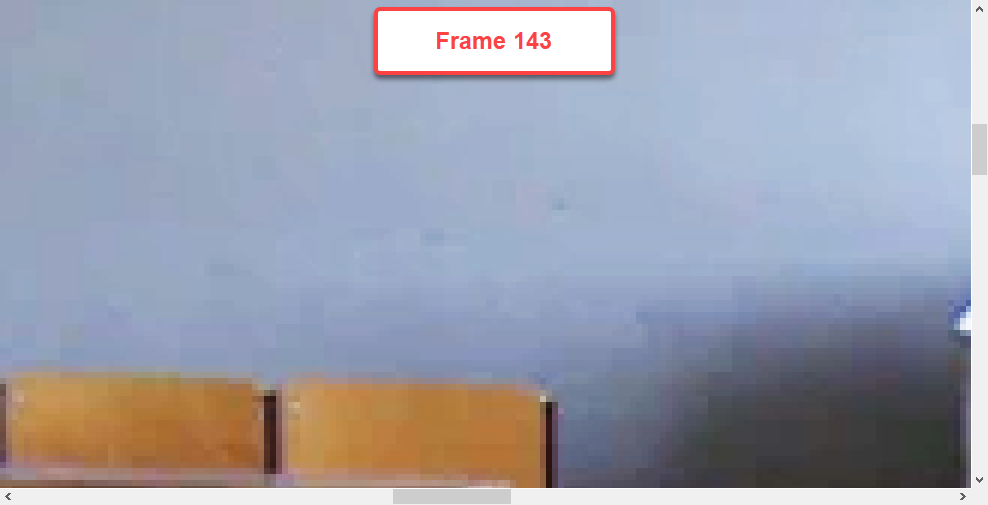
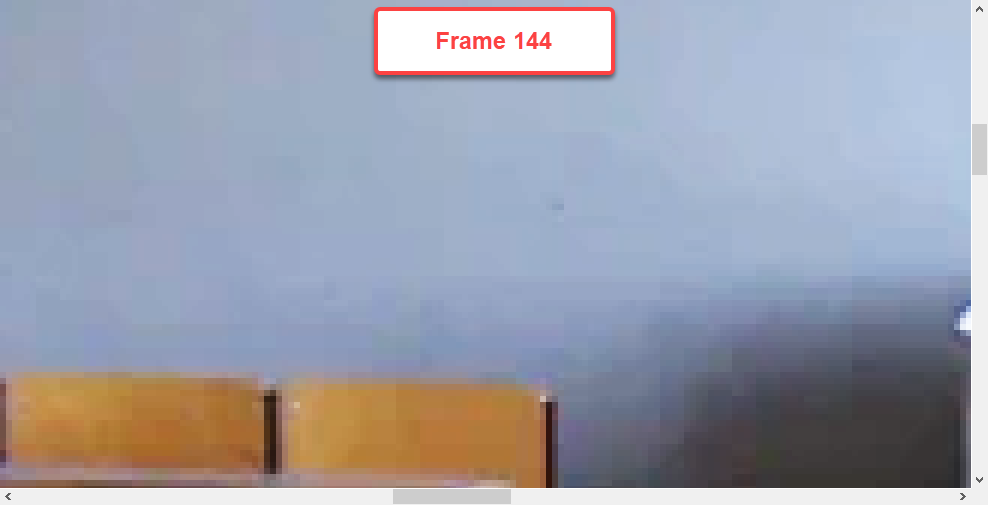
Back to our example, take a look at how frames 143 and 144 differ. Frame 143 shows many more “scratches” on the wall than frame 144. Are scratches in frame 143 blocking artifacts, or is it rather frame 144 that’s hiding scratches due to some compression blurring artifact?
In a case like this, you should remember that, in video compression, frames are treated differently. Standard video codecs will define some keyframes (or “intra-coded” frames, or “I-frames”), which are compressed “stand-alone.” These keyframes are then used as a reference for predicting other frames belonging to the same group of pictures (GOP), which are indeed called “predicted frames” or “P-frames.”
The goal, of course, is to reduce temporal redundancy by recycling information from keyframes to build up other frames. And since codecs work by splitting each frame into macroblocks, for every macroblock a decision is taken on whether it should be predicted from a reference frame or coded “from scratch” (i.e., “intra-coded”, even if it’s part of a predicted frame). Normally, intra-codec macroblocks have better quality than predicted macroblocks. So if you’re able to understand which kind of macroblock is hosting your pixels, that would help.
Solution: Understand, Compare, Be Prudent
As usual, the solution is a mixture of competency and tools. If you’re asked to get something that is clearly out of reach given the available data, it’s better to say “no” and justify why.
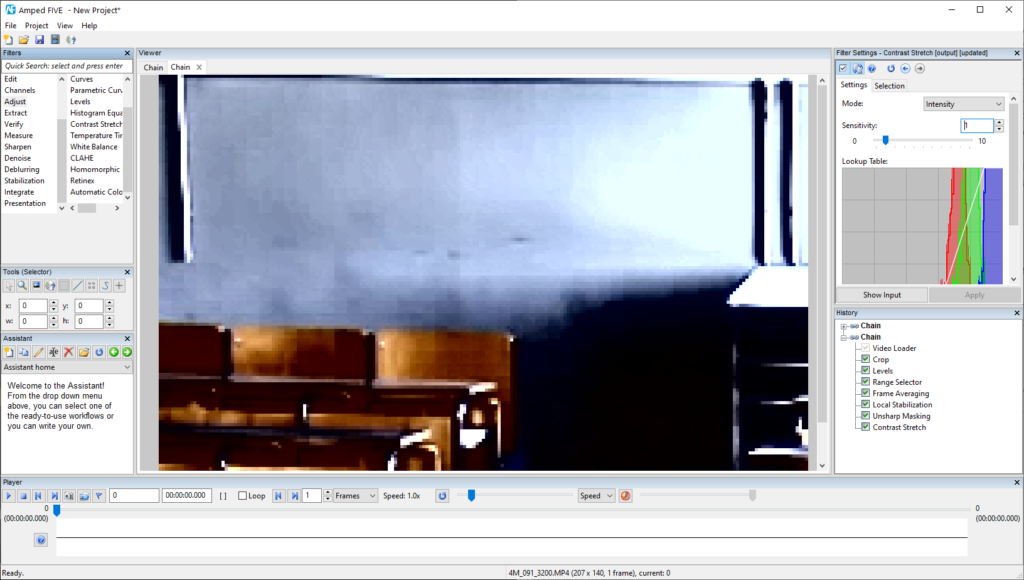
Often, however, you can dig a bit deeper into what you have, and possibly mitigate some artifacts using the proper processing tools. For example, here is how you can process the “scratches in the wall” video with Amped FIVE to reduce the noise and reveal that, probably, there are indeed a few scratches on the wall.
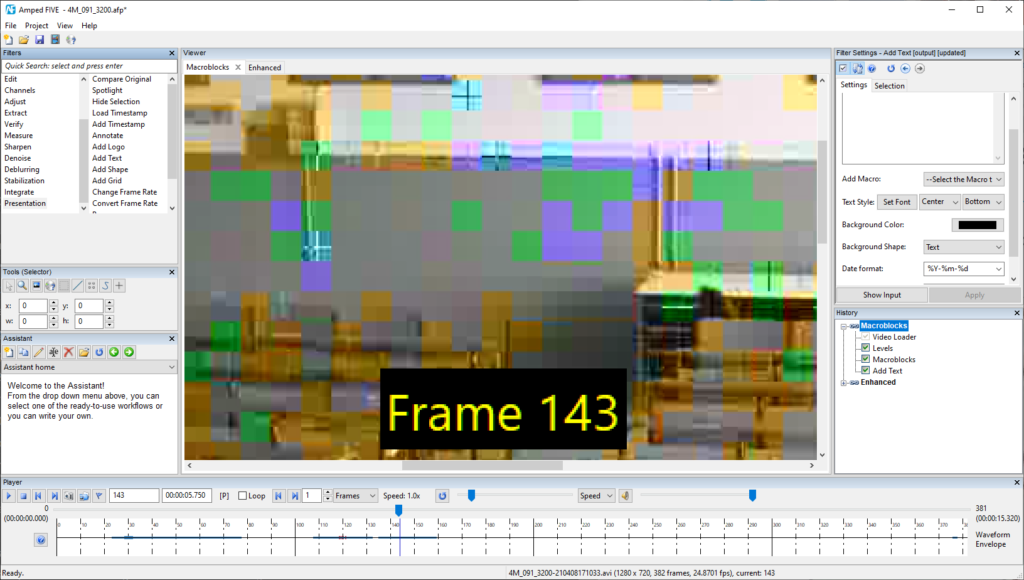
We could also take a look at the Macroblocks filter, under the Verify category. Here is what is produced for frames 143 and 144:
“Red” and “purple” denote intra-coded macroblocks, gray blocks have been just copied from a reference frame. Other colors denote various prediction modes from reference frames. Thus, we can see that frame 144 is an intra-frame (all its macroblocks are freshly encoded) while frame 143 is a predicted frame. As such, frame 144 should be considered more reliable than 143.
As a trick to see what is an artifact and what is not, we could check whether the detail changes in all the frames or stays rather constant. For example, if we see what may look like a mole or a scar on a person’s face. Do you see it on every frame or just on one? Similarly, can we interpret the same character on a plate on all the frames, or they change frame by frame?
This technique is also great if you have footage of another time when no damage is seen in the wall. Completing the same process, with the same number of frames, and then using the Video Mixer to see the differences would highlight, beyond a doubt, the presence of scratches at a particular time.
The final takeaway is: always be prudent and remember that you’re seeing a mere representation of the events. Keeping in mind the most common artifacts and how they look is a good way to protect yourself.

