We are super excited about this new update to Amped FIVE that brings great new things to the History panel, the Annotate filter and to the Generate Report feature. So, let’s get to it and dive straight in.
Chain Folders
At Amped we strive to make our powerful software as user-friendly as possible. A clean and uncluttered workspace is paramount in ensuring that everything is easily made available to the user. With cases now involving multiple sources and files, we wanted to bring this approach to the History panel with the addition of Folders.
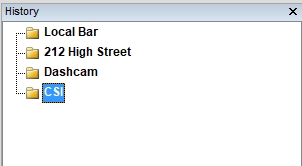
When you start Amped FIVE, you will now see a New Folder option in the History panel.
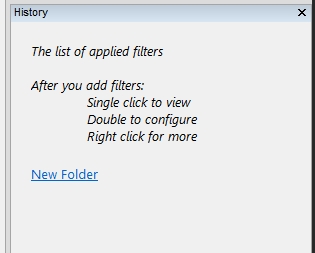
This gives you the immediate ability to set up your project, ready for loading your files.
A handy folder icon indicates that this is a folder and not a chain. You may notice that each folder does not have the + or – next to them. This is because they are currently empty. Right-clicking within the History window gives you the ability to create other folders. You can name them by double-clicking or by right-clicking and selecting Rename. You can highlight and select any folder with a single click. If a folder is selected and you manually select a load filter, such as Image Loader or Video Loader, that filter will automatically populate that folder.
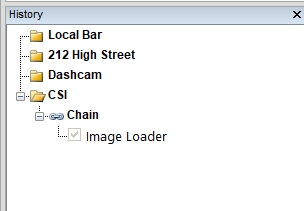
You will now notice that this item has another handy icon: a chain, indicating that this is a filter chain. The folder icon is now open and there is a small – next to it. Clicking this will close it and thereby hide all the chains inside that folder.
If you want to create a chain outside of any folder, simply click in the white space to deselect any folder, and then either use a loader or drag and drop.
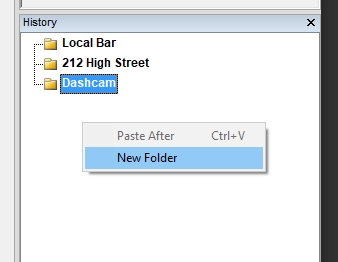
Right-clicking a chain inside a folder will reveal further functions, such as renaming and moving the chain outside of the folder.
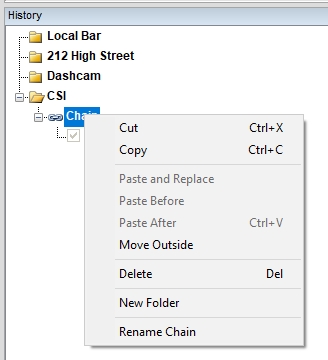
However, renaming can also be completed simply by double-clicking.
Moving things around is also simple…
You can move a chain into another folder or copy it into another folder. As you saw above, you can also take it out of a folder.
Moving (cut and paste), is a simple case of click and drag. The new folder will be highlighted and when you release the mouse, your chain will appear in the new folder.
Copying is done the same way, but with the Ctrl key held down.
Users will also notice a new Position Marker when moving items around.
We have looked at manually selecting a folder and then using an evidence loader inside that folder. What about then, drag and drop? Of course! You can select any media and simply drag it into a folder of choice.
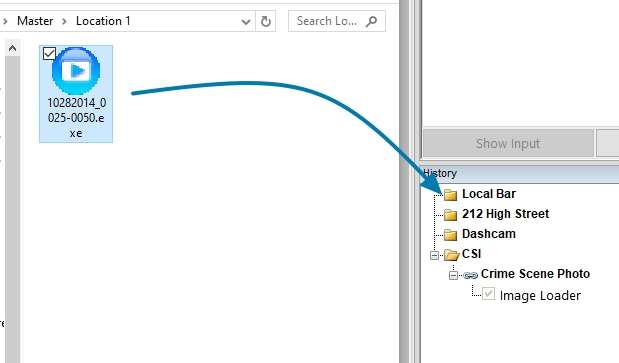
So, the result of dropping this proprietary .exe file, with all the video files wrapped up inside, is a folder with all the raw video streams in separate chains. A quick rename of the chains and our project is starting to take shape!
You may notice that I have closed my CSI folder as I don’t want to work on that at the moment.
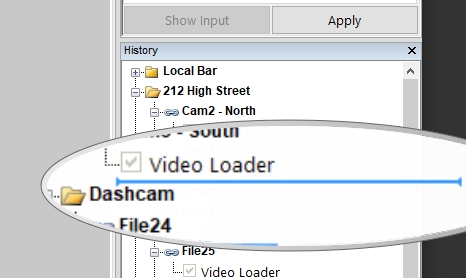
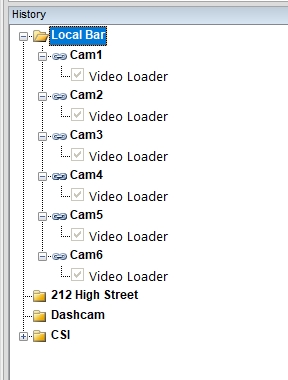
Carrying on, I can now select the two cameras from my next venue and drop them in.

You can see that there is visual feedback that the files you have selected will open inside that folder.
Mix Loaders are always created after all chains and folders. After sorting, you can always move them into a folder if necessary.
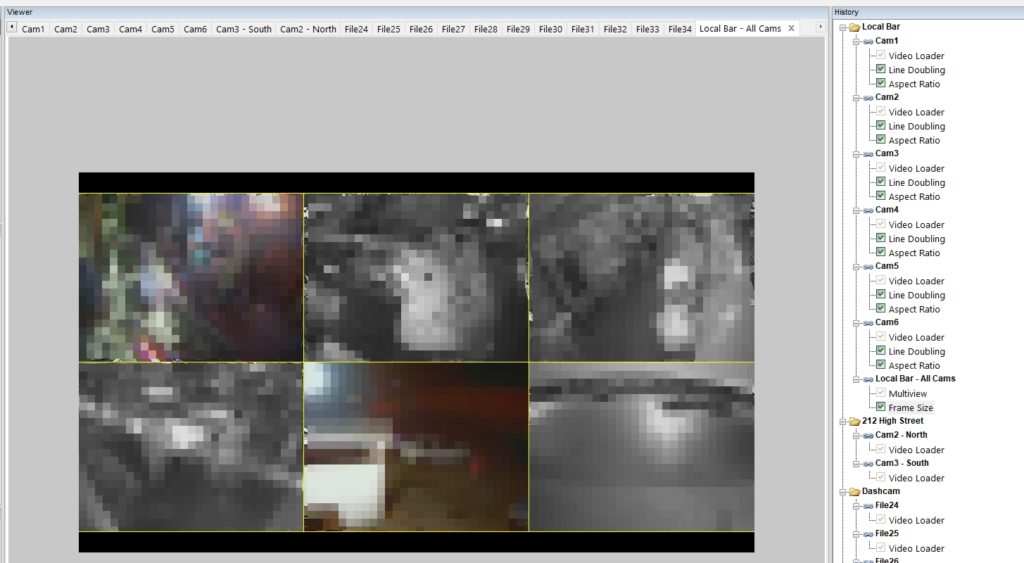
All of my Dashcam files have been placed into an individual timeline, and then this has been placed inside that folder.
Lastly, copying filters between chains is now a simple click and drag. You only need to use Ctrl if you want to cut and paste it.
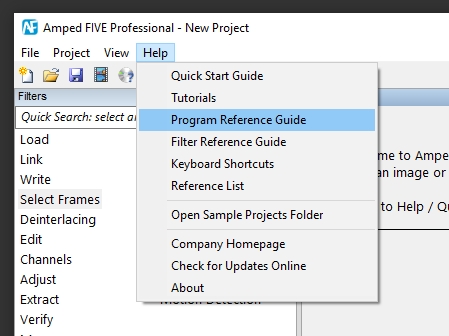
With the number of changes to the History panel, users may want to carefully read the associated section in the Program Reference Guide to make themselves fully aware of the new features compared to previous versions.
The introduction of Folders is a huge development for analysts. Having the ability of simple drag and drop conversion, analysis, enhancement and the presentation of multiple files and then being able to sort, copy and manage them in a clean and easy manner will make working on large or complex cases so much easier. Users should update as soon as possible to learn how the new chain management techniques work.
Assisted Tracking
It has been great to hear all the feedback on the powerful annotation functions now found within the Annotate filter.

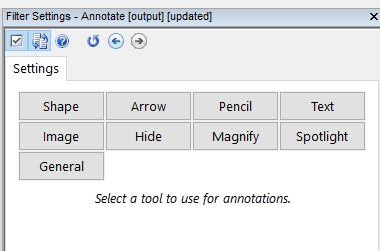
Before we move on, it is worth mentioning that several users have asked what the difference is between some of the tools in Annotate and the filters dedicated to a similar function, such as ‘Add Text’.
They can do similar functions but can be used in different ways. If for example, you want to add text or text macros, such as the filename to an entire video, or set of images, and keep that item in the same location throughout, you can use the Add Text filter.
If you want to only show things for specific parts or move the location of items depending on the image shown, you can use Annotate. It helps to keep chains and filters organized.
We hope that little tip helps!
You may remember the manual tracking method that was introduced with Annotate. If you slowed the video playback speed and held an annotation, such as Spotlight, down with the mouse, you could move the spotlight over the top of your area of interest while the video was playing. The path you made would be stored and then retained as a track path.
Well, Assisted Tracking means you may no longer have to do this. If you have a reasonable contrast between the object of interest and the background, you just have to hold down the new Track button!
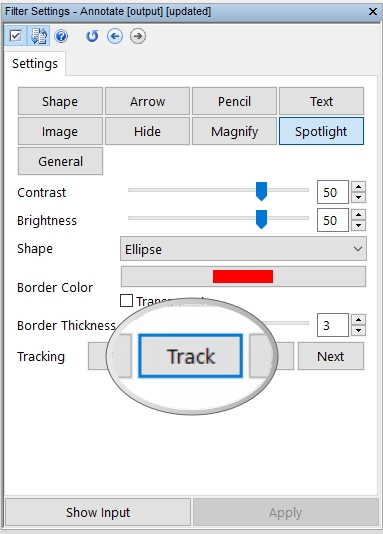
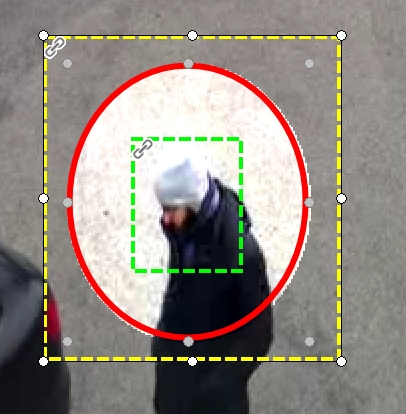
In the next image I have used the Spotlight annotation over an area of interest.
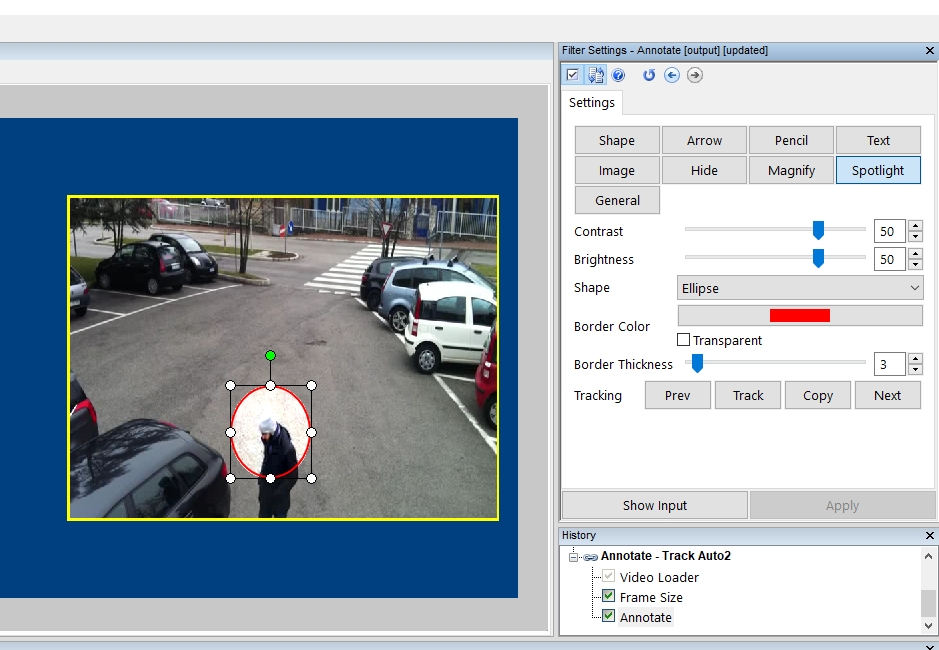
A single-click of the Track button now reveals some new visualizations.
The green area is my reference. This is the area I want to track. I can change this to perhaps just the person’s hat by resizing the area using the corner or edge nodes.
The yellow area is the search area. The filter will only look in this area for matching pixel patterns.
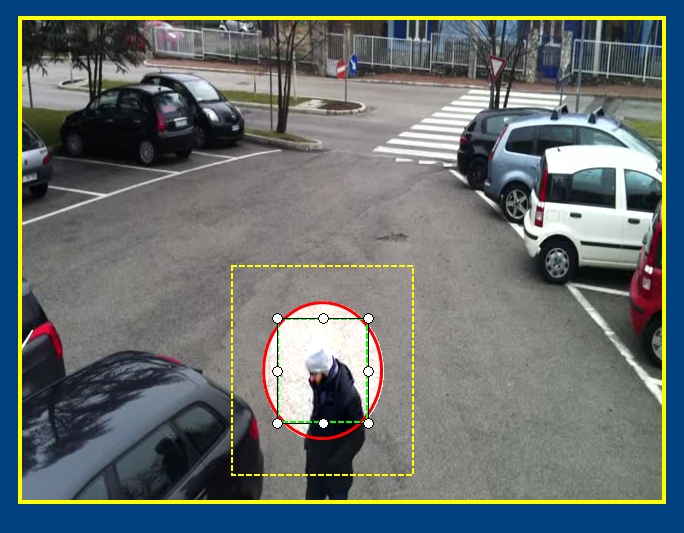
In the following image, you will see that I have made my reference area smaller, my search area larger, and you can see that If I click both the reference and search areas, a small chain icon will signify that a resize of one will also resize the other. They are linked together.
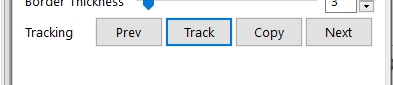
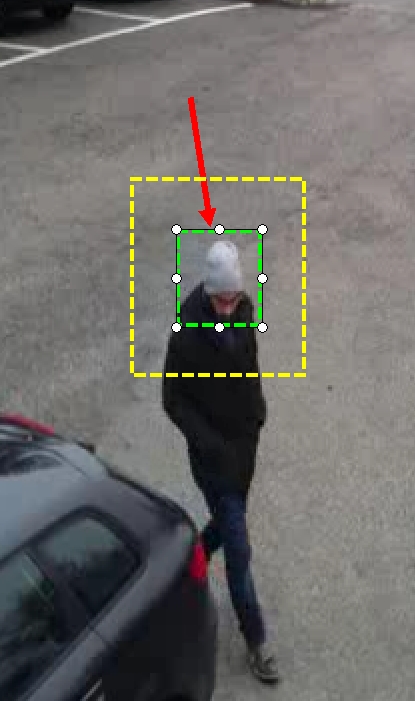
Now that we have our areas selected, it’s a simple case of holding down the Track button. Your video will slowly move forward frame by frame and track those pixels, moving your annotation.
You can move to the manual tracking method at any time by simply releasing the Track button. If you want to stop tracking but keep the annotation in place, you can use the Copy button. The Prev and Next buttons just move the frame either forward or backward.
In the next example, I am using the Magnify annotation within the Frame Size filter. Allowing you to track a subject and only show that subject outside of the main video.

Adding Text and Macros to this would make a great court presentation
Or what about arrows…..
All of the annotations can be tracked, using either the old manual method or this new assisted tracking method. Having the ability to mix between the two on a single track really helps with those tricky situations and can save you a lot of time in highlighting or redaction.
Generate Report
There are a few things here. Firstly, we have a new PDF format called Protected PDF.
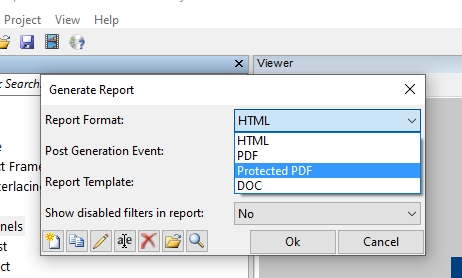
If you select this format then the result will be a Secured PDF. This is a restricted document that has editing disabled. Ideal for evidential reports.
Next we have a slight change to the reports. If you have used a default image format that has a low browser compatibility, such as TIFF, then the images will be automatically converted for the report to PNG. This does not affect your exported images or bookmarks, just the images in the report.
Formats
Many of you will know by now that with every update of FIVE comes a raft of new and updated formats, helping you to decode and convert directly in FIVE before you start your analysis, enhancement and presentation evidence. Many new codec and format variations have been received into support over the past few months and these not only help you in your analysis but also helps all other Amped Software users. Remember to contact us for any new formats you discover. Working as a team, we can all play our part in getting proprietary video decodable.
Bugs
It is an unfortunate but harsh reality that with any software the odd bug will creep in. Several users have reached out and have assisted us in squashing a few of these unwanted behaviors! If you find that something happens with the software, and you believe it to be an error, please remember to let us know.
Don’t Delay – Update Today
If you have an active support plan you can update straight away by going into the menu About > Check for Updates within Amped FIVE. If you need to renew your SMS plan, please contact us or one of our authorized partners. And remember that you can always manage your license and requests from the customer support portal.