Dear friends, welcome to this week’s tip! Inspired by a question from one of our users, we’re dedicating this tip to the various ways you can export results obtained with Amped Authenticate‘s filters. You’ll see there are different options that serve different needs. So, keep reading!
People working in the field know very well that even a brilliant image authentication job can become poorly effective if you don’t present results properly. To help Authenticate users present their case, we introduced Projects into the software more than one year ago. If you’ve never used projects before, take this opportunity to try them with no effort. Just open Authenticate, click on the Help menu and choose Open samples folder. Then open any folder and drag the .aap project file into Authenticate. This is what I get opening the project under the folder “03 – balcony”:
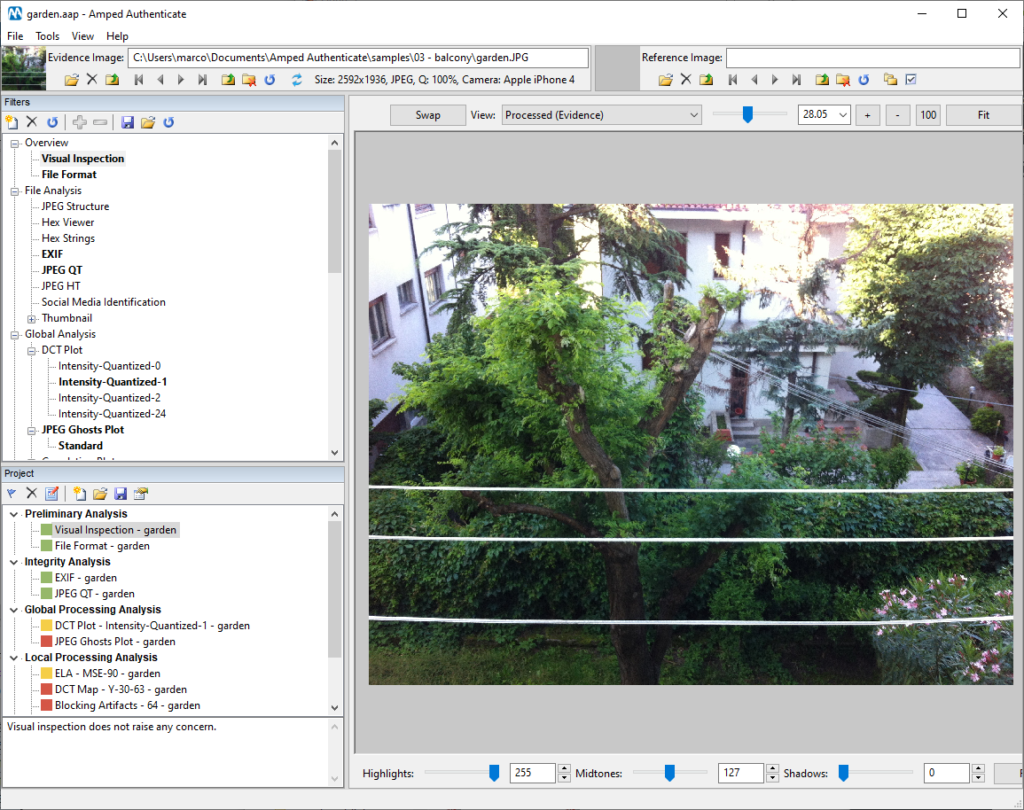
As you can see on the bottom left, the Project panel contains many bookmarked filters, grouped in folders. Each bookmark can be assigned a color to synthesize its warning level (green, yellow, and red) and a textual comment (you can read more about Projects in this post). When you’ve finished working on the project, save it, and simply click on the Tools menu and select Generate Report. After you choose the desired output format and report layout, Authenticate will generate a “report” folder in the same location where the project file was saved. Inside that folder, you will find the main report file but also the output stored by each filter that was in the project:
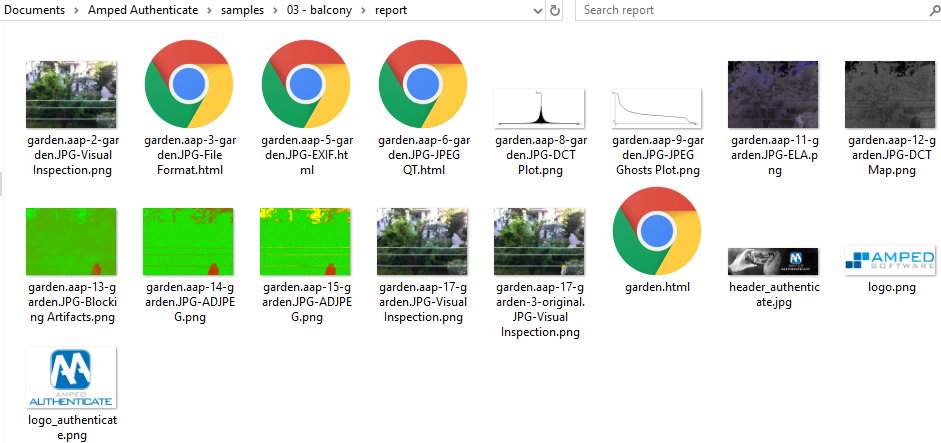
Now, let’s focus our attention on one point. The input image resolution for this sample project is 2592 x 1936 pixels. However, if you open one of the forgery localization maps, you’ll notice that its resolution is reduced to 600 x 448.
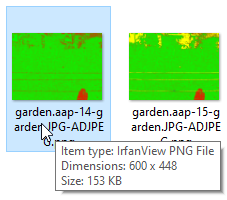
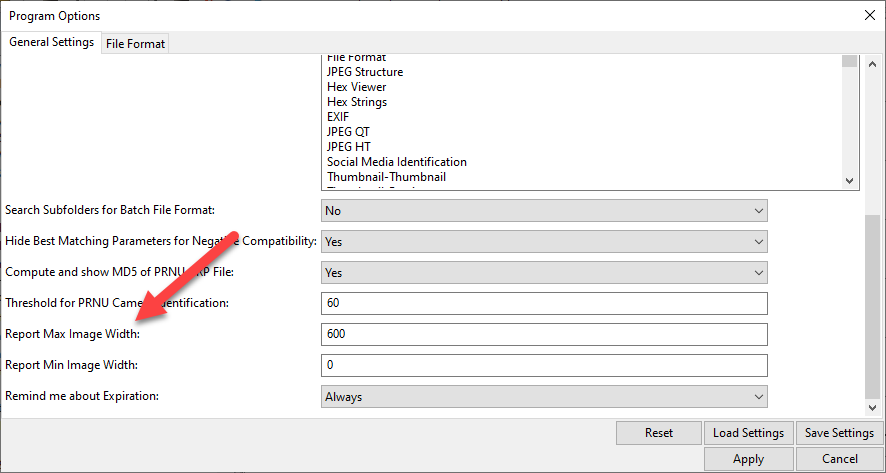
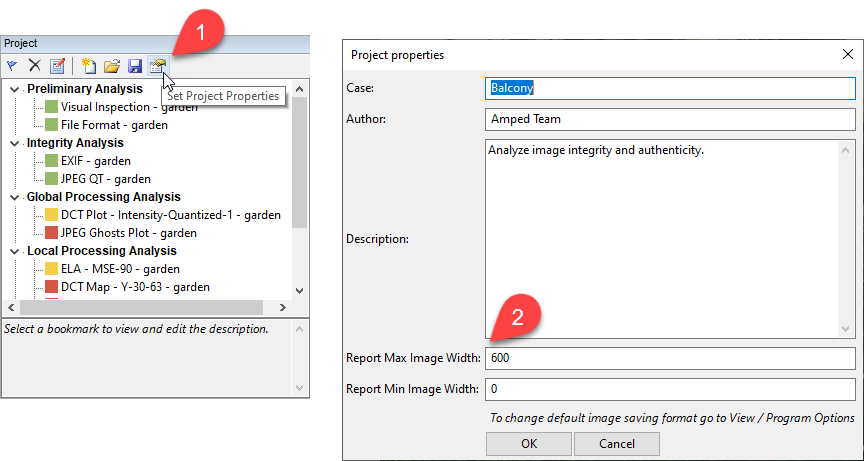
Why is it so? The maximum width of images included in the report is by default limited to 600 pixels to avoid the report folder getting too beefy and to allow to easily display/print the report. However, you can of course customize the maximum allowed size of your output image from the project’s properties:
But you may say: “okay, but what if I simply want to export to a file the bare output of a single filter?”. Well, in that case, you don’t necessarily have to go through projects. Just select the filter you’re interested in, then click on the File and then Save Result As.
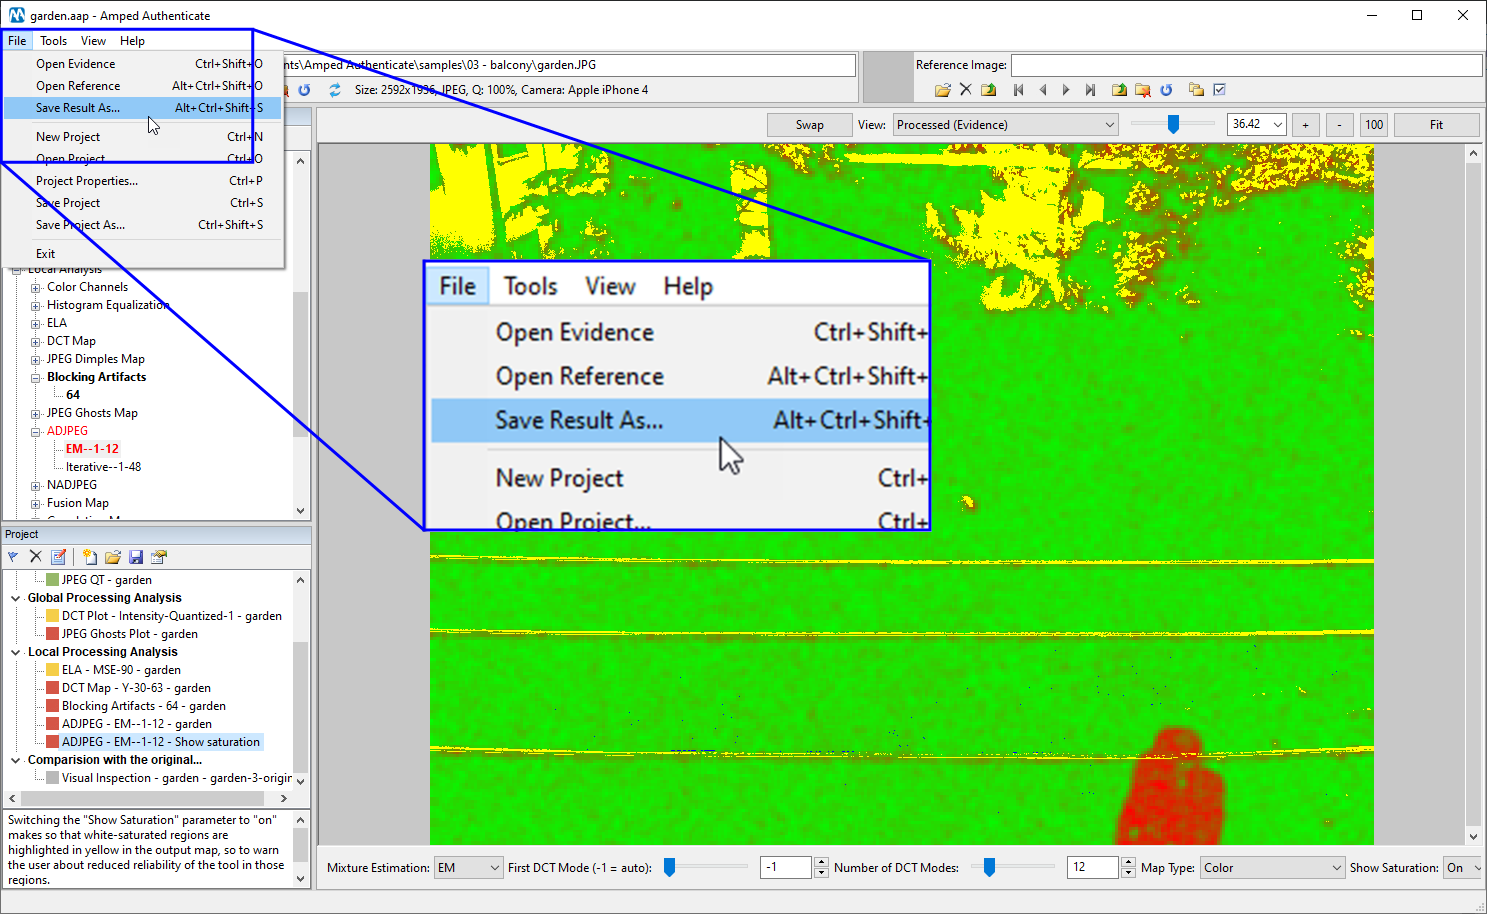
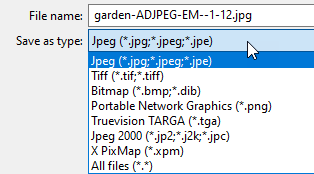
This will allow saving the exact output of the filter. In the case of filters whose output is an image, you can choose between a wide range of formats, including Bitmap (no compression) and PNG (lossless compression):
For filters whose output is a table (such as Exif, JPEG QT, JPEG Dimples, etc.) you can choose between plain text, HTML (better for including the output in reports or slideshows) or Tab Separated Values (better for importing the output in spreadsheets or feed it to some automated processing).
One special mention is needed for filters producing a plot. In this case, what you get with the Save Result As… can be made quite different than what you get in the report. Indeed, the Save Result As… command will attempt to save the plot exactly as you are seeing it in Authenticate’s viewer. That means, if you’re zooming on a part of the plot, you’ll get that zoomed view in the output image. Of course, if you want the full plot to be saved, just restore the default view (right-click on the plot and choose Fit).
As a final remark, remember that you can use Authenticate’s Batch Processing feature (available under the Tools menu) to automatically run all currently active filters on one or multiple images. To customize the size of output images you’ll get, just open the Program Options from the View menu and set the values as shown below: