
Ready for a hot summer? Amped Authenticate is! This third update in 2020 is hot! Keep reading to find out more – you don’t want to miss this one!
New Shadows Filter
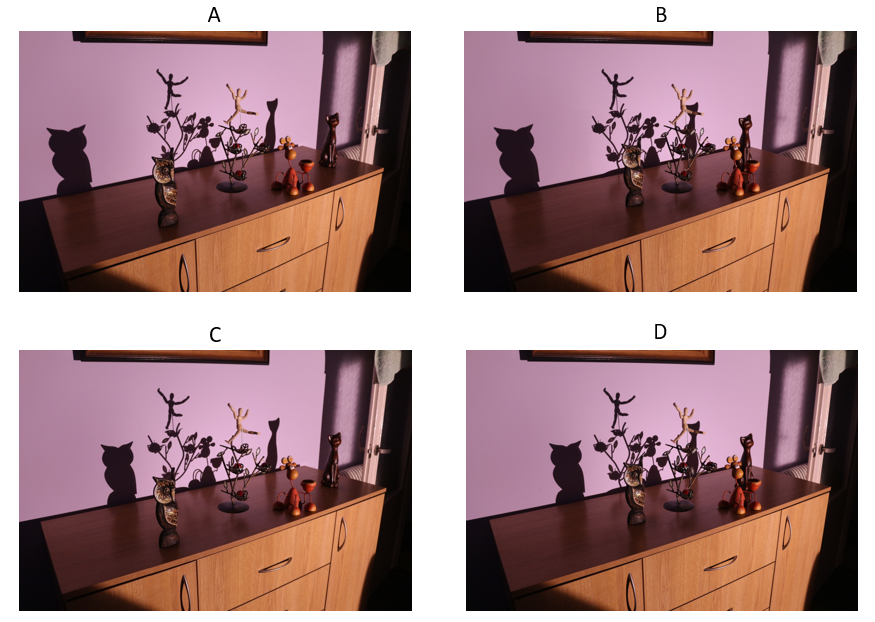
When creating a fake image, one of the things that’s harder to manipulate is objects’ shadows. The main reason is that the human brain doesn’t perform very well in checking the consistency of shadows, perspective, and other physical-geometrical elements in the image. Want an example? Of the four pictures shown below (click here to download them) two are real, and two are fake. However, most readers will have a hard time telling them apart.
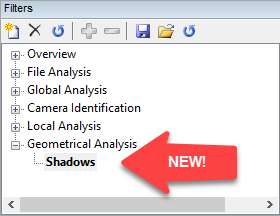
Well, after long and meticulous development and testing, we’re proud to announce the introduction of a new filter category in Amped Authenticate, called Geometrical Analysis, which hosts the new Shadows filter.
This is a big thing. The Shadows filter allows you to check the consistency of cast and attached shadows in an image. Compared to other filters, it’s much, much more robust to processing such as compression, downscaling, and recapturing. Being based on the physical elements and not on pixel statistics or file format, you may successfully apply this filter to images from social media, or to the scanned version of an analog picture, or even to single frames extracted from videos.
Definitions
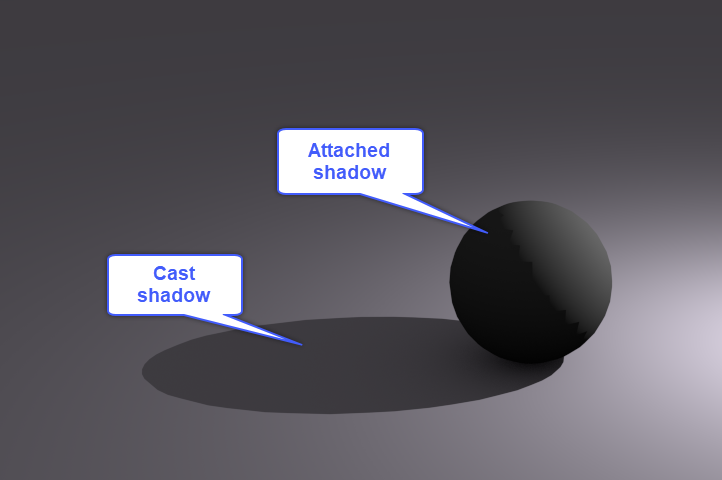
Before showing how it works, just a few definitions:
- cast shadows are those projected by some object on the ground or on another object;
- attached shadows are those projected by an object on itself, normally resulting in shading over the object;
- a “point-wise light source” is any artificial or natural light source that can be approximated by a point, e.g. the Sun, a light bulb, a spotlight. Long neon tubes are not point-wise sources, and the diffused light created by thick clouds is also out of the point-wise category.
The Shadows filter can be used on images where shadows are present and there is a single point-wise light source. Let’s see how it works with an example! We’ll use image A from the examples above.
Enable the new shadows filter
First of all, if you’re updating Authenticate from a previous installation, you’ll need to enable the new Shadows filter. Just right-click on its name and choose Enable from the menu.
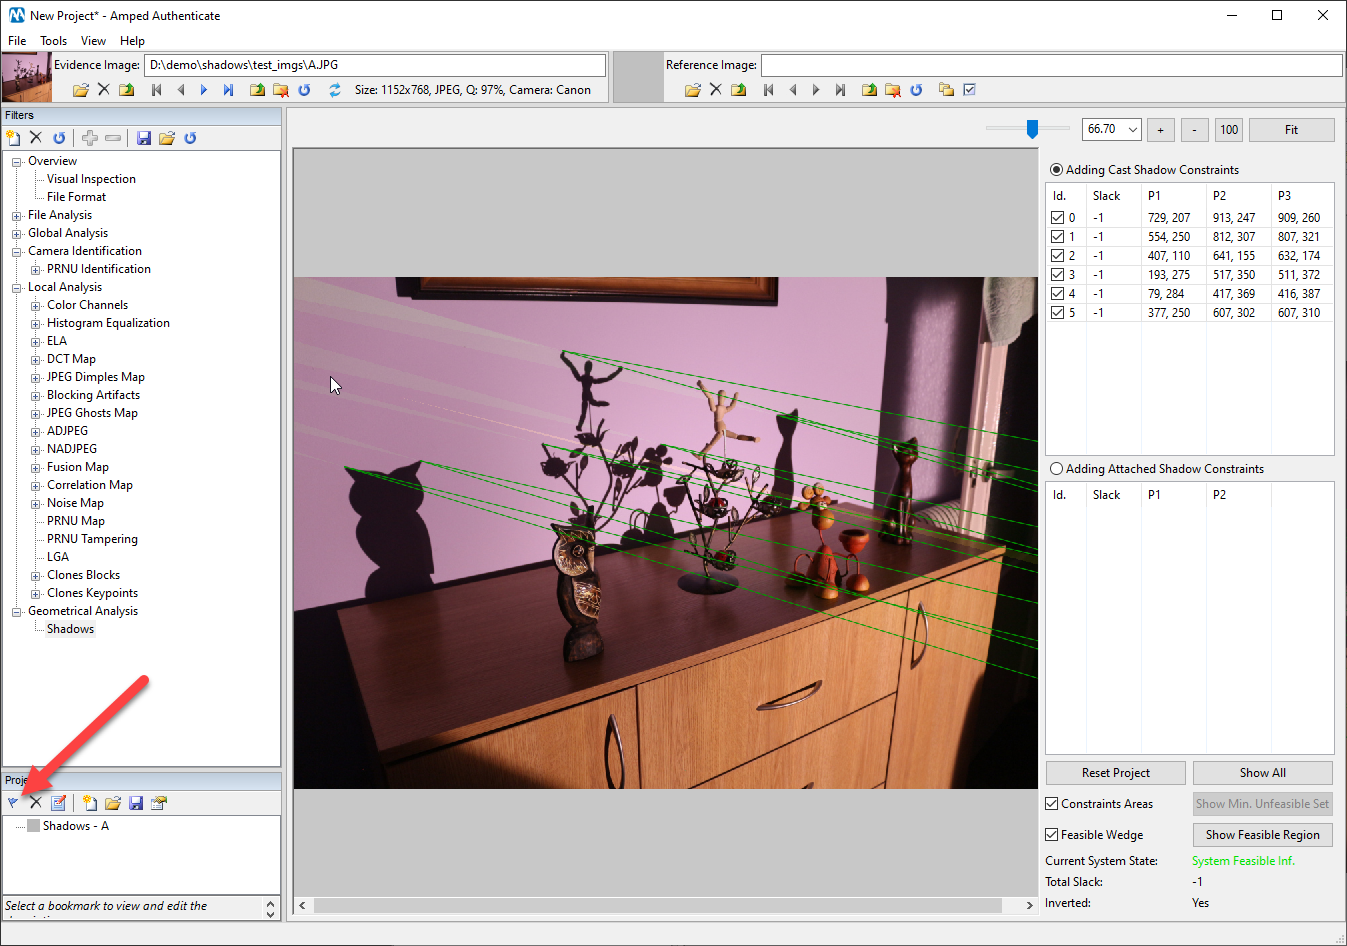
We can then drag the image into Amped Authenticate, as usual, and click on the Shadows filter, which will show us this user interface:

Wedges
For each cast shadow, the filter lets us define one or more wedges. Each wedge is defined by three points: the first, vertex point, stays over the shadow contour, while the two other points responsible for the wedge direction and width, stay over/near the object which projects the shadow. As shown in the video below, adding a cast shadow constraint requires to:
- Click on a point on the shadow;
- Click on a first point close to the originating point on the object;
- Click on a second point close to the originating point on the object;
- If needed, by pressing CTRL and Shift while moving the mouse, adjust the wedge position and width;
- Left-click for final confirmation.
As you can see in the video, you should make wedges as narrow as possible. Nonetheless, still in a prudent fashion: if you’re not sure about the exact point corresponding to the shadow, it’s better to choose a wider wedge which surely contains such point.
We keep adding cast shadows constraints for several objects in the scene. Each cast shadow constraint defines a wedge inside which the light source should be contained. Therefore, the Shadows filter continuously checks whether there exists an intersection region that is common to all wedges. If there is one, the system is “feasible”, meaning that all selected constraints are consistent. Otherwise, the system becomes “unfeasible”, which means there is at least one inconsistent shadow.
In our sample image A, after adding six rather narrow wedges from all objects, we see the system is still Feasible (the “Inf.” means that the intersection region exists but is not closed, so it has an infinite area, which is not a problem). We could keep adding more and more constraints and the system would stay feasible since picture A is authentic (did you guess right?).

When we’re happy with the work we’ve done, we can add a bookmark to save the current system state. Just click on the flag icon in the Project panel:
Shadow constraints
Let’s now load image B and work on that. Here is a video where we keep adding constraints until we reach the owl’s shadow, which makes the system unfeasible. The owl was indeed manipulated to change its position. We’ll leave the other two images, C and D, to your analysis!
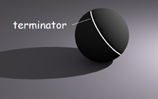
The Shadows filter also supports attached shadows constraints. These are less restrictive since each constraint “requires” the light source to be inside a half-plane instead of a wedge. They can be easily added by clicking on an object’s surface, in the point where the object begins shadowing itself (technically: a point on the “terminator”) and then adjusting the plane direction by moving the mouse while pressing Shift or CTRL.
The video below shows an example where two attached shadow constraints are added:
You may have noticed in previous videos that constraints are displayed in “compact” form after selection, so as not to crowd the image too much. At any time, however, the user can toggle the Constraint Areas checkbox to view all current constraints in full. Moreover, the current feasible region (if any) is displayed as a yellow polygon. If the polygon is not visible within the image, that’s because it is located outside the image. The user can make it visible clicking on the Show Feasible Region button.
There’s more about the Shadows filter. However, we’ll leave other details to the Program Manual. Of course, we’ll dedicate several future blog posts to this filter.
Improved PRNU Identification
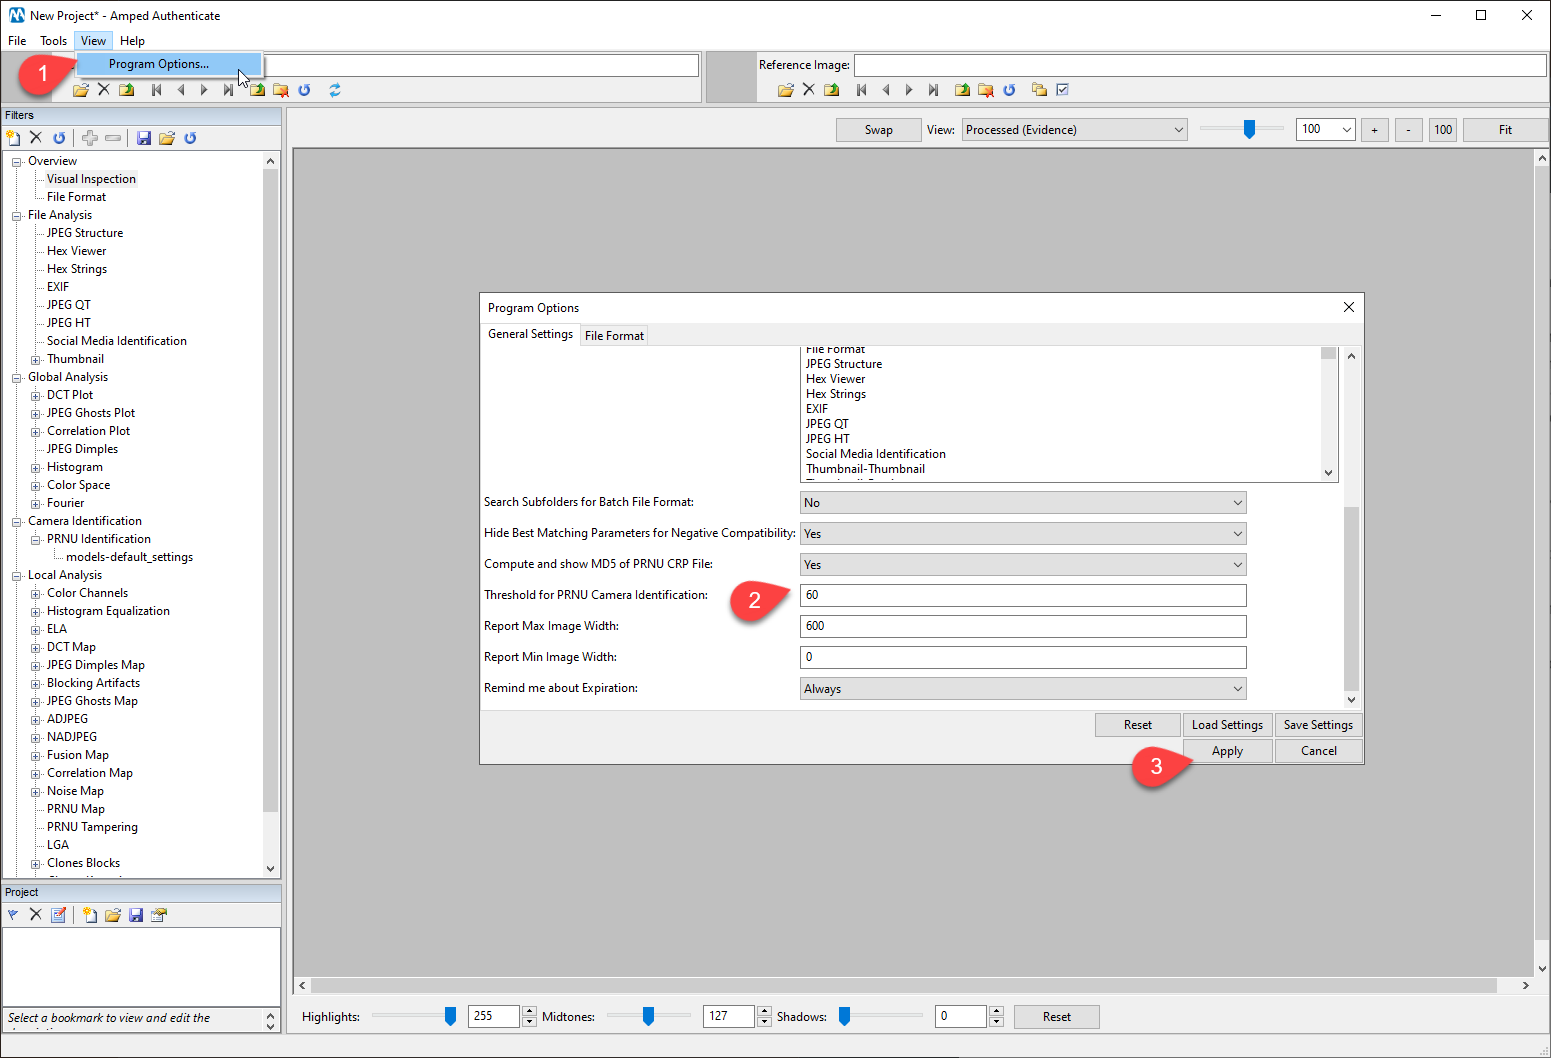
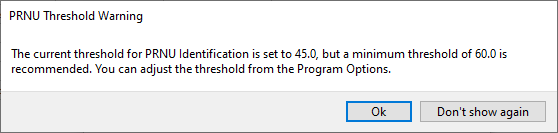
We improved the PRNU Identification matching algorithm so to make localization possible under more challenging cropping scenarios. As we normally do, we validated the new implementation against the VISION dataset, with great results. With a PCE threshold of 60, we were able to obtain 92% true positive rate for a modest 0.2% false positive rate. For this reason, the new default threshold for PRNU Identification is raised to 60 (from the current value of 45). We don’t like changing user settings automatically, so if you’re updating from a previous release we recommend that you manually raise the threshold to 60 from the Program Options, following the steps below.
If you don’t, you’ll be shown a reminder when you use the filter, and you can choose to snooze it by clicking on the Don’t show again button.
We also fixed some issues that prevented proper localization of the cropped region when the advanced search was enabled in the Advanced Settings File.
Support for Spanish and Vietnamese
We are proud to introduce support for two more languages, which makes Amped Authenticate even more polyglot than it was!
Bug Fixes and Other Improvements
We’ve fixed some bugs that made user experience less-than-optimal. If you spot any issue when using Authenticate, please let us know via our support portal, so we can fix it!
- Fixed a minor interface issue in Social Media Identification filter table;
- Fixed a bug that caused problems in report generation in Italian;
- Fixed a bug that caused poor performance of the Fusion Map filter in the previous release.
We’ve also added a folder called “16 – shadows” to Amped Authenticate’s samples folder (you can open it by clicking on Help -> Open Samples Folder…) Easy to guess, it contains some images and a project to practice with the Shadows filter!
Don’t Delay – Update Today
If you have an active support plan you can update straight away by going into the menu Help>Check for Updates Online within Amped Authenticate. If you need to renew your SMS plan, please contact us or one of our authorized distributors. And remember that you can always manage your license and requests from the customer support portal.


