
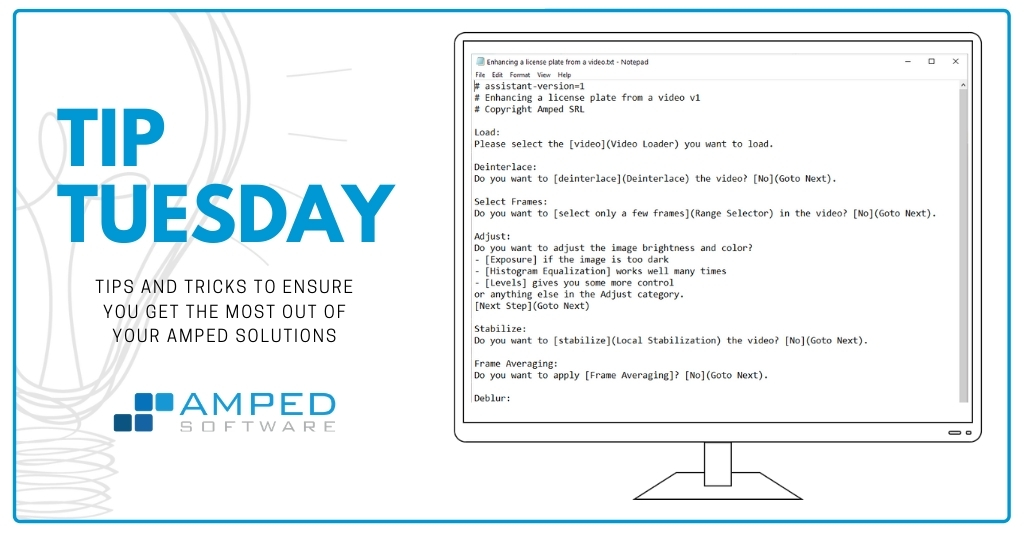
Ciao Tip Tuesday friends! This week we have a special surprise. We are pleased to dedicate the first Tip to our newest product Amped Replay. Replay is an enhanced video player designed to help even nontechnical users in their daily work with forensic images and videos. It covers the acquisition, triage, essential enhancement, redaction, annotation, and exporting phases. All of that served with Amped’s special seasoning, that is, forensic soundness. For a full product presentation, just visit this page, or watch this video. Today, we’re focusing on a great feature in Amped Replay: the Magnify annotation tool. It lets you create compelling and attractive zooms of selected areas in your frame.
The Case
Let’s imagine a case where a robbery takes place in a chemical factory. The offenders drive away in a car. The stolen material could be easily weaponized. The ability to readily send out a video to the media showing the vehicle means that you can turn all citizens into patrols looking for the criminals’ car. But you need to do it quickly, in minutes.
The closest police patrol arrives on scene. The officers head to the CCTV recorder and grab a video showing the offenders’ vehicle. The officers get their laptop out, fire up Amped Replay, and the video is ready for inspection. The suspects’ vehicle is quite visible, as shown below:
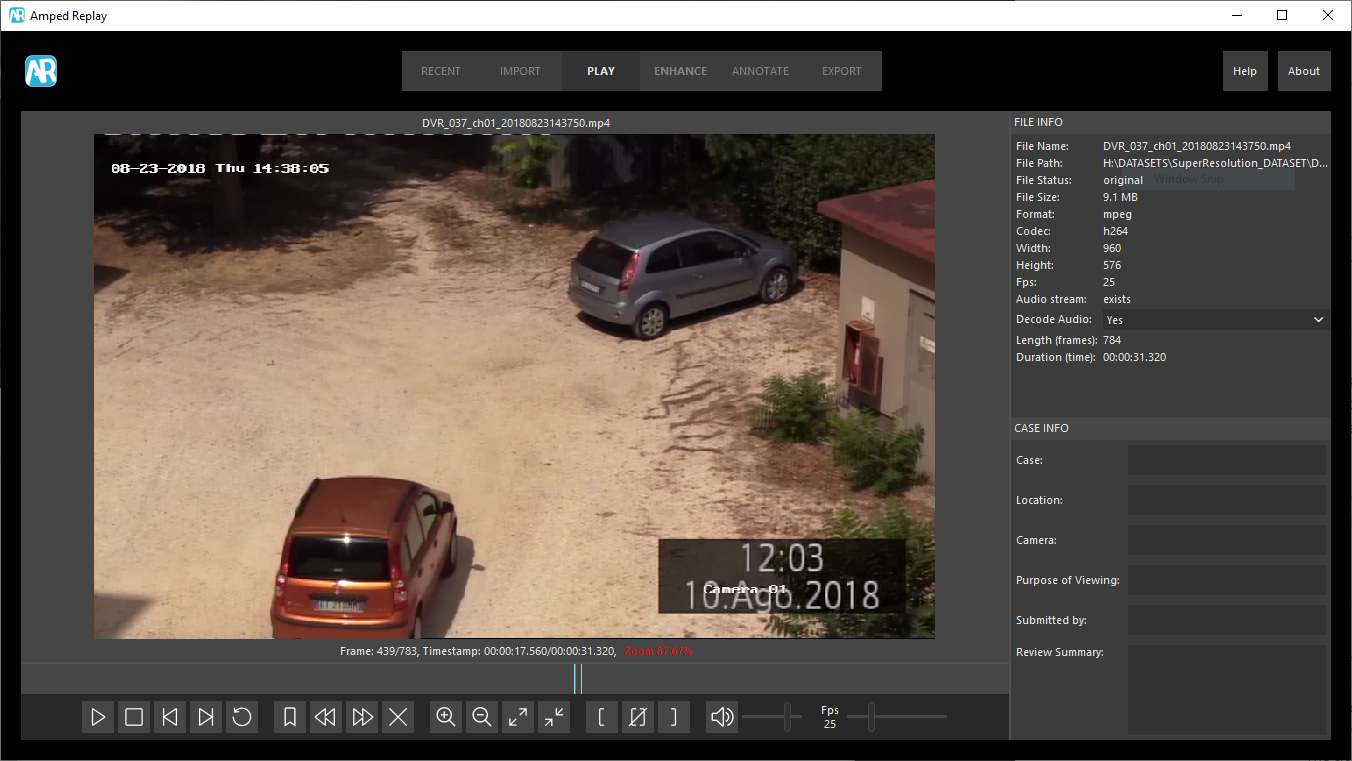
The aim is to release a picture that maximizes chances of identification by citizen witnesses. It is advisable to crop the video leaving just the offenders’ car, and make so that both the vehicle model and license plate can be seen, even if shown on a TV screen in a pub.
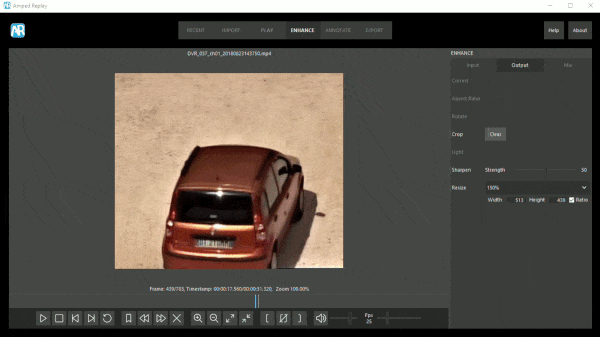
Enhance
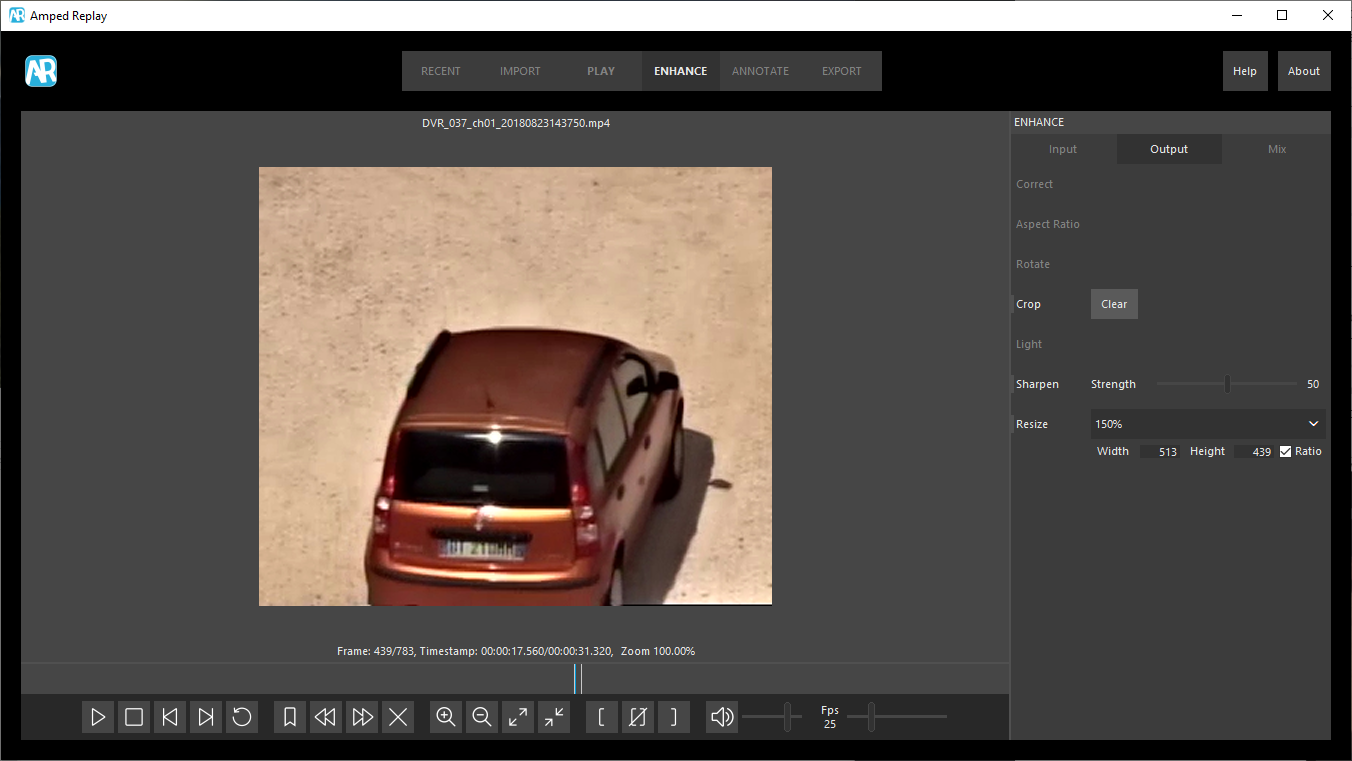
By clicking on the Enhance tab, we can set the cropping region. Then, we apply some sharpening and resize the picture in less than 20 seconds:
Magnify Tool
Now we’d like to make the license plate more visible, while simultaneously keeping the vehicle visible as well. We head to the Annotate tab and click on the Magnify tool. While designed to do a simple thing, this filter is highly configurable to allow you to precisely get what you want.
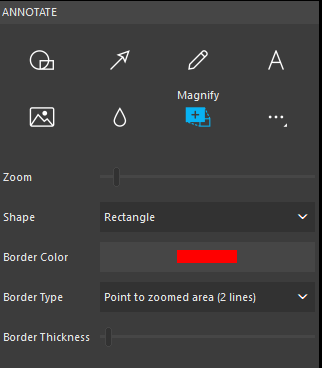
In the animated image below you can see how to proceed. We first draw a rectangle where we’d like the magnified area to appear. Then, by dragging the blue dot we select the source area (dragging the green dot, instead, moves the destination rectangle). Finally, we set the border to make clear what we’re zooming and we increase a bit the zooming factor.
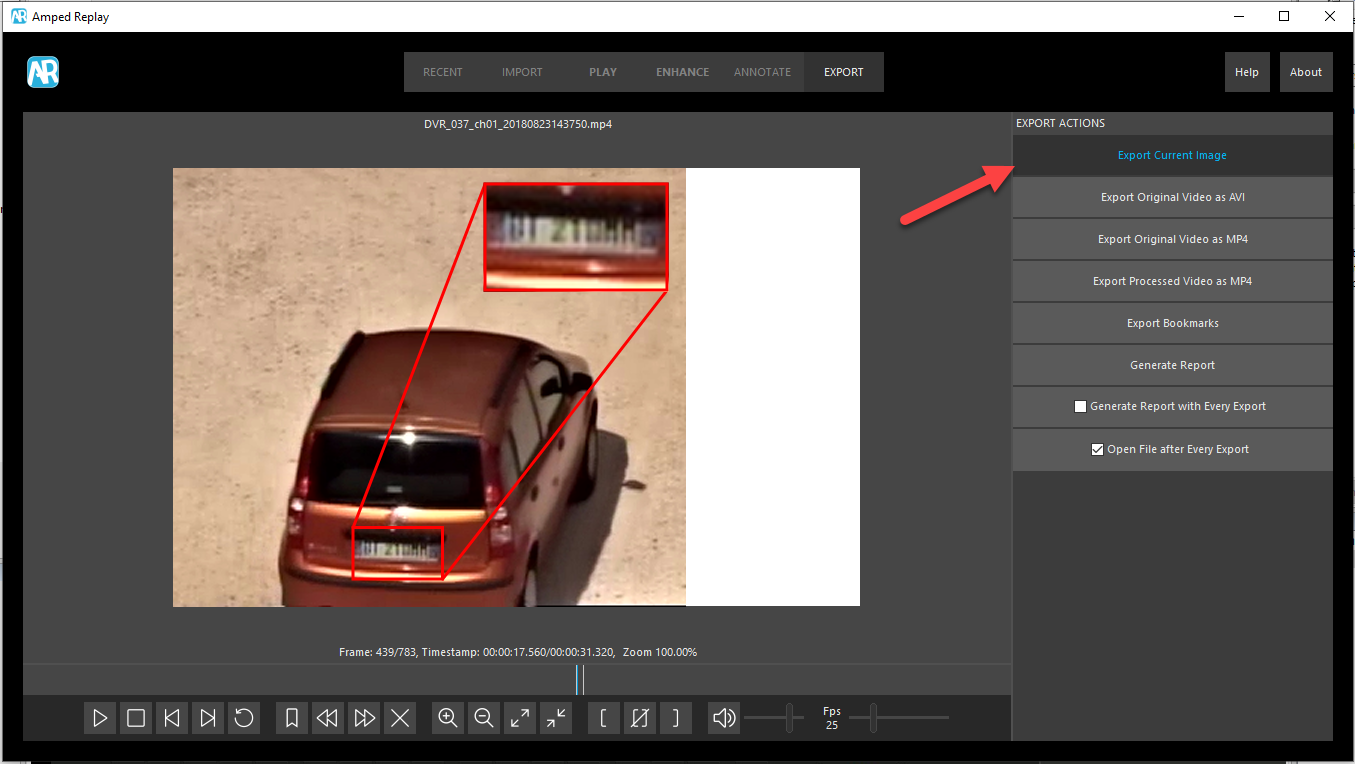
Export
We can now use the Export panel to save the frame to a file and hand it to the media for immediate distribution.
Conclusion
Done! In less than 5 minutes, we viewed the video, selected the best frame, cropped and sharpened it, annotated it, and exported it. We hope that with this simple example you can see the importance of equipping frontline officers with a simple, yet versatile tool, such as Amped Replay.


