Using the differences between images is a powerful technique to assist in processing and analysis within Amped FIVE.
There are many ways that the differences in images can be used. The first one, and probably the most common, is to remove duplicates. Understanding how the Remove Duplicates filter works is important, as it opens up other possibilities that may not be immediately obvious!
Here we have a pretty standard looking H264 Video inside the .mp4 container. Once loaded, certain information starts to raise questions.
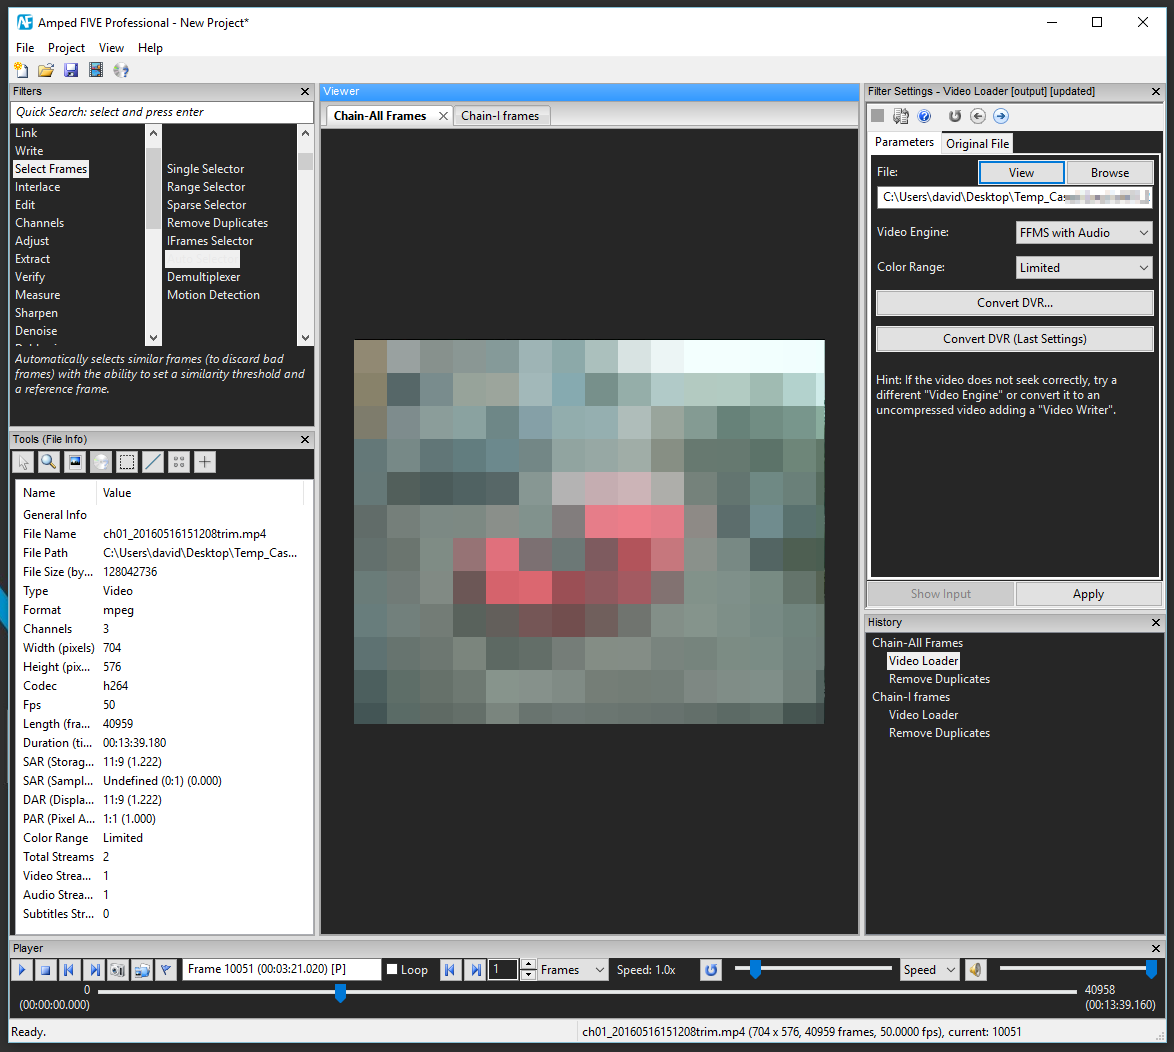
Firstly, I see we have an audio stream. Enabling the FFMS with Audio Video Engine reveals that the stream is a series of irregular clicks. I hear this a lot with systems that allow for audio input, but no mic is connected.
The next issue that stands out is the FPS. It is detected in the FileInfo Tool as 50.
In the Advanced FileInfo tabs, the video stream is detected as having 25FPS.
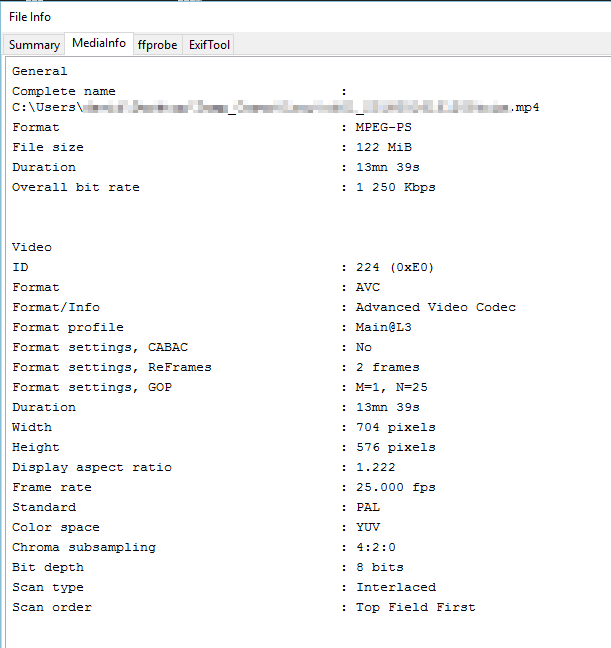
Again, this is a regular issue. Reduced or variable frame rate videos can be kept in synch with a real-time audio recording by using duplicates. By filling in the video with duplicates, even if it were set to record at 7 FPS, it would keep in synch with any audio. Remember that this is done during the decoding stage. The duplicates aren’t actually there.
You may have noticed that this video is interlaced as well. Remember – a lot of surveillance video starts off with the interlaced analog signal, but the recording gets stored progressively. It’s nice to see this reported and dealt with correctly for a change. I am not going to deinterlace yet. The reason for this is that the field artifacts provide good movement detail. I’ll deinterlace after I have removed my duplicates.
The Remove Duplicates filter has a default threshold of 0.0500. This means that every frame is compared and if they have a difference higher than this, they are retained.
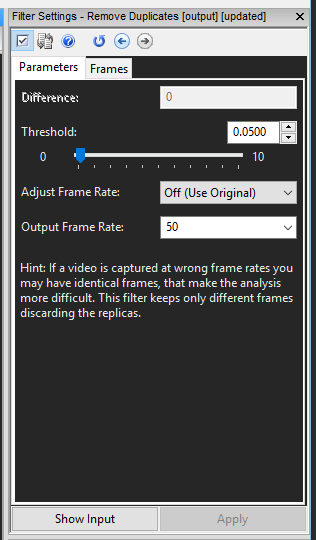
It’s also possible to then adjust the output frame rate to compensate for the removal of all the duplicates.
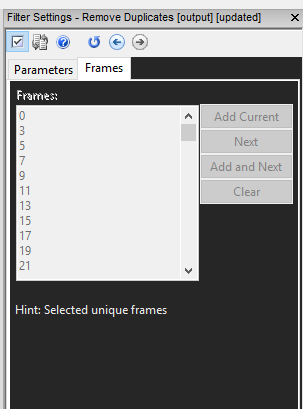
After hitting the Apply button, FIVE does its work, and a few moments later every duplicate frame has been removed, and these are listed under the Frames tab. Remember that they are also all listed in the report.
OK, that’s great…but it gets better!
There are a few more challenges with this file. One of them is that every frame is detected as a Mpeg P frame. After removing the duplicates, and moving frame by frame through the video, it’s possible to clearly see the complete refresh of every macroblock in every 25 frames. It has a GOP (Group of Pictures) of 25.
So, if I need to select every I frame, and the data is not being read correctly, what options do we have? I can’t use the Iframes Selector filter as this uses the data. We have to use the images instead.
Every filter in FIVE has the Show Input button. This takes you back to the previous filter but retains the ability to change the current filter settings. With the Remove Duplicates filter, the difference between each frame is now presented, as these were calculated during the first application of the filter. By moving frame by frame through the video, it’s possible to review these values.
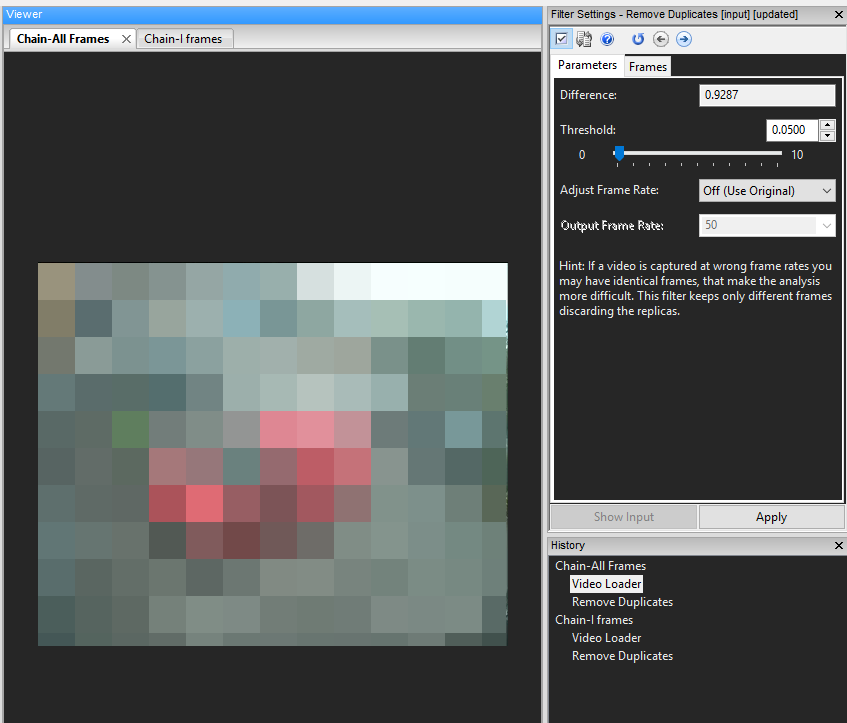
The duplicates, therefore, have a value of 0. Every P frame reports a low change value of between 0.3 and 1.2. What do you think happens when I see all the macroblocks change, indicating an I frame?
The difference jumps to over 2.5.
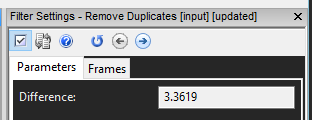
Using this knowledge, I can copy my chain and use the Remove Duplicates filter again. I now increase my threshold to 2.25.
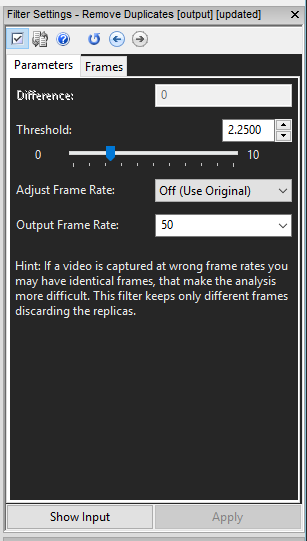
After applying the filter, a few minutes later I am left with just the 820 ‘I’ frames.
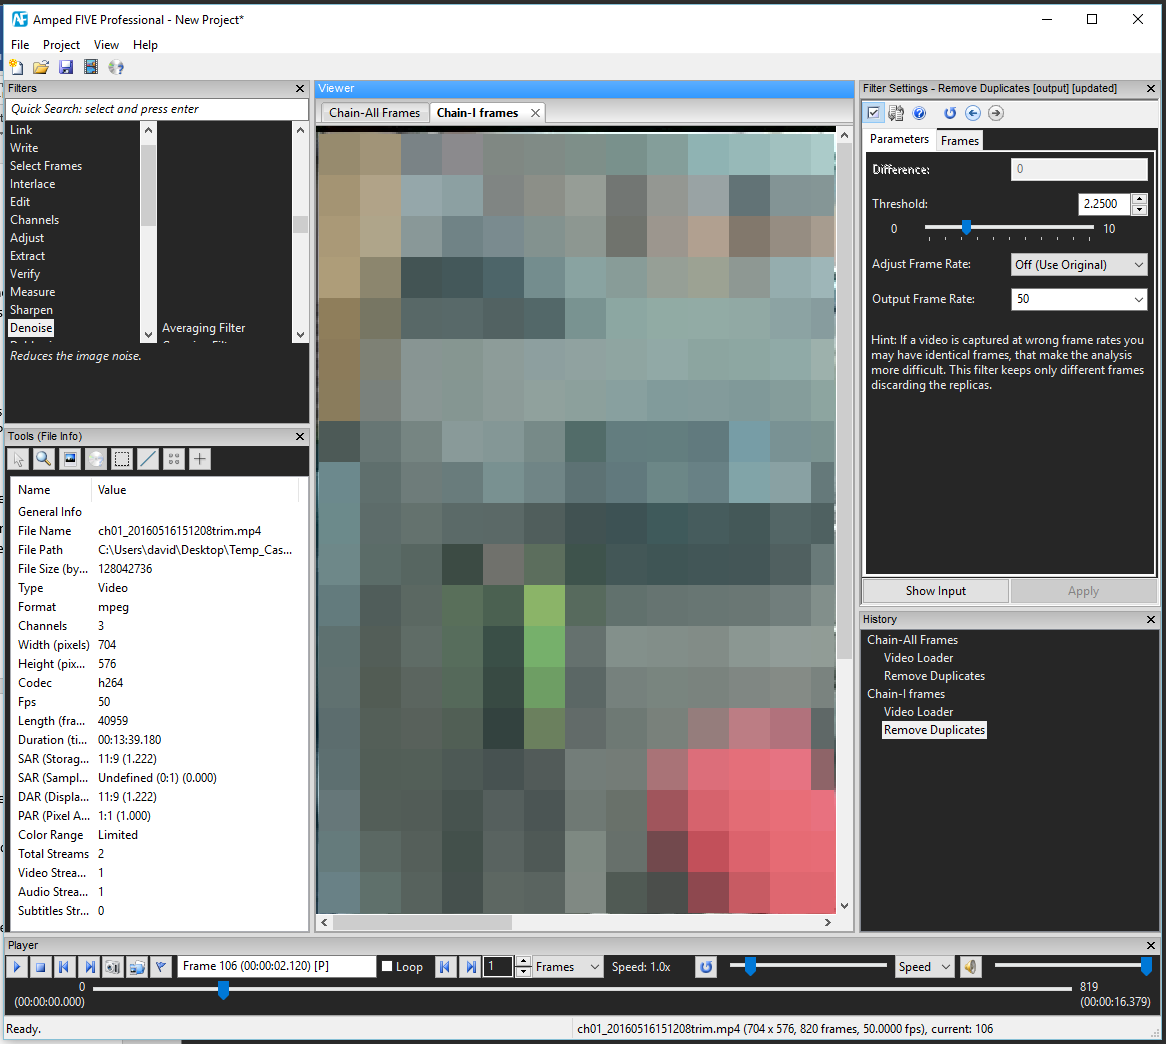
We have used the differences between images to assist in our processing when the frame data cannot be used. This same technique can be used with the many hybrid mpeg / jpeg codecs utilized by some CCTV manufacturers.
What about analysis then?
Identifying differences between various images is a very important analytical process. You may remember a recent post detailing the Aspect Ratio filter. There were two methods used to correct the Aspect Ratio of an image. To assess their differences, I used the Video Mixer Filter.
I use this method a lot to assess differences between multiple images that appear the same.
The image below is coming from a popular player / video combined executable. It offers a number of options for exporting images and video. What are their differences and how we can we present this information to validate our chosen processes?
In this project, I have a number of chains:
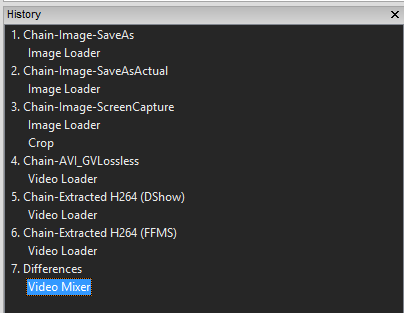
Chain 1 contains the image obtained from utilizing the player ‘Save As Image’ Function on a specific frame.
Chain 2 is similar, but I selected ‘Actual Size’. This produced an image of 352×288
Chain 3 is a loss-less screen grab of that frame. As the interface was included, I have then used the Crop filter to select just the image. This resulted in a 720×540 Image that was the same size as the image in Chain 1.
Chain 4 is an AVI export using the video export function of the player.

I selected 352 x 288 as this was the size of the image produced when exporting ‘Actual Size’ (Chain 2). There are only DirectShow codecs listed for use. No option for copy stream and no uncompressed choice without adding this first as a DirectShow Codec.
For Chain 5, I have extracted the raw H264 stream from the executable using a separate data extraction technique. This raw stream was decoded using the Directshow Video Engine, but it could not scrub (unindexed!)
Chain 6 is the same H264 stream, but I have utilized FIVE’S Convert DVR functionality to place the raw stream into an AVI container. This now decodes correctly with the FFMS Video Engine.
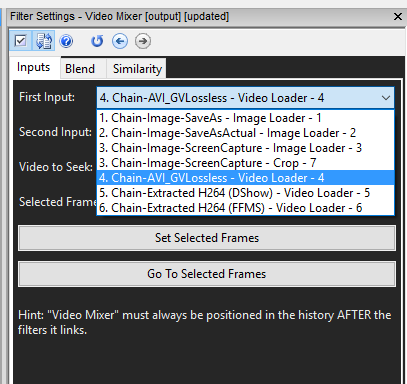
So, what now? Well, you may have noticed chain number 7. This gets automatically created when you select the Video Mixer Filter.
I can now decide what chain and specifically, what filter to use, to assess the differences between each one. Very quickly I can establish what processing method is best for a specific task and document any distortion or color loss.
And yes – with this player we get both!
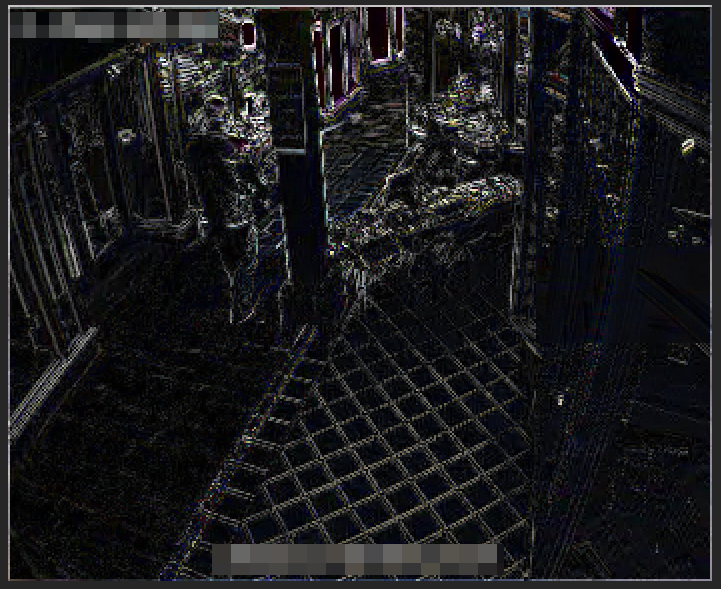
The only differences between the Actual Size Image (Chain 2) and the Extract H264 Frame (Chain 6) should be the date/time/camera info overlay. The rest should be black.
As a result of my analysis, I can document that using the Lossless Codec for video presentation does not change the shape of the image but there is a color difference. This may or may not affect my case.
Luminance levels, Color Changes, and image distortions are all visible in every export method provided by the player. The screen capture option produced the most changes with severe distortion in the presented image to edges and detail.
Using the Video Mixer and selecting the blending option of Absolute Difference really does highlight some of the changes that are hard to see.
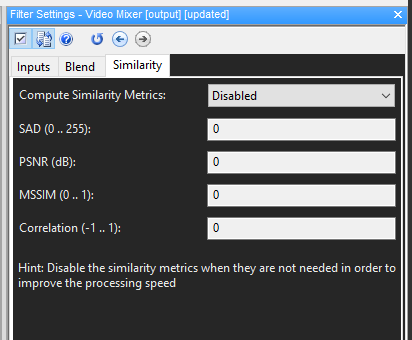
Remember also that if you are looking for the mathematical value of differences to compare one against the other, then enable the Similarity calculations.
I hope this helps to understand all the various capabilities available to you when using differences in your processing or analysis.
We are working hard at the moment testing some fantastic new features for Amped FIVE. Subscribe to the blog to get all the news as soon as the new update is available to download.


