
Dear Amped friends, welcome! Today we’re sharing a tip that’s been waiting for too long: it’s about Amped FIVE‘s Assistant! It’s a very powerful and handy tool. Many users tend to forget about it just because they’ve never tried it! We’re thus dedicating a mini-series to the Assistant. Take a breath and dive with us!
People who attended an Amped FIVE class know how much emphasis we put on following the correct video enhancement and restoration workflow. We really do our best to teach students how to recognize the defects in a video, how to trace them back to their cause, and finally how to design a suitable enhancement and restoration chain. At the end of almost every training, there’s some student who asks: “Could you please give me a cheat sheet, something that I can follow in my everyday work”? The Amped FIVE Assistant was created as an answer for them. But it’s super useful also for more skilled users that don’t (feel they) need any cheat sheet.
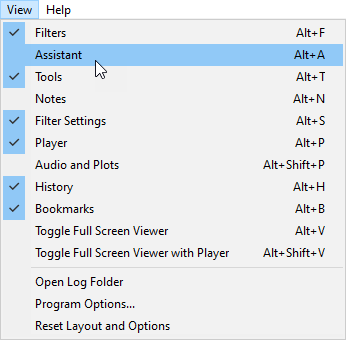
First of all, what is the Assistant? You’ll find it in a panel on the bottom left, by default. If you don’t see it, just go to the View menu and enable it.
And here it is, with its friendly look:

Now, if you’re at your workstation, why don’t you open Amped FIVE and walk step by step with us? Otherwise, just keep reading and trust our screenshots 😉
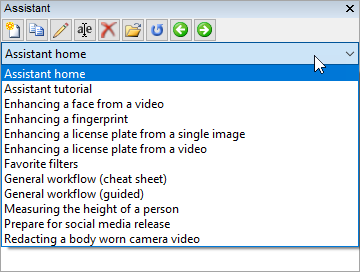
Let’s just follow the Assistant‘s advice and open the drop-down menu. We have a lot of default workflows that, I’m sure, sound quite familiar to you!
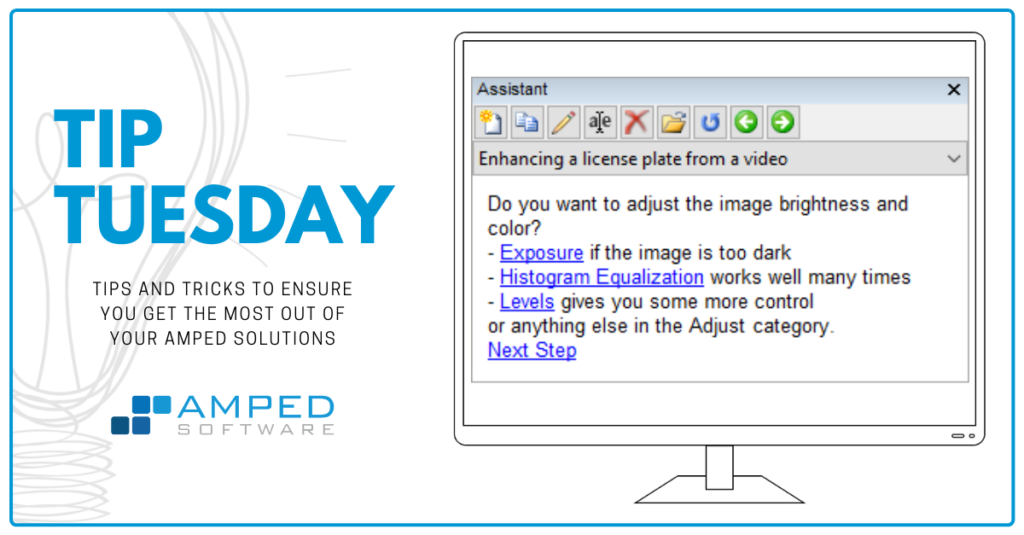
We select Enhancing a license plate from a video, just to watch together how the Assistant works. After selecting the item, we’re presented with a text message with a hyperlink (“video”, written in blue).
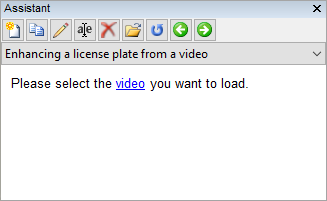
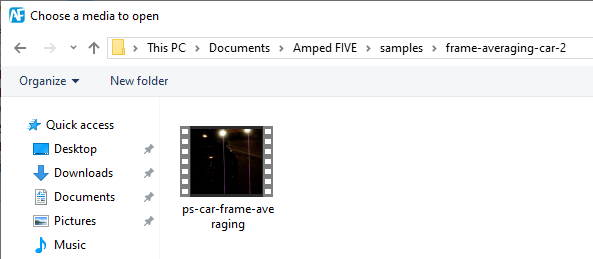
When you click on it, the Video Loader filter will be added to your chain automatically, and you’ll be asked to select the video. Let’s choose the frame-averaging-car-2 from Amped FIVE’s samples folder.
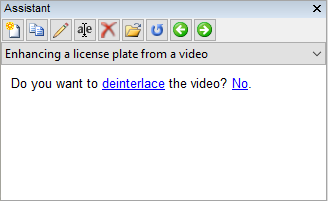
The video is loaded and the Assistant automatically goes to the next step: do we need to deinterlace?
Two comments are in order here:
- The order with which filters are proposed is not random: it has been thought to fit properly in most cases. For example, deinterlacing is normally the first thing you should do in your restoration chain because interlacing was the last thing that happened during video acquisition. Applying Deinterlace later could be ineffective or detrimental.
- Like a real assistant, Amped FIVE’s Assistant won’t take your place: you will be the one making decisions, always. The Assistant‘s job is to suggest or remind you which of Amped FIVE’s hundreds of filters you may need at that moment.
Back to our example: we zoom in and determine there’s no need to deinterlace, so we just click “No”. The Assistant then prompts us if we want to select a range of frames. But in this example, there’s no need to, so we say again “No”, and we’re presented with this view:
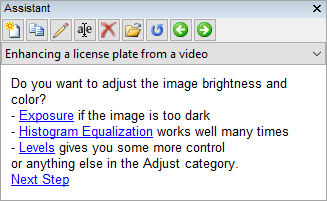
Here we can choose one of three possible Adjust filters, or we can just move to the next step. Let’s try with Histogram Equalization.
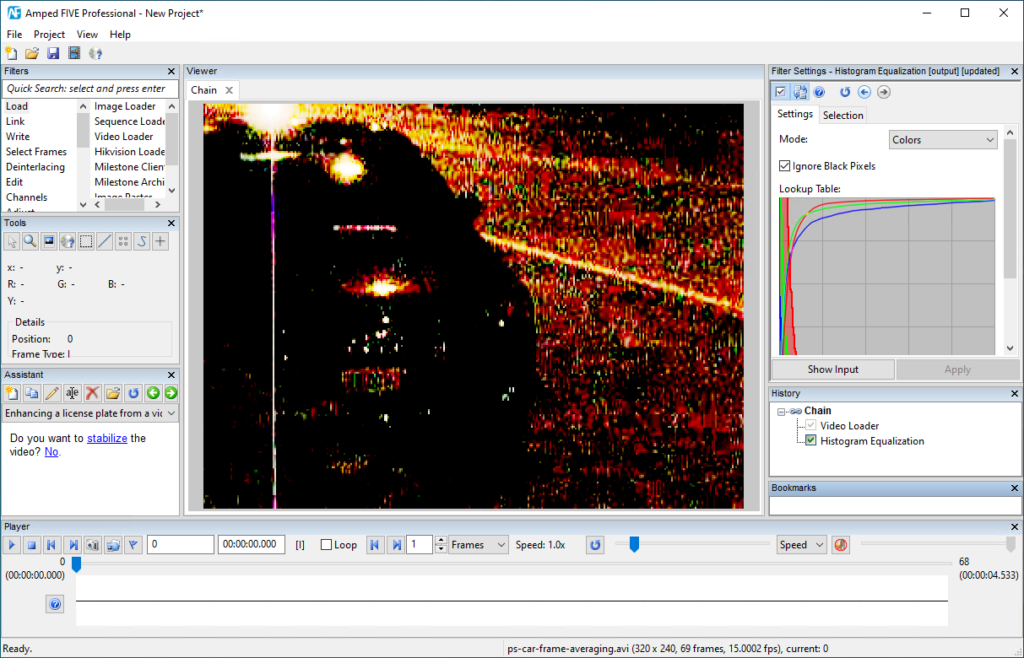
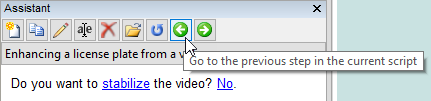
Better, but we may want to try another one. Can we go back one step? Sure! Let’s first delete the Histogram Equalization filter, and then click on the back arrow to move to the previous message:
We choose Exposure and configure it, and then we accept the Assistant’s suggestion to stabilize the video, and the subsequent one about using Frame Averaging, and we’re here:
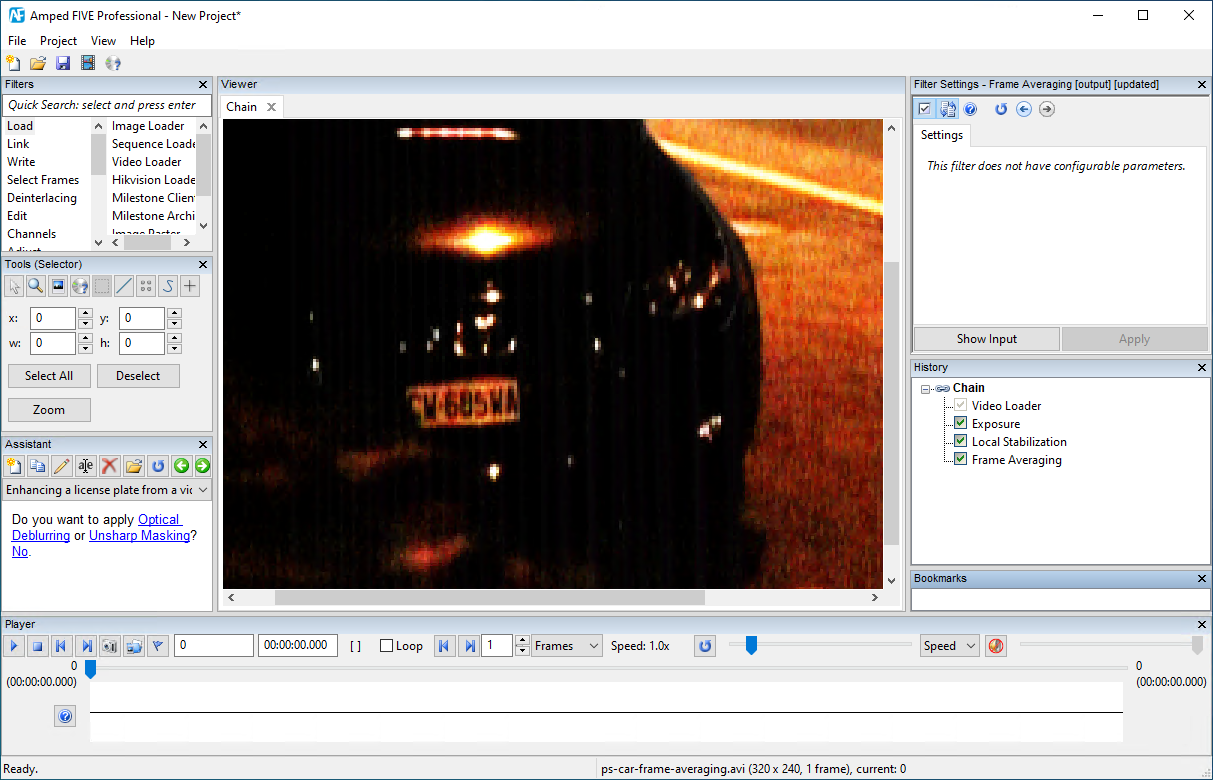
Much better, and indeed, many users would stop here! But the Assistant comes and says “Pssst! You may get it even better!”
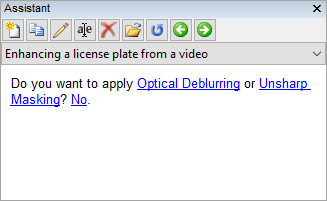
And, it’s right! Pixels are indeed slightly blurred and mixed with the background! We accept the Unsharp Masking suggestion, and the image actually improves a bit!
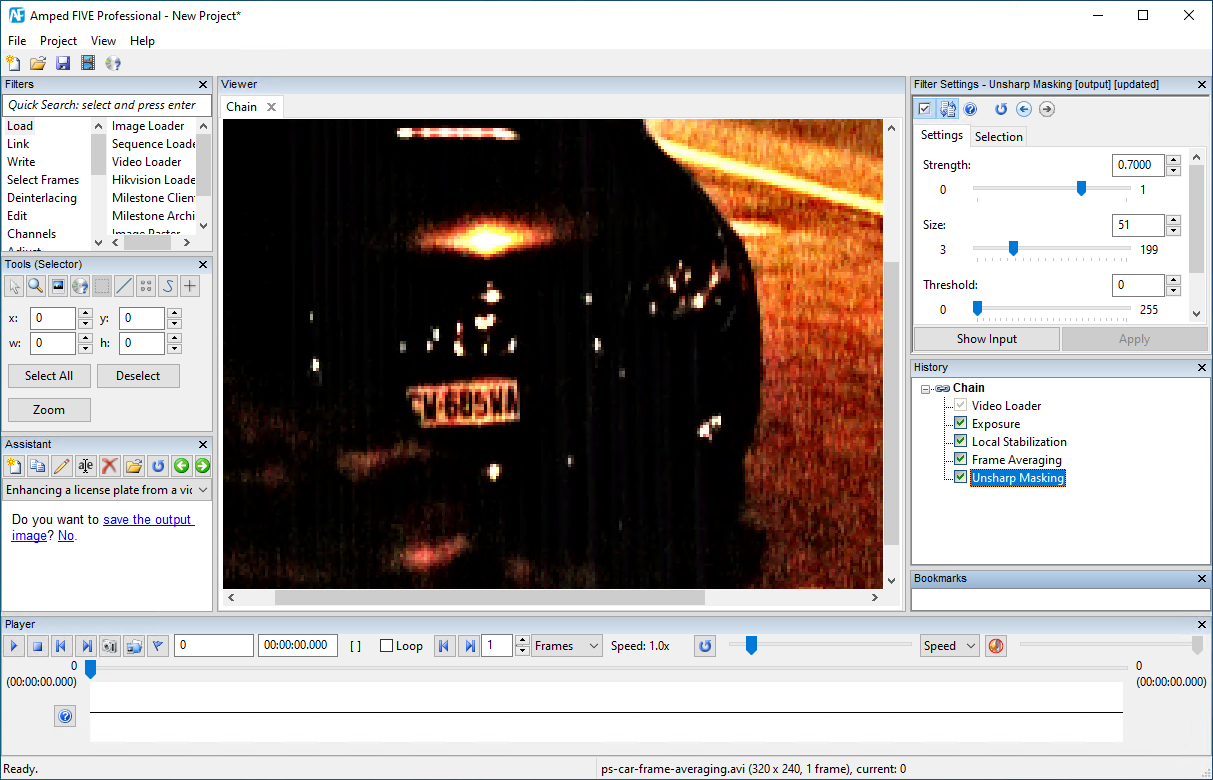
The Assistant then wisely suggests to export the image to a file, and we’re done.
Now, maybe reading this tip took a while, but trust me, working with the Assistant is much much faster once you know you have it. We’ll finish this tip here, but if you still have a few minutes, play around with the Assistant.
Those who are thinking “Hey, I just wanted a cheat sheet, man!” may take a look at the General workflow (cheat sheet) item, while those willing to refresh their knowledge may consider the General workflow (guided) item.
Next week, we’ll see how you can customize workflows and create your own. You’ll discover that the Assistant can be a great ally for big things, such as implementing your unit’s Standard Operating Procedures (SOPs), and for small things, such as creating a list of your favorite filters.


