

Hello, Tip Tuesday friends! Here in Italy, it keeps getting warmer every day. If the trend doesn’t change, soon our thermometer will saturate! Never heard of this term? It’s quite an important one in forensic video processing! Keep reading to find out its meaning and its implications when working with Amped FIVE.
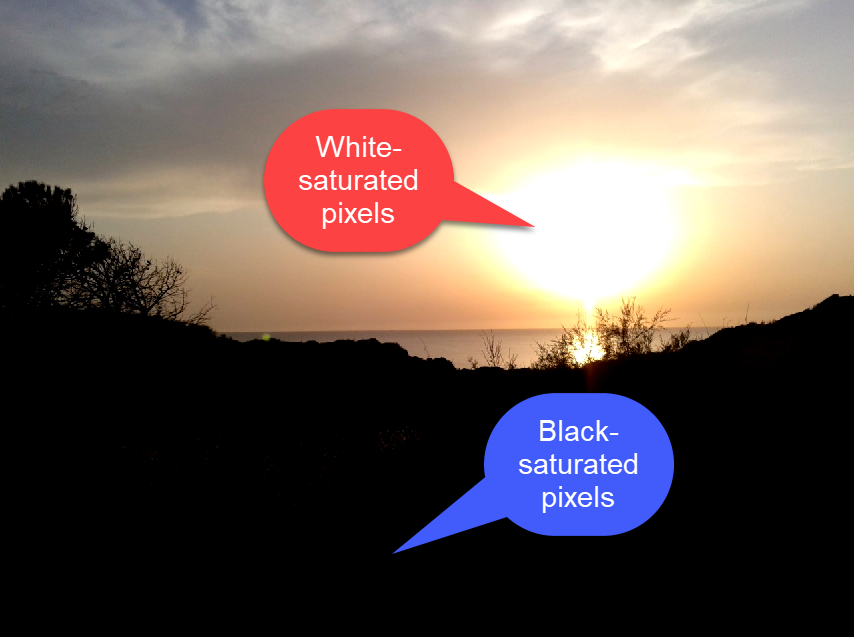
“Pixel saturation” refers to the fact that some pixels in your image may be (or become) totally black or totally white. Unfortunately, it is quite common, especially when dealing with infrared cameras. The reason is quite simple: pixels can take values in a finite range. Cameras normally try to fit “as best as possible” the captured scene into that range. If the image contains both very dark and very bright regions, some pixels may go “out of range” and be represented as totally white or totally black. This is what happens in the example below.
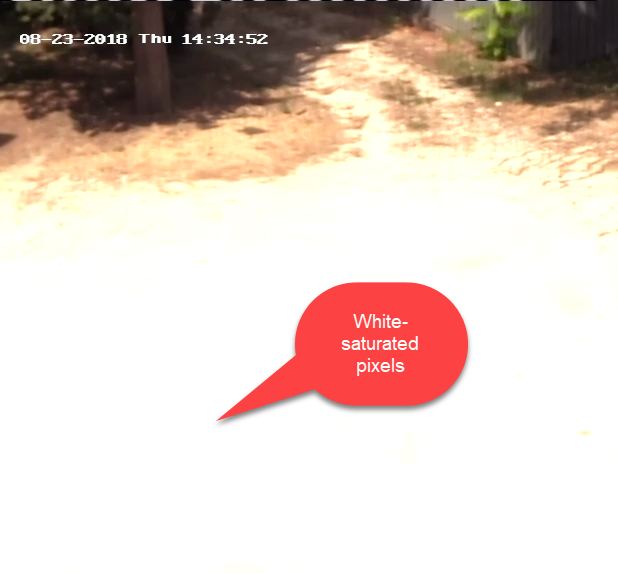
In some other cases, the camera is just configured badly, as in the example below. We have “unnecessarily” saturated to white some pixels. This could have been avoided by the camera with better levels balancing. Although it may sound counterintuitive, it is normally preferable to have darker images rather than brighter ones, because it’s typically harder to reach black-saturation. It is not uncommon to find, hidden in the noisy dark regions, important information that can be enhanced, e.g. increasing the exposure and averaging frames.
Saturated pixels are something we don’t like because saturation is a point of no return.If a pixel in your image is saturated, there’s no way to recover information about what was there.
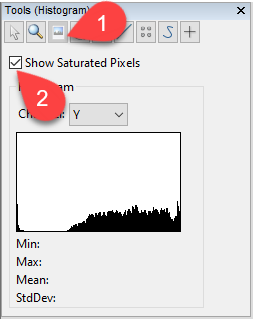
Therefore, if someone asks you to enhance a license plate whose pixels are all saturated, there is a piece of bad news. You just can’t do that. However, there is also a piece of good news: you can tell immediately because it just takes the time to realize that pixels are saturated. And with Amped FIVE, that time is… nothing. All you need to do is head to the Tools panel on the left. Click on the Histogram tool, and enable the “Show saturated pixels” checkbox.
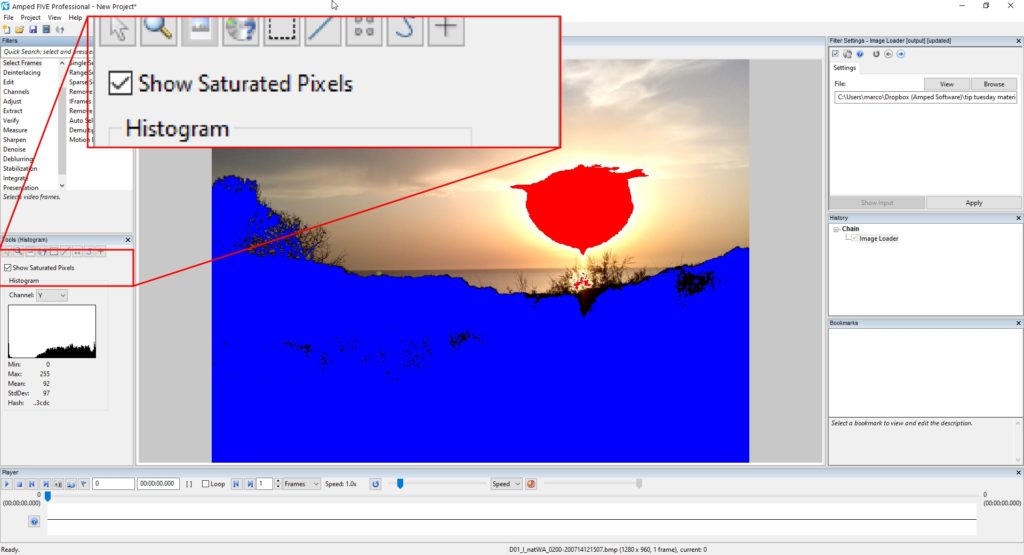
You’ll notice that all black-saturated pixels will be highlighted in blue, while all white-saturated pixels will be highlighted in red.
I like working with this feature enabled, because it is a way to have a continuous health-check of your pixels of interest. For example, if you’re working on a license plate or on a document, you want to know if any of your filters cause some pixels to saturate!
With that said, we should keep in mind that image enhancement is dedicated to improving the visibility of an object of interest. If you’re interested in a person’s face, it is perfectly acceptable to saturate pixels in other parts of the scene, as in the example below:


