
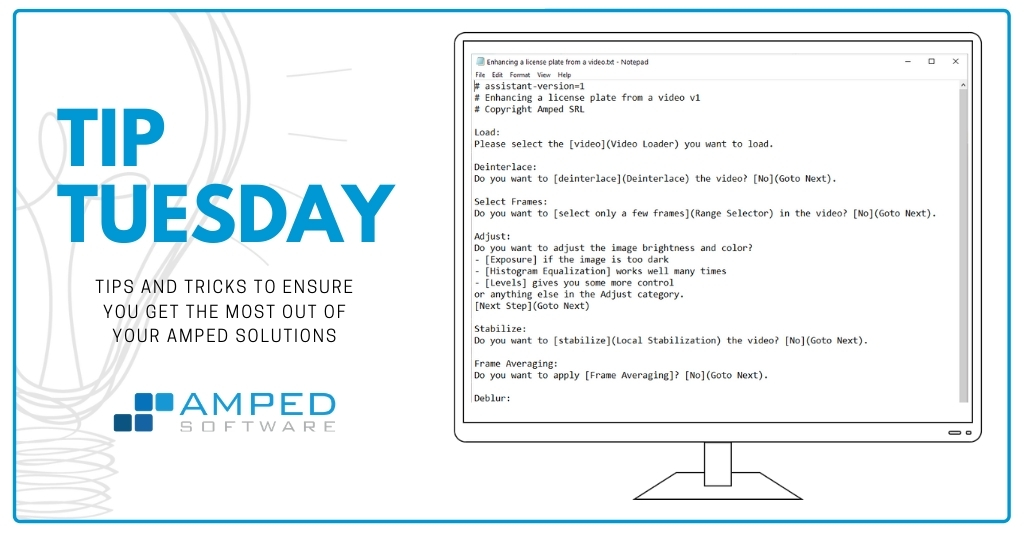
Welcome, dear friends! This week’s tip concludes the mini-series dedicated to Amped FIVE‘s Video Input filter. We’ll show how easy it is to process a live video feed on the fly, yielding the resulting frames on your computer’s screen just milliseconds after they’ve been captured by the camera. Keep reading to find out more!
Video Input filter
In the last few weeks, we’ve spent two tips explaining the power of the Video Input filter. Recapping briefly, we’ve shown that you can use Video Input to turn your computer into an external monitor of a DVR and, possibly, record the whole evidence acquisition process. We’ve also shown that reverse projection is much easier to accomplish with this filter. But we still didn’t discuss another cool application of Video Input: live processing of videos. As usual, let’s use an example to guide the description.
Imagine you’re the officer sitting in this highly disguised surveillance van.

It’s not hard to imagine that the exhaust on the top of the van hides a camera. However, as you can see in the picture, we’re in a dark setting. So, the input video will likely be under-exposed and noisy.
The perennial shortage of funding won’t allow you to get a better or more configurable camera anytime soon. Changing the brightness settings of the monitor in the van won’t help either. This is when you remember that you’ve got Amped FIVE on your PC.
Instead of watching the video from the camera, you fire up Amped FIVE and select the Video Input filter from the Load category. Then, you select the camera as the video source. If you’re reading this tip from a computer with Amped FIVE installed, just try it! I’ll do it with mine.
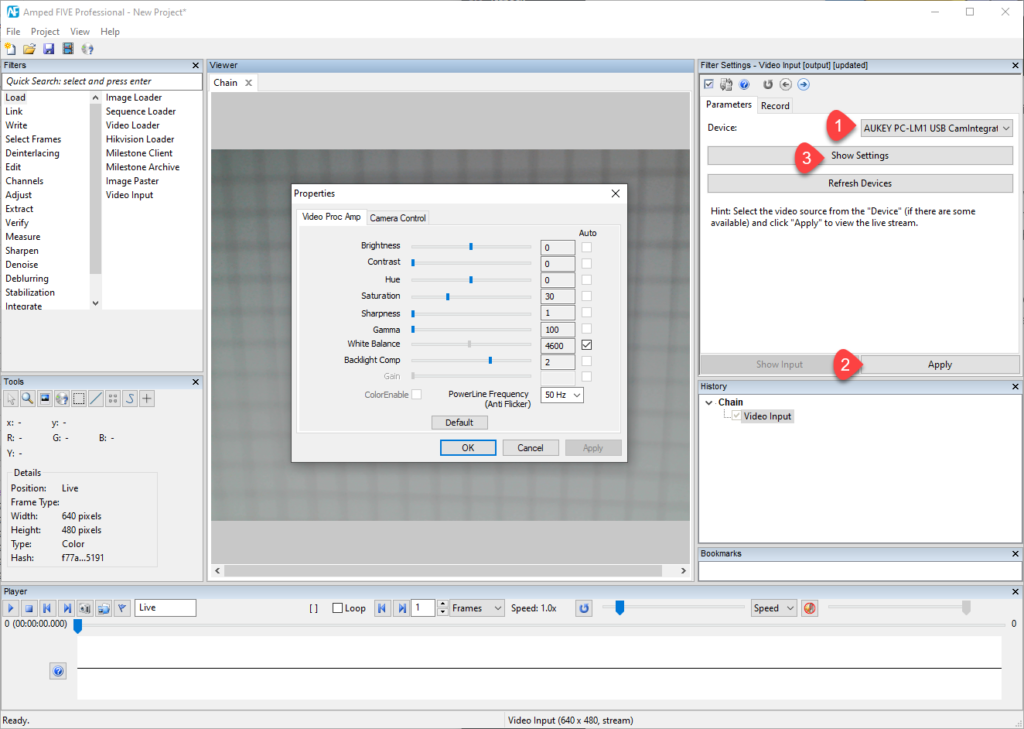
As you can see, with four clicks you’ll normally be able to select the camera, start acquisition of the video, and, optionally, reach the configuration settings of your camera. Once you’re done, click “OK” in the dialog and hit the Play button in the Player bar to start watching the live feed!
Notice that, in the Tools panel, the Position line reads “Live”. The Video Input is a special loading filter, so Amped FIVE will adjust what you can do accordingly. You’ll be able to apply most filters. However, not those dealing with time (e.g. filters in the Select Frames category can’t be used when working on a live video).
If you look at the History panel on the right, you’ll see that Video Input is just treated as any other loading filter. So, it’s placed at the beginning of a classical processing chain. We can surely use the Exposure or Levels filter to compensate for lighting issues. As you can see below, the current frame histogram shown in the Level‘s Filter Settings panel updates on the fly. The adaptations we make to Highlights and Shadows happen seamlessly. (Unfortunately, Amped doesn’t own a surveillance van yet, so I’ll use live video from my webcam pointed to a book cover to make examples.)
Temporal Smoothing Filter
But we’re talking about Amped FIVE, so there’s much more you can do! If after increasing the exposure the scene is very noisy, try using the Temporal Smoothing filter to obtain a running average of frames. It usually works great to reduce noise.
Crop, Add Shape or Optical Deblurring Filter
If there’s something in the scene that distracts you, just use the Crop filter to keep only the region you need, or add a black square with the Add Shape filter to cover the distracting object. If the image is slightly out of focus, you may use Optical Deblurring to increase sharpness (well, this will call for some processing power if you want to make it live on a large video).
Local Stabilization Filter
If the video is shaking and this makes it hard to focus on your object of interest, consider using Local Stabilization to keep the pursued object more stable (just be sure to use the Static tracking mode and not the Dynamic, since the latter mode would continuously update the reference making stabilization useless in live mode).
Conclusion
We recommend that you try processing a live video stream on your own PC. As demonstrated in the examples above, if you have a webcam that’s enough to get some practice!


