
Dear Tip Tuesday maniacs welcome to a brand new tip! Actually, we’re beginning a mini-series of tips, dedicated to an often overlooked feature of Amped FIVE, the Video Input filter. It lets you get a live video stream from an input device and process it “on the fly” with Amped FIVE filters, or record it to a file. There are three major video forensics applications that can greatly benefit from this filter: 1) documenting the acquisition from a DVR, 2) reverse projection, 3) live processing of frames. Today we introduce the filter and deal with point 1, while the rest will be addressed in the future. Keep reading to discover more!
When delivering Amped FIVE training, I notice that most students normally drag their videos into the software instead of manually selecting the Video Loader filter, which sits in the Load category. Dragging the video is totally correct: Amped FIVE will automatically select the most appropriate loader filter according to the dragged file extension. However, doing so, most people never look into the Load filter category at all… and that’s a pity because you’d be missing some Amped FIVE features! Let’s take a closer look:
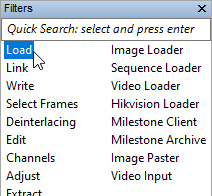
While most of the entries are indeed automatically selected when you drag some file(s), there are two of them that you need to directly click: the Image Paster and the Video Input. The Image Paster will simply load into FIVE the last image you copied into your Windows clipboard, there’s not much to add to this. The Video Input, instead, lets you get a live video stream from a video input device, and definitely deserves attention: let’s click on that and see what happens!
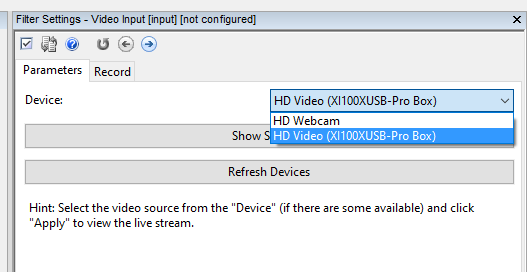
The image above shows what you get in the Filter Settings panel when you select the Video Input filter. The Device dropdown menu lets you choose which device you want to grab the video from. It could be a webcam or, more commonly in our field, a video grabber device, like the one shown here:
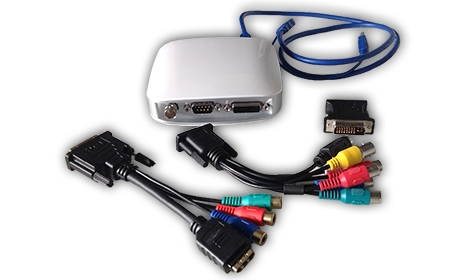
These devices let you connect a (usually) analog video source to their input interface, so they can convert it to digital video internally and send the digital signal to your computer (recent external devices commonly use USB 3.x connectivity, while internal boards rely on PCI Express).
Once you’ve selected your device, click on the Apply button. You’ll likely already see a still frame displayed in Amped FIVE’s viewer panel!
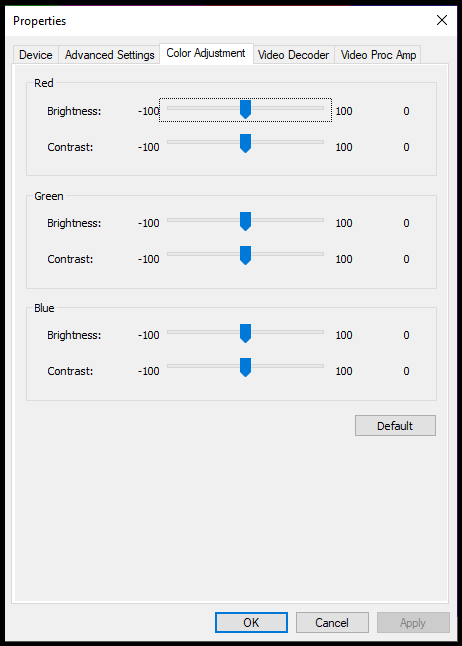
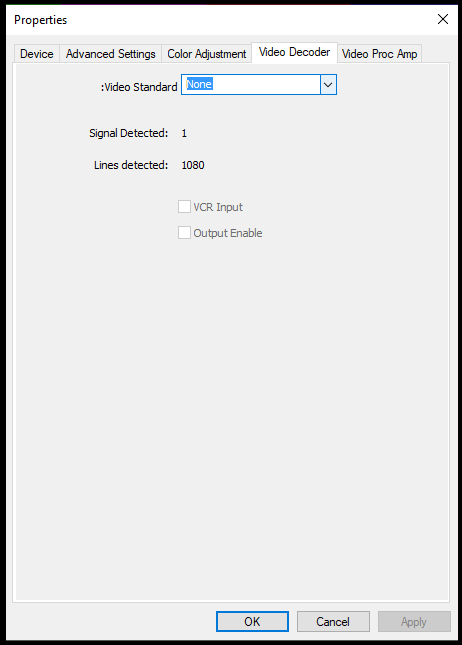
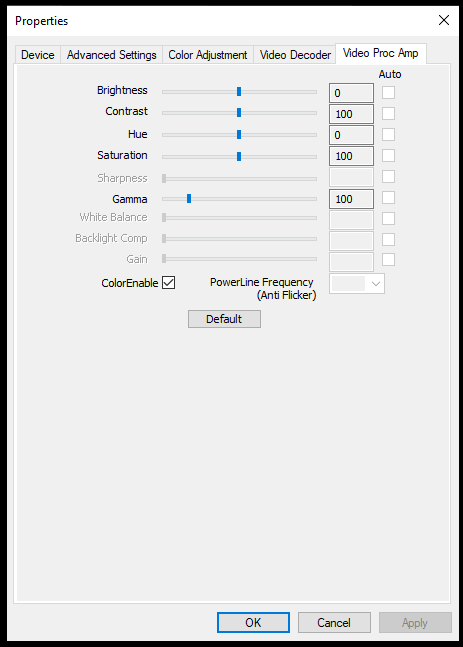
Some video input devices have a dedicated controller software (driver) that you install, while some others are handled directly by Windows through Direct Show. In the latter case, Amped FIVE lets you access the device’s configuration options by clicking on the Show Settings button in the Video Input‘s filter settings panel. This will open up a window whose appearance really depends on your specific device, here’s an example (browse the gallery to see the various tabs, the Advanced Settings is shown twice, once for listing the possible input interface and once showing the options for DVI/HDMI input):
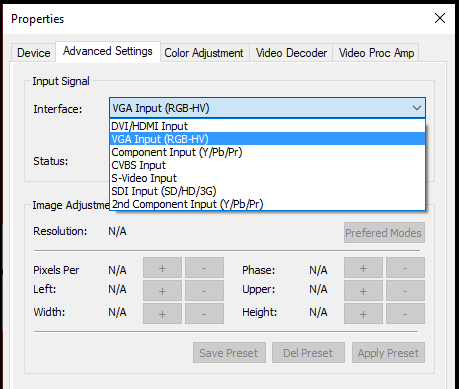
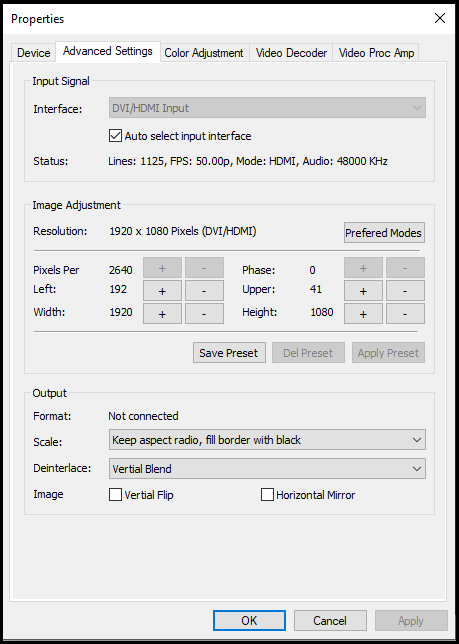
As expected, there are a lot of options for configuring the device and the encoding/compression of the generated digital stream. If the bandwidth between the device and your computer is large enough, you may want to send uncompressed digital video out of the device, and let Amped FIVE compress it, so you know which compression settings you’re using.
If your device is controlled by a dedicated driver, you’ll have to configure it from its software and not directly from Amped FIVE; it’s just less handy, but it’s the same.
A tip in the tip: if you’re relying on a video grabber device, keep in mind to check regularly that it continues working fine with your computer. Firmware and operating system updates, indeed, may easily break the configuration and require (quite) some work to put things back to work. I’m sure you agree, it’s better not having to face these kinds of problems during an urgent case or, worse yet, when carrying out an acquisition on the scene of an incident.
Ok, we’re ready to go live! Hit the Play button in the Player panel (or simply press the spacebar) and you’ll see live video from the device.
What do we make of this feature? As anticipated in this tip’s introduction, one very nice application is to use Amped FIVE as an external monitor connected to a DVR, which allows you to:
- Use your computer’s screen as a monitor for the DVR (this comes especially handy when you’re doing an acquisition in-place and the DVR has no monitor, or the monitor is very far or is being used for other purposes).
- Document the acquisition of footage from a DVR.
In both cases, the first thing you’ll do is to connect the video output from the DVR and connect it to your video grabber. You should be able to see the DVR navigation menu in Amped FIVE!
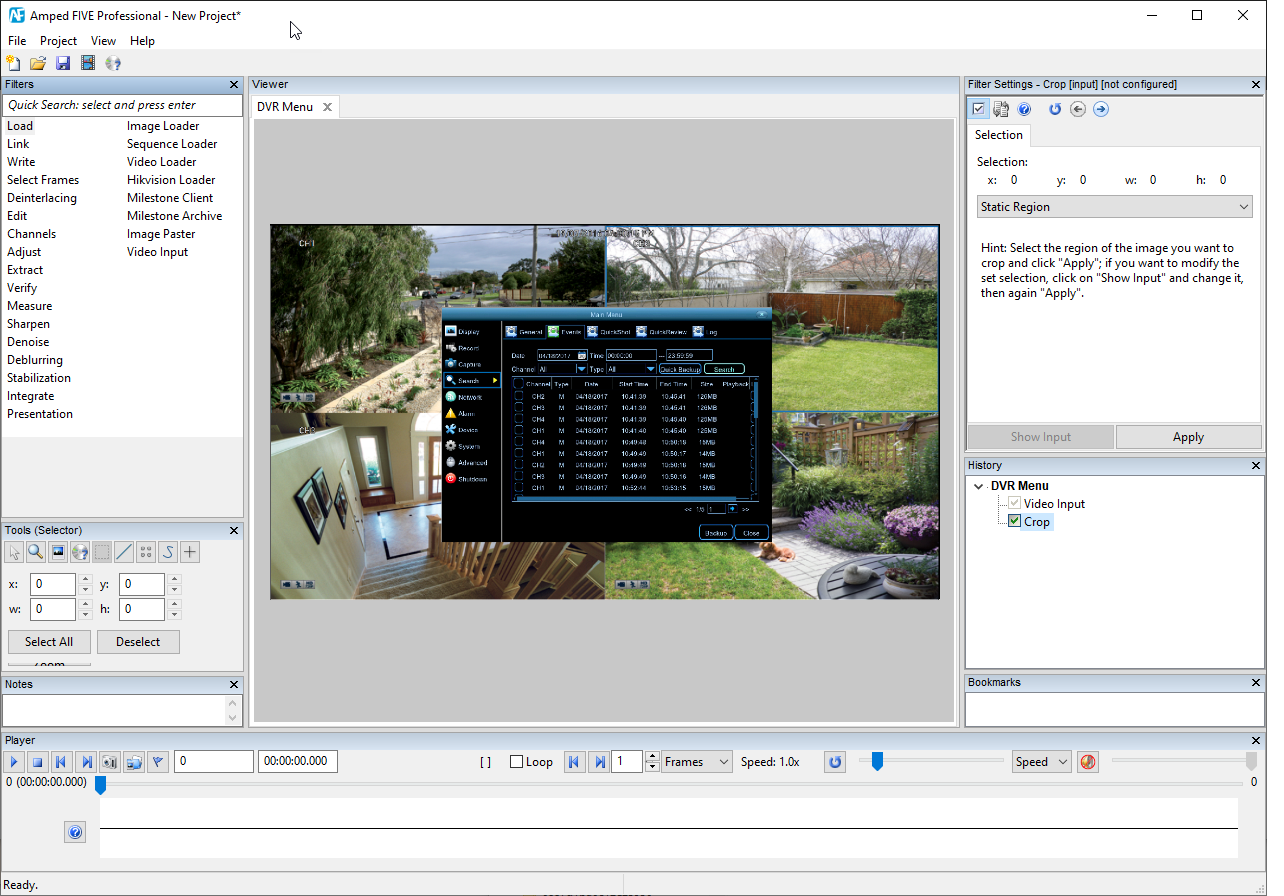
If your purpose was to use Amped FIVE as a monitor, you’re done! But if you’re accessing the DVR for acquisition purposes, wouldn’t it be great to record to a video all the browsing and exporting operations you do to instruct the DVR to export videos? For example, you’ll just need to navigate to the DVR “Info” section to have the DVR’s model and serial number stored in the video, just because you’re viewing them!
Not only: before navigating the menus, before trying to complete an export, before powering down the device… it can be very beneficial to record playback of an event if it is of large importance. It may also take a long time, or you may not be able to decode the proprietary video. Having a basic recording can be used during the early part of an investigation while the digital evidence is correctly recovered or decoded.
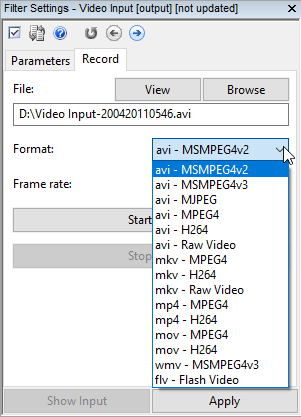
By this time, you’ve probably guessed that the Video Input allows you to record the live video stream. It’s just a click away: there’s a Record tab in the filter settings of the filter:
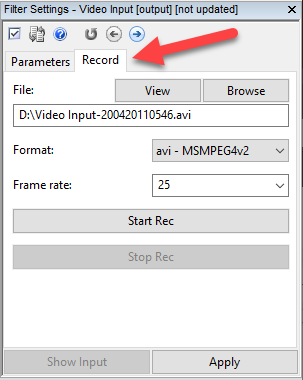
From the Format dropdown menu, you can choose from a wide range of output containers and codecs, including Raw Video. Of course, if your goal is limited to capturing the DVR interface and the export process, there’s no need for high frame rate and lossless coding: a medium compression quality should suffice.
After you’ve configured everything, just hit the Start Rec button, and recording will begin and continue until you click on the Stop Rec button. After you stop, the recorded video will be automatically loaded in a new chain.
And that’s all for today! In the next weeks, we’ll continue presenting practical applications of the Video Input: you’ll keep discovering that Amped FIVE has even more potential applications than you thought!


