
Dear friends, thanks for coming here for this week’s Tip Tuesday! Today we are dealing with a basic feature of Amped Authenticate that often gets overlooked during our training courses, but it really shouldn’t be. I’m talking about the possibility of adjusting levels to get a better Visual Inspection of your evidence image. Keep reading and you’ll see how it can be useful.
During Amped Authenticate training sessions, we often see our students heading to the Local Analysis filters right after loading an image… “Ok, we know they’re lovely”, we used to tell them, “but don’t run too fast”. Visual inspection is an important part of the authentication workflow. It may reveal strange artifacts, shadow and lighting inconsistencies, geometric anomalies, thus guiding further analyses. That’s why Visual Inspection is the very first element you find in Amped Authenticate’s Filter panel.
Of course, it is rare to deal with forged images showing explicit traces of manipulation: they’d probably be discarded well before reaching you. But sometimes traces are there, they just need to be made visible. That’s why the Visual Inspection filter allows you to adjust levels of your evidence image, using the three sliders at the bottom: Highlights, Midtones, and Shadows.
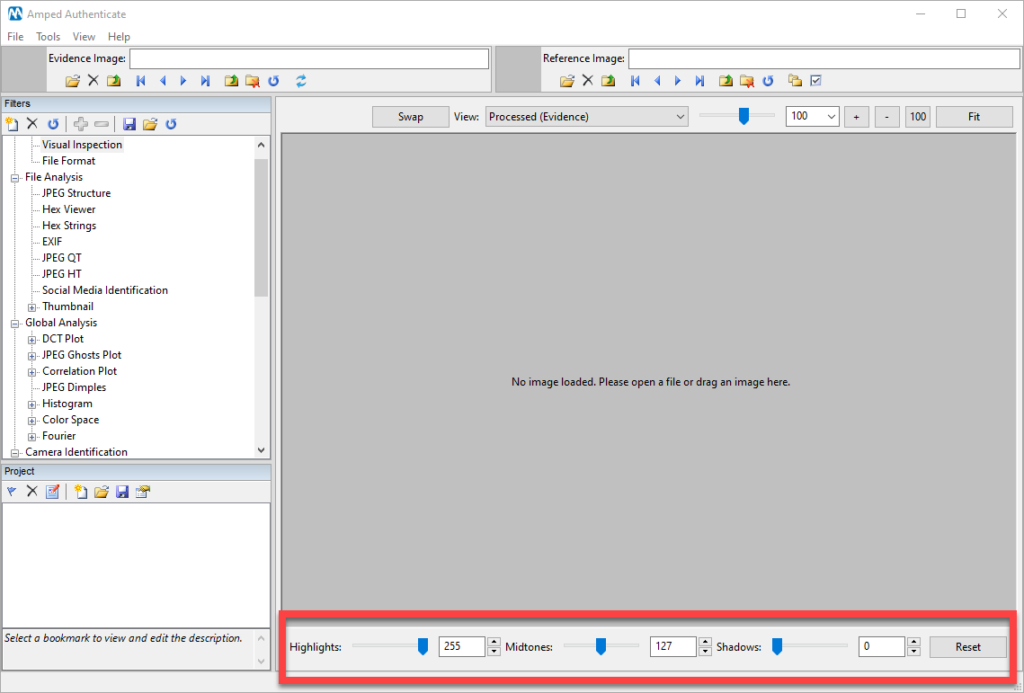
By moving the Shadows slider, you are setting a new black level for your image: all pixels whose luminance is below the set value will be displayed as black. The same reasoning applies to Highlights, of course inverted: all pixels whose luminance if above the set value will become white. Adjusting Midtones shifts mid tones towards brighter or darker.
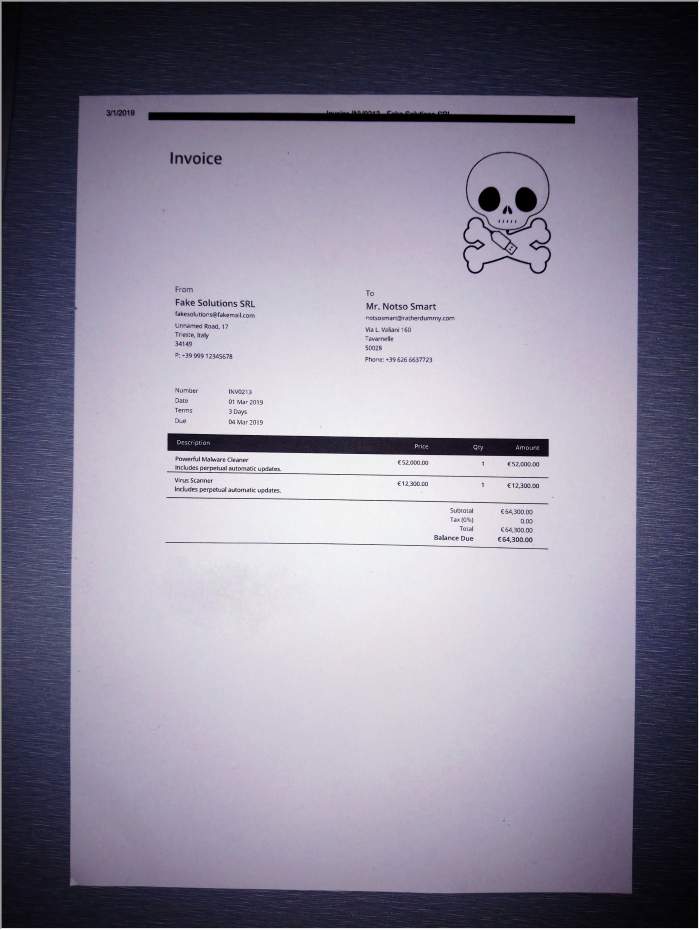
Let’s try with the actual image below (you can find it in your Samples folder, namely in the 02 – document subfolder). At first glance, the image looks just fine.
Let’s drag it into Authenticate. Now, since possible manipulations will likely concern the sheet rather than the background, we would like to expand the contrast in that region. Since the sheet is pretty bright, we can raise the Shadows slider quite a lot. You’ll see that the Midtones value automatically changes to remain halfway between the new values for Highlights and Shadows.

We see that the background is now all black (because its pixels luminance was below 128). But there’s a region on the sheet just below the table that now looks very strange. Let’s raise the Shadows a bit more…
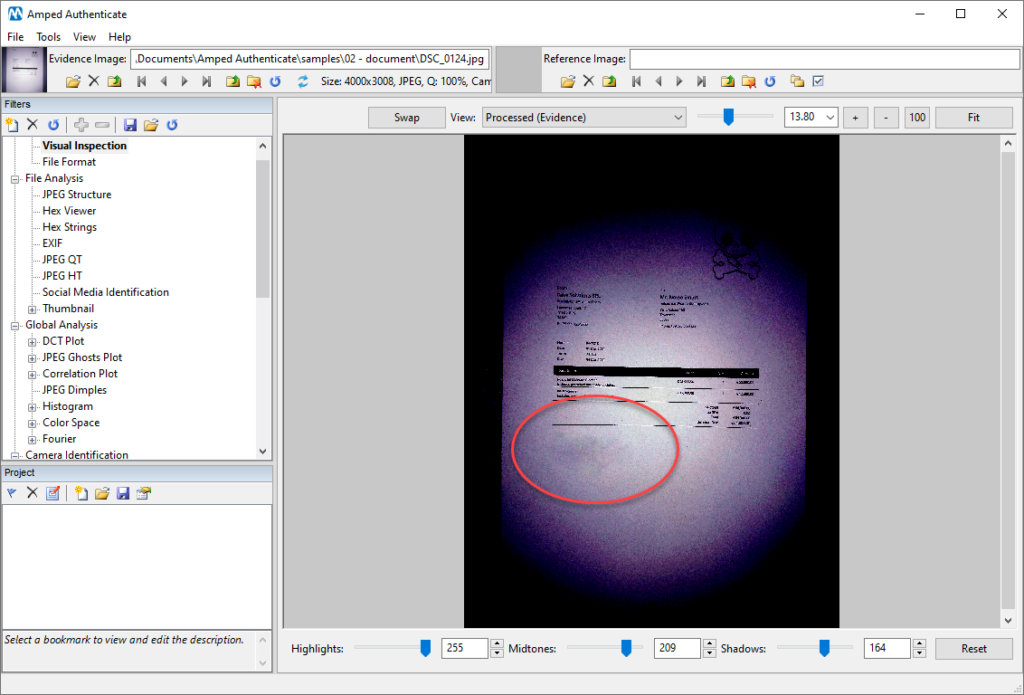
There’s definitely something strange going on there! When creating this sample image, we indeed used a well-known smartphone app to retouch the image and remove a signature using inpainting. The app did a good job at a first sight, but the manipulated area is well exposed by adjusting levels.
Of course, we wouldn’t stop here. When our workflow reaches the Local Analysis filters, we find some pretty tell-tale maps for this forgery, for example, this is the ADJPEG filter output.

This week’s takeaway is: don’t underestimate your eyes! It’s true that humans are not very good at spotting forgeries with the naked eye (we’ll soon dedicate a Tip to this), yet sometimes it can happen, like in this case. And while the ADJPEG filter runs its geeky calculus on the DCT coefficients of the image, your eyes simply record its brightness! Therefore, we can say these two analyses are definitely complementary, and as such, they add value to each other.


