

Dear Amped friends, welcome to this week’s Tip Tuesday!
In our last Tip we’ve talked about how Amped FIVE users can save time by trimming and cropping the video they’re working on, so to focus the analysis only on interesting parts. Probably, we opted for that topic because February is the shortest month, and it may give you the feeling that time flows away too quickly. Since we can’t stop time, let’s at least save it when possible!
This week is Amped Authenticate‘s turn, so let’s see how we can save time when investigating our digital images. Once more, it’s a matter of focus: to save time, we have to focus the analysis on the right images (i.e., properly select them) and run only the analysis filters that we need on them. We will focus on the first aspect today, and leave the second for a coming-soon Tip.
Now, suppose you are working on a bunch of images that have been extracted from an iPhone 5c smartphone and put all in the same folder. You are looking for traces of document falsification, and the folder indeed contains a lot of document images that need to be investigated, plus a lot of totally irrelevant images saved on the device by social media apps like Whatsapp, Facebook, etc. Separating images by inspecting their content, one by one, would take a lot of time. Wouldn’t it be great if we could quickly filter away all images that were not captured using the device camera app? Good news: that’s something you can easily do with Amped Authenticate’s Batch File Format Analysis!
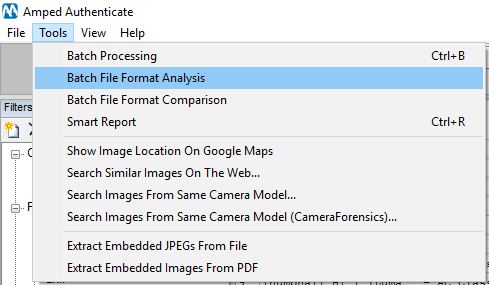
Just click on the menu item shown above and select the folder containing your images. In a few seconds, you’ll see a big table popping up with a lot of high-level information about each image. If you find the table too large, you can right click on the header and customize the set of columns to be shown (once more, focus matters!).
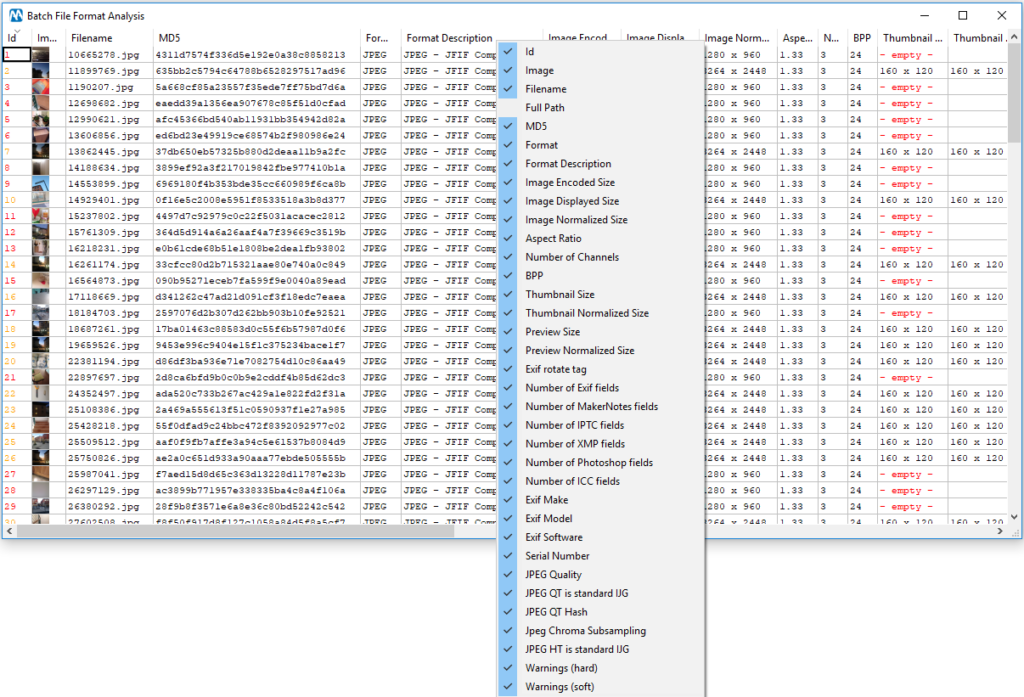
If you click on a column header, you will have results sorted based on its values (numerical sorting is used for numbers, alphabetical sorting for strings). In our case, if we just sort by Exif Make, we find that some images come with the smartphone model written in metadata, while many others don’t.
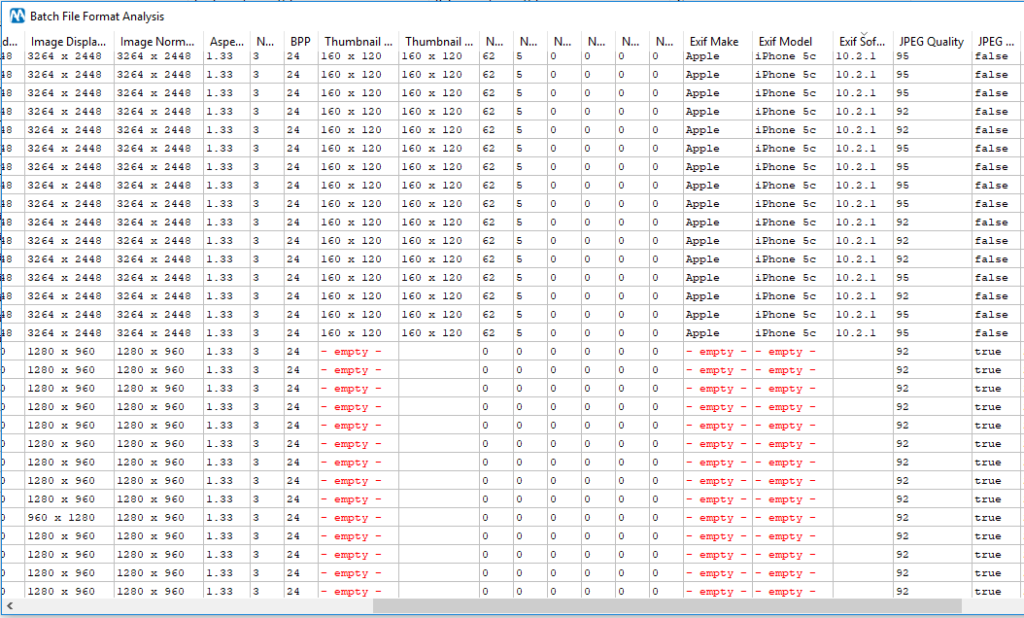
This is expected since, as Authenticate users surely remember, most social media apps strip out metadata as part of their image manipulation process. You may have noticed in the table above that images from the iPhone have two possible JPEG qualities, 92 and 95. Which means that their JPEG quantization table is also different. Should we trust all images or not?
Once again, Authenticate does not leave you alone with your problem! You can use the Search images from same camera model tool to check whether it’s possible to find reference images for our device on the web so we can compare our files to them. We’ll show you how to do it in another post, but for now just trust me: you can indeed have both quantization tables in original iPhone 5c images.
Ok, now it’s just a matter of selecting all images we like, right click on the selection and pick the “Export images” menu entry: we’ll be prompted to select a target folder where selected images will be copied (a good forensic software should not move potential evidence from their current location!)

And we’re done! Now we can focus the rest of the work only on images that were captured from the smartphone camera app, saving a lot of time as promised.
We hope you enjoyed this Tuesday Tip! Stay tuned and don’t miss the following ones.


