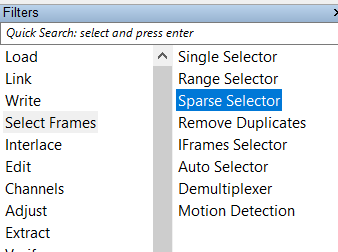
With over 100 filters and tools in Amped FIVE, it’s easy to lose track of which filter does what. A lot of folks pass right by the Sparse Selector, not knowing what it does or how to use it. The simple explanation of the Sparse Selector’s function is that it is a list of frames that are defined by the user. Another way of explaining its use: the Sparse Selector tool outputs multiple frames taken from random user selected positions of an input video.
How would that be helpful, you ask? Oh, it’s plenty helpful. Let me just say, it’s one of my favorite tools in FIVE. Here’s why.
#1. – Setting up a Frame Average
You want to resolve a license plate. You’ve identified 6 frames of interest where the location within the frame has original information that you’re going to frame average to attempt to accomplish your goal. Unfortunately, the frames are not sequentially located within the file. How do you select (easily / fast) only frames 125, 176, 222, 278 314, and 355? The Sparse Selector, that’s how.
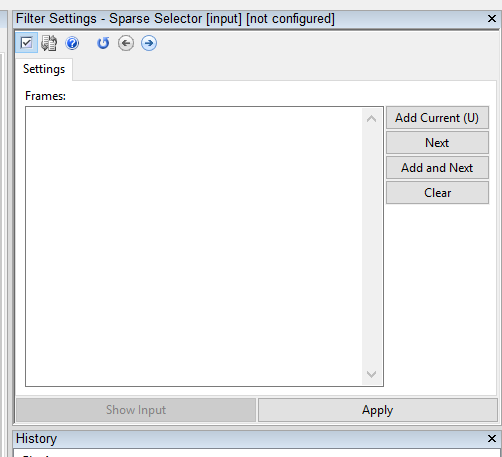
For simple tasks, like selecting 6 frames of interest, scrub the timeline to the relevant frames and either press the Add Current button in the Filter Settings window or press the U key on your keyboard. When you’ve finished your selection. Press Apply. Your video will be trimmed to include just the frames specified / selected. With the best frames selected, you’re ready to correct the perspective (item of interest is in the same place in each frame), register the perspective (item of interest is in different locations from frame to frame), or just frame average.
Using the Sparse Selector in this way means that you don’t have to export / write out single frames, only to bring them back in for processing – or send them to another program for processing. Everything can be done in one tool – Amped FIVE!
#2 – Motion Detection Problems
You’ve got a great piece of video. It’s ready for court. BUT … the source system employed motion detection and there’s a big gap in the middle of your footage. You want it gone. You don’t want the Trier of Fact to have to sit and watch a blank screen or a placeholder graphic as the video plays.
![]()
What to do? Sparse Selector to the rescue.
In this case, there’s a placeholder graphic between frames 57 and 98. I don’t necessarily want to click the U key whilst advancing through a ton of frames. There’s a faster way. It looks like this:
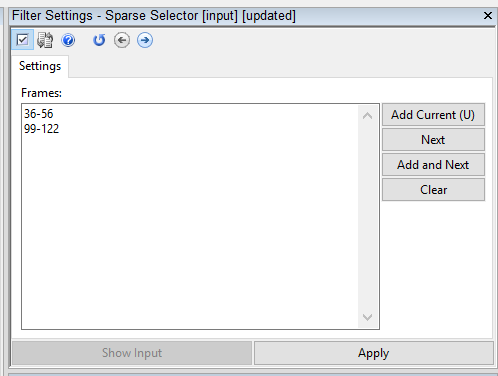
Simply enter the ranges into the Sparse Selector manually as shown above; [first frame – last frame] then the enter key to enter another range of frames. When all of your ranges are entered, press Apply.
With this easy tool, I don’t have to transfer videos out of FIVE and into an NLE to do simple, non-contiguous trims. Plus, FIVE’s reporting feature will list all of the included frames (ASTM 2825-12 compliant) at the click of a button.
There you have it. Two simple yet powerful ways to use the Sparse Selector.
If you’d like more information about our tools and training opportunities, click here now.