
This post is a follow-up to the latest Amped FIVE Update (7620). In that report I highlighted the enhancements to the ‘Add Timestamp’ Filter, and its new flexibility. Let us now take a more in-depth look at it….
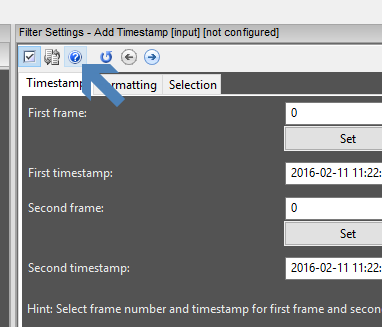
We must start with identifying our time parameters. In this example, I am using the details presented to me through the Samsung* .sec BackupViewer*.
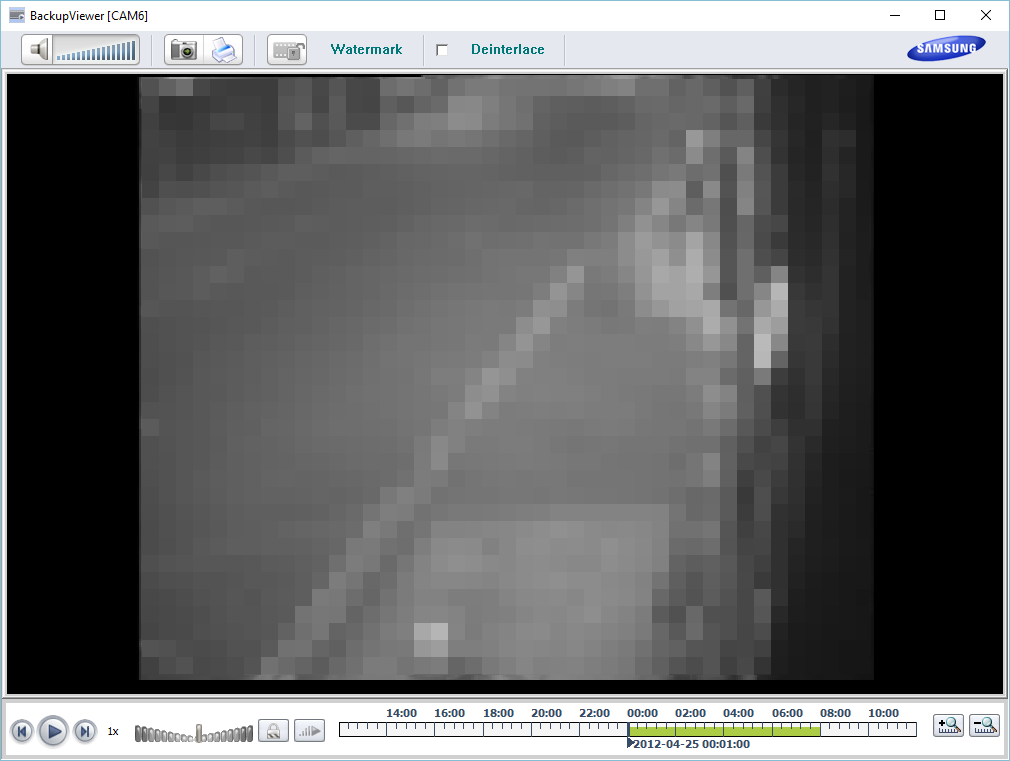
I can identify the start time, and by frame counting through the seconds I can identify that there are mainly 3 frames every second. Every 4 or 5 seconds, there are 4 frames in a second. Unfortunately there is no Presentation Time Stamp within the stream so we have to rely on what the player is presenting us.
After the start time is established, I can move on to the end time.

I have established a time duration of 07:59:00
It is possible to deal with the H264 stream contained with Samsung’s .sec container easily by loading it into Amped FIVE. It’s actually much easier than using the limited player, and the image doesn’t get softened by the players decoding.
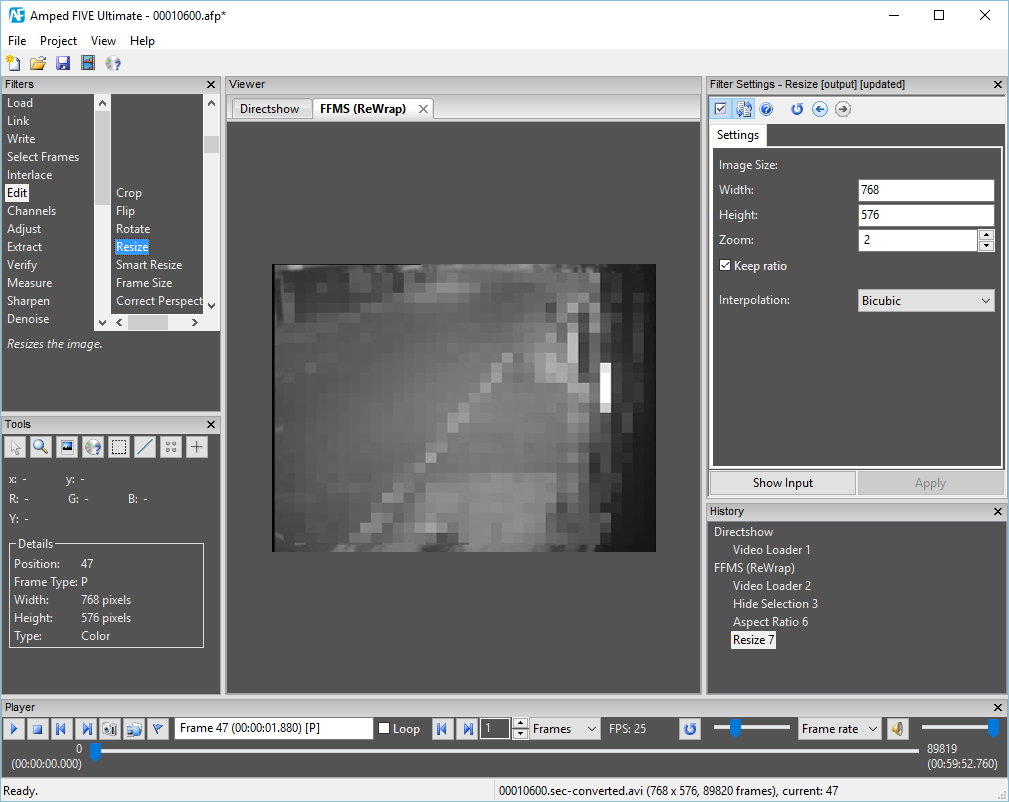
My video has been prepared; it’s now to time to adjust the frame rate and then place the time information on.
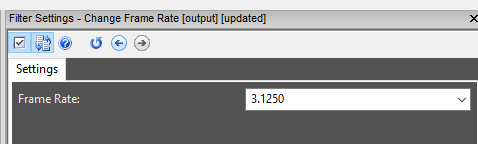
With the frame count and the duration known, the playback speed is calculated to 3.125 FPS. By using the Change Frame Rate Filter, this new parameter can be entered.
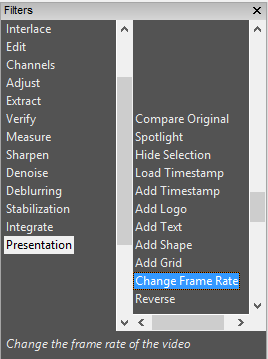
We now have to add the timestamp…
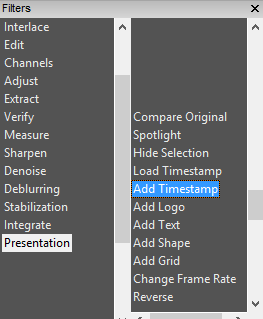
After entering our start and end parameters under the Timestamp Tab, it’s the Formatting Tab that dictates how this information is to be displayed. As you may remember from the original post, there are a number of standard formatting options, but then you get the ability to modify these and add in other details if required.
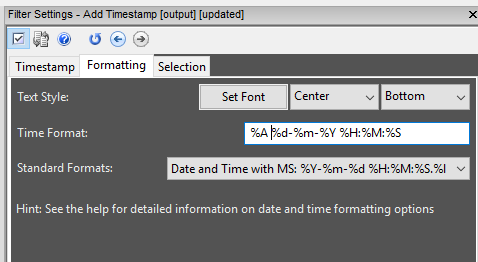
A standard format may be Date and Time with MS, which looks like this.

However, for this case, I want the date to be written the other way round, I don’t require milliseconds, and I need to display the weekday.
I add in a %A, at the start. I change the order of the Day and year. I then remove the %I for the milliseconds.
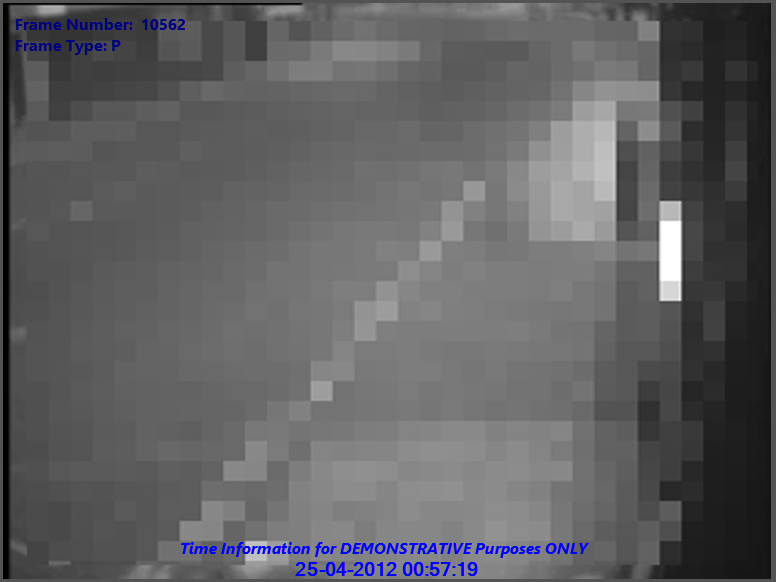
This results in the following graphical representation.

All of the specific macros for displaying individual criteria can be found under the filters help.
There you will find this list..
%a: Abbreviated weekday name
%A: Full weekday name
%b: Abbreviated month name
%B: Full month name
%c: Date and time representation appropriate for locale
%d: Day of month as decimal number (01 – 31)
%H: Hour in 24 – hour format (00 – 23)
%I: Hour in 12 – hour format (01 – 12)
%j: Day of year as decimal number(001 – 366)
%l: Milliseconds with leading zeros (000 – 999)
%m: Month as decimal number(01 – 12)
%M: Minute as decimal number(00 – 59)
%p: Current locale’s A.M./P.M. indicator for 12-hour clock
%S: Second as decimal number (00 – 59)
%U: Week of year as decimal number, with Sunday as first day of week (00 – 53)
%w: Weekday as decimal number (0 – 6; Sunday is 0)
%W: Week of year as decimal number, with Monday as first day of week (00 – 53)
%x: Date representation for current locale
%X: Time representation for current locale
%y: Year without century, as decimal number (00 – 99)
%Y: Year with century, as decimal number
%z, %Z: Either the time – zone name or time zone abbreviation, depending on registry settings; no characters if time zone is unknown
%%: Percent sign
%#a, %#A, %#b, %#B, %#p, %#X, %#z, %#Z, %#%: # flag is ignored
%#c: Long date and time representation, appropriate for current locale.For example : “Tuesday, March 14, 1995, 12:41:29”.
%#x: Long date representation, appropriate to current locale.For example : “Tuesday, March 14, 1995”
%#d, %#H, %#I, %#j, %#m, %#M, %#S, %#U, %#w, %#W, %#y, %#Y: Remove leading zeros(if any)
As you can see, pretty much every data format is supported.
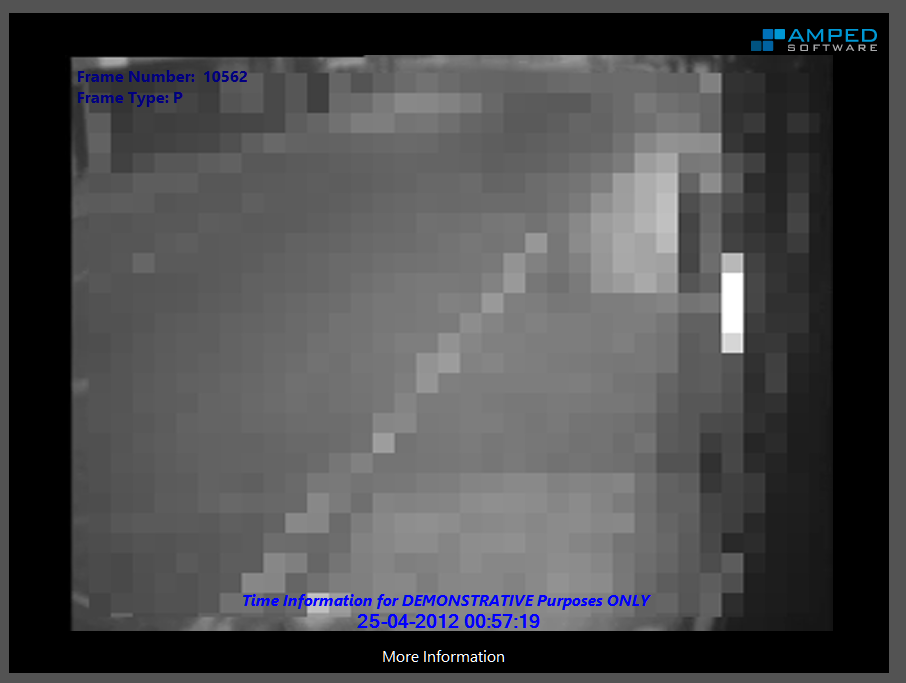
When manually adding time information like this, I always like to add in some disclaimer text, along with the Frame Count and Type…
And if you don’t want to place the text information over the video, remember that you have the Add Frame Size Filter to give yourself some space… You could also add your agency logo..
I hope that has given you a little more insight into the usage of the ‘Add Timestamp’ Filter, along with some other ideas.
A final hint: Always attempt to keep your time periods small. It may be worth identifying frames and their corresponding times in the proprietary player and then trimming your native stream inside Amped FIVE to meet these parameters. It is often an easier way to calculate FPS and gives a higher accuracy.
It’s a busy time here at Amped, so keep an eye out on the blog and our other social media channels for more exciting news, developments, hints and tips.
Remember you can subscribe to this blog by email, or use any of the social media links that are at the top of this page.
*Disclaimer: All products and company names are trademarks™ or registered® trademarks of their respective holders. Use of them does not imply any affiliation with or endorsement by them.


